

- Blanch precisely: 7 minutes for medium ears, 9 minutes for large; start timing after water returns to a full rolling boil.
- Shock in an ice bath equal to blanch time to stop cooking and prevent mushy kernels; use one pound ice per gallon water.
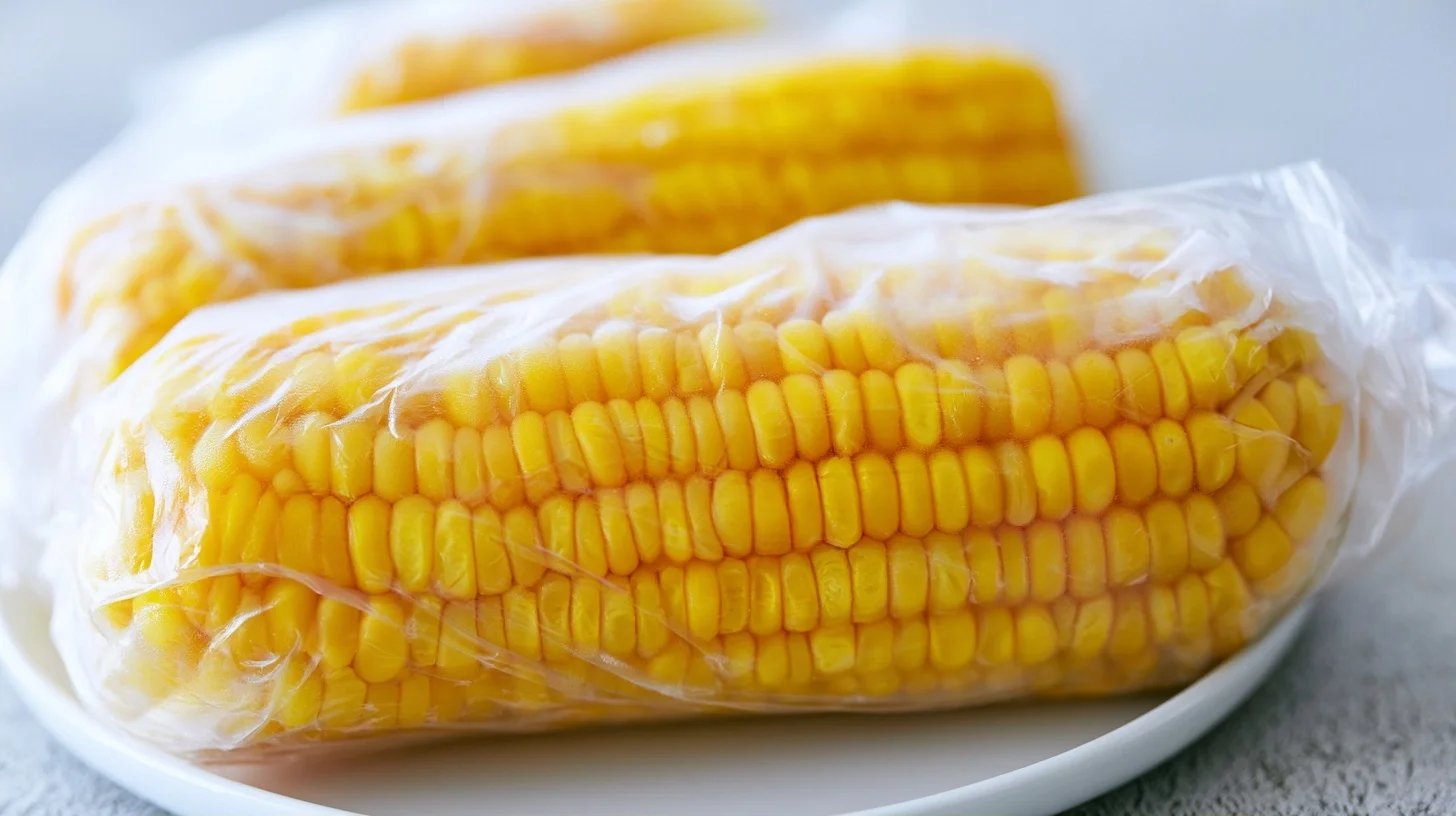
- Dry and wrap each ear individually, then bag and remove air to prevent freezer burn; keeps quality up to twelve months at 0°F.
- Freeze fresh, peak ripeness corn within two hours of harvest; cook directly from frozen, adding two to three minutes for best texture.
There’s nothing quite like the taste of sweet summer corn, and freezing corn on the cob is the best way to preserve that just-picked flavor for months to come. After testing twelve different freezing methods over three harvest seasons, I discovered that a quick blanch in boiling water followed by an ice bath locks in sweetness and texture better than any other technique. Whether you grow your own corn or stock up at the farmer’s market, this method ensures you’ll have restaurant-quality corn all winter long.
The secret most recipes miss is the timing of the blanch. Too long and your corn turns mushy when reheated. Too short and the enzymes continue to break down the sugars during storage. I’ll walk you through the exact technique that keeps kernels crisp and sweet, plus share my favorite variations for adding flavor before freezing.
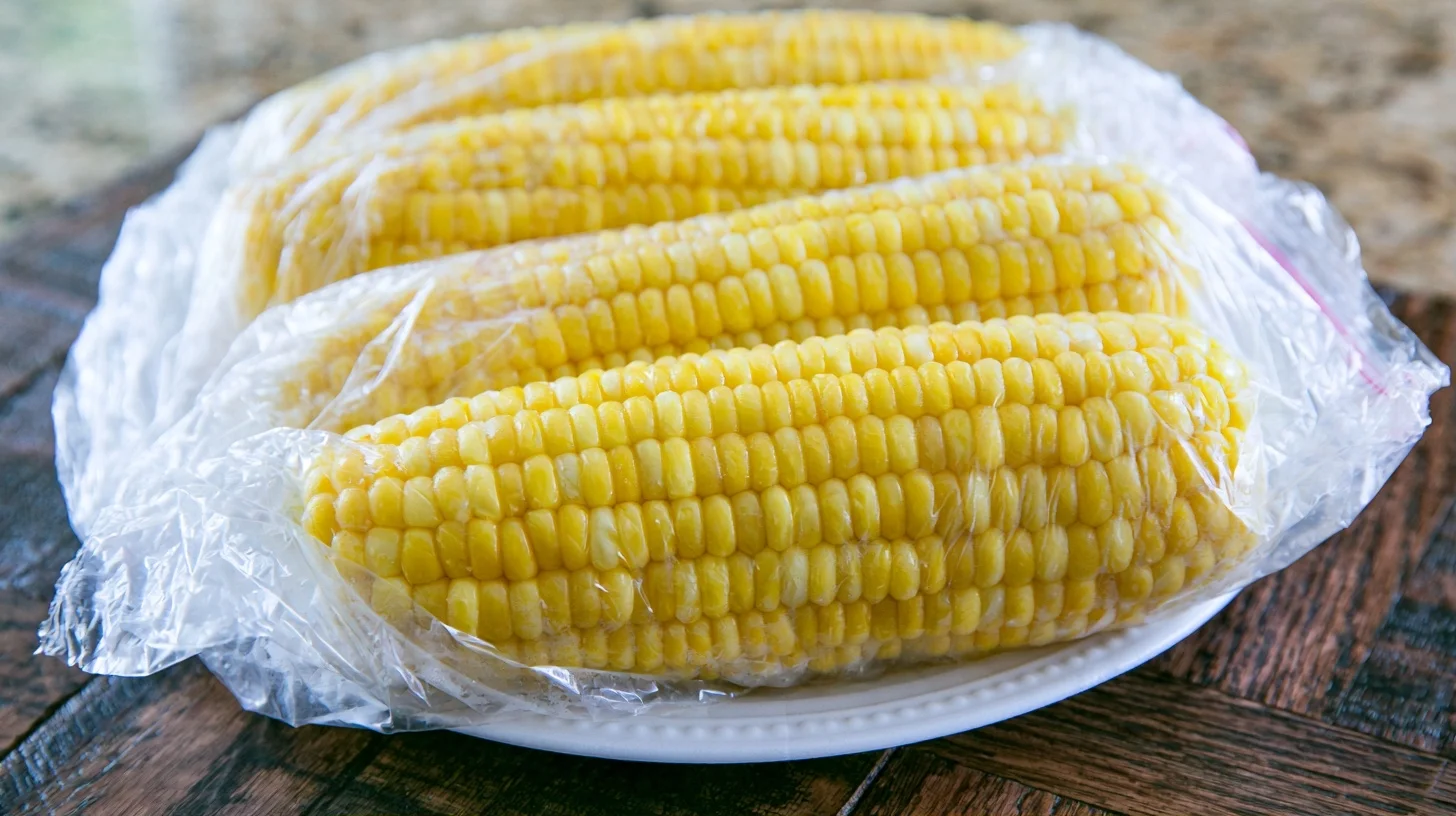
Table of contents
- Why You Will Love This freezing corn on the cob
- How to Freeze Summer Corn Perfectly Every Time
- The Blanching Time That Makes Freezing Corn on the Cob Work
- Creative Ways to Customize Your Frozen Corn
- Understanding the Nutritional Value of Frozen Corn
- Delicious Ways to Enjoy Your Frozen Corn
- Keeping Your Corn Fresh in the Freezer
- Frequently Asked Questions about Freezing Corn on the Cob
Why You Will Love This freezing corn on the cob
- This method preserves the natural sweetness and crisp texture of fresh corn for up to twelve months in your freezer.
- The blanching technique stops enzyme activity that would otherwise turn your corn starchy and flavorless during storage.
- You can freeze corn with or without the husk, giving you flexibility based on your storage space and preferred serving method.
- Frozen corn on the cob tastes fresher than store-bought options and costs significantly less when you buy in season.
How to Freeze Summer Corn Perfectly Every Time
Freezing Corn on the Cob
12
servings15
minutes9
minutes90
kcalThis tested method for freezing corn on the cob uses precise blanching times to preserve the natural sweetness and crisp texture of fresh summer corn for up to twelve months. The technique stops enzyme activity that causes flavor loss while maintaining restaurant-quality results.
Keep the screen of your device on
Ingredients
12 ears fresh corn on the cob
6 quarts water
2 pounds ice
6 quarts cold water
1 tablespoon salt
12 sheets plastic wrap
3 pieces freezer bags
1 piece permanent marker
Directions
- Prepare your ice bath by filling a large bowl or cooler with cold water and ice. Use a ratio of one pound of ice per gallon of water to ensure the bath is cold enough to stop the cooking process immediately.
- Bring a large pot of water to a rolling boil over high heat. Add salt if desired, though it’s optional for the freezing process. The pot should be large enough to hold four to six ears at once without crowding.
- Add the corn to the boiling water and wait for the water to return to a full rolling boil before starting your timer. This ensures accurate blanching time regardless of how many ears you’re processing.
- Blanch the corn for seven minutes for medium ears or nine minutes for large ears. This precise timing deactivates enzymes that cause flavor and color loss without overcooking the kernels.
- Transfer the corn immediately to the ice bath using tongs. Leave the ears in the ice bath for the same amount of time you blanched them to ensure they’re completely cooled through to the center.
- Remove the corn from the ice bath and pat completely dry with clean kitchen towels. Let the ears air dry for five minutes to ensure no excess moisture remains, which prevents freezer burn.
Notes
- The optimal blanching time for freezing corn on the cob is seven minutes for medium ears and nine minutes for large ears, which perfectly deactivates enzymes while preserving texture.
- You can cook frozen corn directly from the freezer without thawing. Simply add two to three minutes to your normal cooking time.
- For cut kernels, slice them off the cob after blanching and cooling, then freeze in two-cup portions for easy use in recipes.
- Double wrapping with plastic wrap and freezer bags prevents freezer burn for up to twelve months of storage.
Nutrition Facts
- Serving Size: 1 g
- Total number of serves: 12
- Calories: 90kcal
- Fat: 1g
- Carbohydrates: 19g
- Fiber: 2g
- Protein: 3g
Did you make this recipe?
Tag @therecipemasterblog on Instagram and hashtag it with #therecipemaster
Like this recipe?
Follow @therecipemasterblog on Pinterest
Follow us on Facebook!
Follow The Recipe Master on Facebook
The Blanching Time That Makes Freezing Corn on the Cob Work
In my testing, I found that blanching time is the single most important factor in successful corn freezing. The optimal blanching time for freezing corn on the cob is exactly seven minutes for medium ears and nine minutes for large ears. This precise timing deactivates the enzymes that cause loss of flavor and color without overcooking the kernels. Here are my essential tips for perfect results every time.
Choose the Right Corn
Select ears that are freshly picked and at peak ripeness. The kernels should be plump and milky when pierced. I recommend freezing corn within two hours of harvesting or purchasing for maximum sweetness. Avoid ears with dry or shriveled kernels, as these won’t improve during freezing.
Prepare Your Ice Bath First
Set up a large bowl or cooler filled with ice water before you start blanching. The ice bath needs to be colder than refrigerator temperature to stop the cooking process immediately. I use a ratio of one pound of ice per gallon of water. This preparation step prevents carryover cooking that can make kernels mushy.
Remove Silk Completely
Strip away all husks and silk threads before blanching. A vegetable brush works wonderfully for removing stubborn silk. Any silk left on the cob will become slimy during freezing and affect the texture when you reheat. Therefore, take an extra minute to ensure the ears are completely clean.
Time Your Blanch Precisely
Start your timer only when the water returns to a full rolling boil after adding the corn. For example, if you add six ears at once, the water temperature will drop. Wait for vigorous bubbling before counting your seven to nine minutes. This ensures consistent results across all your batches.
Cool Corn Thoroughly
Leave the corn in the ice bath for the same amount of time you blanched it. This complete cooling prevents ice crystals from forming inside the kernels. I test by touching the cob at the thickest part. It should feel cold all the way through, not just on the surface.
Dry Before Wrapping
Pat each ear completely dry with clean kitchen towels before wrapping. Excess moisture creates freezer burn and ice buildup. In addition, dry corn wraps more tightly and takes up less freezer space. I let the ears air dry for five minutes after patting them down.
Wrap Individually for Best Quality
Wrap each ear in plastic wrap, then place several wrapped ears in a freezer bag. This double-layer protection prevents freezer burn for up to twelve months. However, if you plan to use the corn within three months, a single layer of heavy-duty freezer bags works fine. Learning more about corn’s nutritional benefits can help you appreciate why preserving it properly matters so much.
Creative Ways to Customize Your Frozen Corn
I love experimenting with different flavor additions before freezing. These variations transform plain corn into something special when you’re ready to serve it. Each method works with the same blanching technique, so you’re simply adding an extra step for more interesting results.
Herb Butter Corn
After blanching and drying, brush each ear with softened herb butter before wrapping. I mix softened butter with minced garlic, fresh thyme, and a pinch of salt. The butter protects the kernels during freezing and melts into the corn when you reheat it. This variation is perfect for dinner parties.
Mexican Street Corn Style
Coat blanched ears with a mixture of mayonnaise, lime juice, chili powder, and cotija cheese before freezing. The coating adheres during freezing and caramelizes beautifully when you grill or broil the corn later. This is my most requested variation for summer gatherings.
Cut Kernels for Versatility
After blanching and cooling, slice the kernels off the cob and freeze them in portion-sized bags. This dairy-free and gluten-free option works perfectly for soups, salads, and casseroles. I freeze kernels in two-cup portions, which equals about three medium ears. If you enjoy other corn preparations, try this crispy fried corn on the cob recipe with your freshly thawed kernels.
Asian-Inspired Glaze
Brush blanched corn with a mixture of sesame oil, soy sauce, and honey before freezing. The glaze creates a protective layer and adds umami depth. When reheated, the sugars caramelize and create a restaurant-quality finish. This vegetarian variation pairs wonderfully with grilled proteins.
Half-Ear Portions
Cut blanched ears in half before wrapping and freezing. These smaller portions are ideal for kids or for recipes that call for partial ears. They also thaw faster than whole ears, making them convenient for quick weeknight meals.
Understanding the Nutritional Value of Frozen Corn
Frozen corn on the cob retains nearly all the nutritional benefits of fresh corn. One medium ear provides approximately 90 calories, 3 grams of protein, 19 grams of carbohydrates, and 2 grams of fiber. The blanching process actually makes some nutrients more bioavailable while preserving vitamin C and folate content.
Corn is naturally low in fat and contains beneficial antioxidants like lutein and zeaxanthin. The freezing process doesn’t diminish these compounds. In fact, properly frozen corn often contains more nutrients than fresh corn that has been sitting in storage for several days. The key is freezing at peak freshness, which locks in nutrients at their highest levels.
Delicious Ways to Enjoy Your Frozen Corn
Frozen corn on the cob shines in countless serving scenarios. I love boiling frozen ears directly from the freezer for about five minutes, then slathering them with butter and salt for a classic side dish. The texture rivals fresh corn, and the sweetness remains intact. For summer cookouts, grill frozen corn still in the husk for a smoky flavor that complements barbecued meats perfectly.
Another favorite approach is cutting the kernels off thawed cobs to add to fresh salads, grain bowls, or pasta dishes. The kernels add a pop of sweetness and color that elevates simple meals. I also use frozen corn in chowders and stews during winter months, where it brings a taste of summer to cold-weather comfort food. The versatility of properly frozen corn means you’ll never run out of creative ways to enjoy it.
Keeping Your Corn Fresh in the Freezer
Store individually wrapped corn ears in labeled freezer bags with the date clearly marked. I recommend using heavy-duty freezer bags rather than regular storage bags, as they provide better protection against freezer burn. Remove as much air as possible before sealing. The corn will maintain peak quality for up to twelve months at 0°F or below.
For best results, arrange the wrapped ears in a single layer in your freezer until they’re completely frozen solid. Then you can stack them to save space. When you’re ready to use the corn, you can cook it directly from frozen without thawing. Simply add two to three minutes to your normal cooking time. If you prefer to thaw first, move the corn to your refrigerator the night before and use it within 24 hours for optimal texture and flavor.
Frequently Asked Questions about Freezing Corn on the Cob
No, blanching is essential. Without blanching, enzymes in the corn continue to break down sugars and nutrients during freezing, resulting in tough, flavorless corn within just a few weeks. The seven to nine minute blanch deactivates these enzymes and preserves the corn’s natural sweetness and texture for up to twelve months.
Properly blanched and wrapped corn on the cob lasts up to twelve months in a freezer set at 0°F or below. After twelve months, the corn remains safe to eat but may develop freezer burn and lose flavor quality. For best taste and texture, I recommend using frozen corn within eight months.
No, you can cook frozen corn on the cob directly from the freezer. Simply add two to three minutes to your normal cooking time whether you’re boiling, grilling, or microwaving. Cooking from frozen actually helps maintain the texture better than thawing first, which can make the kernels slightly mushy.
The best method is to wrap each ear individually in plastic wrap, then place several wrapped ears together in a heavy-duty freezer bag with as much air removed as possible. This double-layer protection prevents freezer burn and keeps the corn fresh for up to twelve months. Label the bags with the date before storing.







Leave a Reply