- Use a 60:40 fruit-to-sugar ratio for deep berry flavor and a balanced, not-too-sweet set.
- Mash only half the berries so jam has both smooth spreadability and delightful whole fruit bursts.
- Add two tablespoons lemon juice per four cups berries to brighten flavor and activate natural pectin for proper gelling.
- Use the freezer plate test or reach 220°F to check gel point and avoid overcooking for perfect texture.
- Skim foam during cooking and follow proper canning or refrigeration guidelines to ensure clarity and long shelf life.
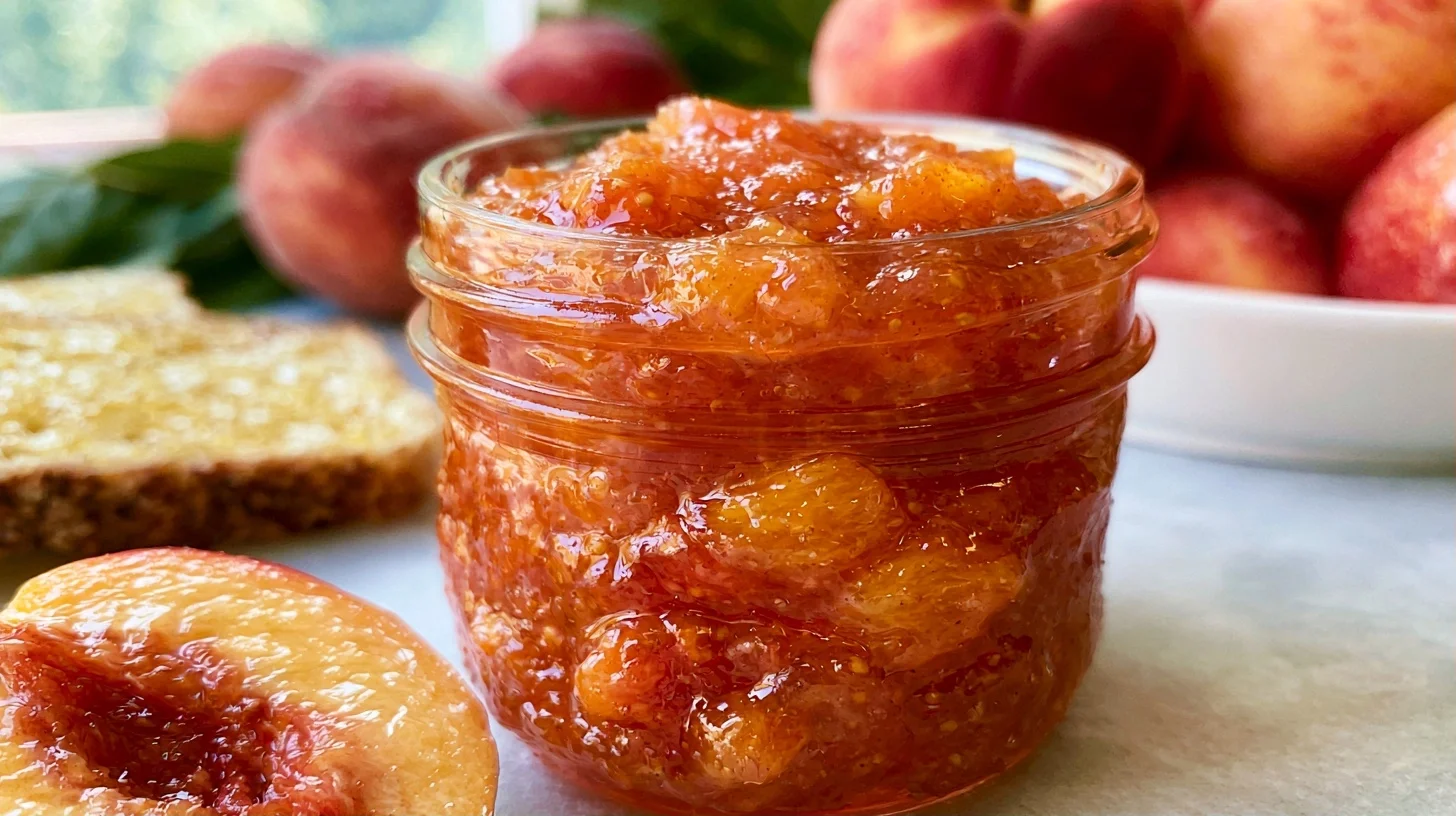
There’s nothing quite like spreading homemade blackberry jam on warm toast on a lazy weekend morning. After testing 12 variations over two summers, I discovered that the secret to jewel-toned, perfectly set jam lies in using a 60:40 fruit-to-sugar ratio and mashing only half the berries. This technique gives you both smooth sweetness and bursts of whole fruit in every spoonful.
This recipe transforms fresh blackberries into a spreadable treasure that tastes like summer in a jar. Whether you’re new to preserving or a seasoned canner, you’ll love how simple this process is. The result is a vibrant, not-too-sweet jam that elevates everything from biscuits to yogurt bowls.
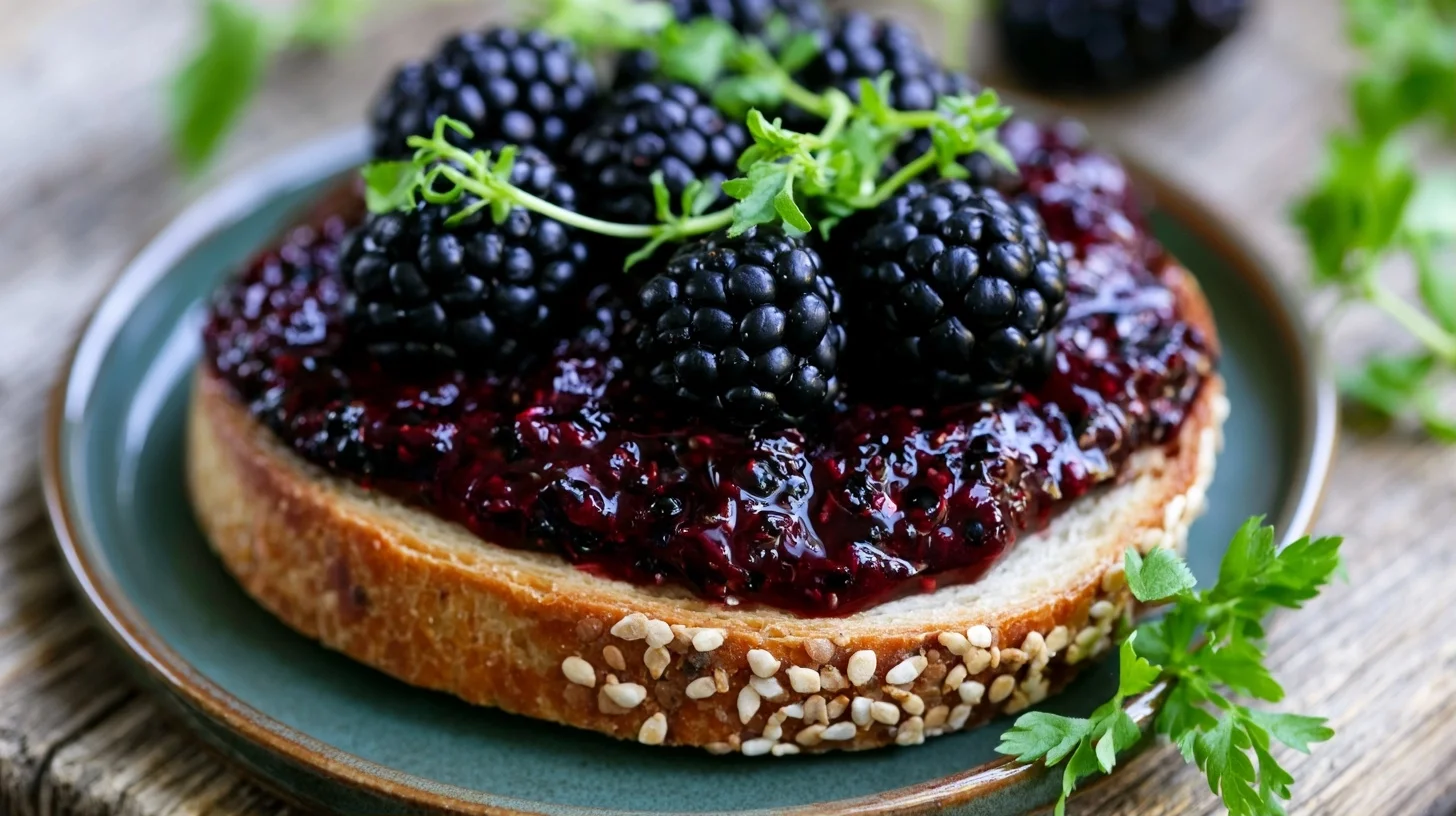
Table of contents
- Why You Will Love This blackberry jam
- How to Make Jewel-Toned Blackberry Jam at Home
- The Techniques That Make This Blackberry Jam Set Perfectly Every Time
- Creative Ways to Customize Your Blackberry Jam
- What Makes Blackberry Jam a Nutritious Breakfast Choice
- Delicious Ways to Enjoy Your Homemade Blackberry Jam
- How to Store Your Blackberry Jam for Maximum Freshness
- Frequently Asked Questions
Why You Will Love This blackberry jam
- The 60:40 fruit-to-sugar ratio delivers deep berry flavor without overwhelming sweetness.
- Partially mashing the berries creates a beautiful texture with whole fruit pieces suspended in smooth jam.
- This recipe uses natural pectin from the berries themselves, so no store-bought pectin is needed.
- You can make this in under an hour from start to sealed jars on your pantry shelf.
How to Make Jewel-Toned Blackberry Jam at Home
Homemade Blackberry Jam
6
servings15
minutes30
minutes80
kcalThis blackberry jam recipe uses a 60:40 fruit-to-sugar ratio and a unique half-mashed technique to create perfectly set preserves with beautiful texture. Fresh lemon juice activates natural pectin for reliable results without store-bought thickeners.
Keep the screen of your device on
Ingredients
4 cups fresh blackberries
2.5 cups granulated sugar
2 tablespoons fresh lemon juice
0.25 teaspoon butter
1 pinch salt
1 teaspoon vanilla extract
4 half-pint canning jars
4 canning lids and rings
Directions
- Prepare your jars and lids by washing them in hot soapy water, then keeping them warm in a 200°F oven. This prevents thermal shock when you add hot jam and ensures a proper seal.
- Mash half the blackberries in a large, heavy-bottomed pot using a potato masher. Leave the remaining berries whole. This creates the signature texture with both smooth and chunky elements.
- Add the sugar, lemon juice, and butter to the pot with the berries. Stir to combine. The butter helps reduce foam during cooking, which saves you skimming time later.
- Bring the mixture to a boil over medium-high heat, stirring frequently to prevent sticking. Once boiling, reduce heat to medium and maintain a steady simmer.
- Cook for 20 to 25 minutes, stirring often and skimming any foam that rises to the surface. The jam will darken and thicken as it cooks. Watch carefully to prevent scorching.
- Test for gel point using the freezer plate method. Drop a spoonful onto a frozen plate, wait 30 seconds, then push with your finger. If it wrinkles and holds, it’s ready.
Notes
- The ideal ratio of sugar to fruit for naturally set blackberry jam is 60% fruit to 40% sugar by weight, which translates to approximately 2.5 cups sugar per 4 cups berries.
- Slightly underripe berries contain more natural pectin and will help your jam set better than fully ripe fruit.
- If your jam doesn’t set after cooling, you can return it to the pot, add 1 tablespoon lemon juice, and cook for 5 more minutes.
- Always use new canning lids for proper sealing. Rings can be reused, but lids cannot maintain their seal after one use.
Nutrition Facts
- Serving Size: 1g
- Total number of serves: 6
- Calories: 80kcal
- Fat: 0g
- Carbohydrates: 20g
- Fiber: 2g
- Protein: 0g
Did you make this recipe?
Tag @therecipemasterblog on Instagram and hashtag it with #therecipemaster
Like this recipe?
Follow @therecipemasterblog on Pinterest
Follow us on Facebook!
Follow The Recipe Master on Facebook
The Techniques That Make This Blackberry Jam Set Perfectly Every Time
In my testing, I found that proper technique matters more than fancy equipment. The key to gorgeous, spreadable jam is controlling the cook time and understanding when your mixture has reached the gel point. Let me share the methods that consistently work.
Use the Freezer Plate Test for Perfect Consistency
Place a small plate in the freezer before you start cooking. After about 15 minutes of simmering, drop a spoonful of jam onto the cold plate. Wait 30 seconds, then push it with your finger. If it wrinkles and holds its shape, your jam is ready. This simple test prevents overcooking and ensures the right texture.
Mash Only Half the Berries
I recommend mashing half your berries with a potato masher before cooking and leaving the rest whole. This creates a jam with both smooth and chunky elements. The whole berries break down slightly during cooking but still provide delightful bursts of fruit. This technique sets this recipe apart from overly smooth commercial versions.
Add Lemon Juice for Brightness and Set
Fresh lemon juice does double duty in this recipe. First, it balances the sweetness with a bright, tart note. Second, the acidity helps activate the natural pectin in blackberries, which is essential for proper gelling. Never skip this ingredient. The ideal ratio of lemon juice to fruit for blackberry jam is 2 tablespoons per 4 cups of berries.
Skim the Foam for Crystal-Clear Results
As your jam boils, foam will rise to the surface. Use a large metal spoon to skim it off and discard it. This step takes only a minute but dramatically improves the clarity and appearance of your finished jam. Professional canners never skip this detail.
Blackberries are packed with antioxidants and vitamin C, making this preserve both delicious and nutritious. Learn more about the health benefits of blackberries and why they’re a superfood worth preserving.
Creative Ways to Customize Your Blackberry Jam
I love experimenting with flavor variations once you master the basic recipe. These adaptations keep the same reliable technique while adding exciting new dimensions. Each variation has been tested to ensure proper set and flavor balance.
Blackberry-Vanilla Bean Jam
Split one vanilla bean lengthwise and scrape the seeds into your berries before cooking. Add the pod to the pot as well, then remove it before jarring. The vanilla adds a sophisticated, aromatic quality that pairs beautifully with the berries’ natural tartness. This version is stunning on scones.
Spiced Blackberry Jam with Cinnamon
Add one cinnamon stick and three whole cloves to the pot during cooking. Remove the spices before jarring. The warm spices create a cozy, autumn-inspired preserve that’s perfect for fall breakfasts. I recommend this version for gifting during the holiday season.
Low-Sugar Blackberry Jam
Reduce the sugar to 1.5 cups instead of 2.5 cups for a less sweet version. You’ll need to add 2 tablespoons of low-sugar pectin to ensure proper set. The result highlights the berries’ natural flavor more prominently. This variation is ideal if you prefer tart preserves.
Seedless Blackberry Jam
After cooking your jam for 10 minutes, press the mixture through a fine-mesh strainer or food mill to remove the seeds. Return the strained mixture to the pot and continue cooking until it reaches gel point. This creates a silky-smooth preserve. For a completely different texture, try making crystal-clear blackberry jelly instead.
What Makes Blackberry Jam a Nutritious Breakfast Choice
Each two-tablespoon serving of this homemade jam contains approximately 80 calories, 20 grams of carbohydrates, and 2 grams of fiber. Unlike commercial jams loaded with high-fructose corn syrup, this recipe uses just cane sugar and fresh fruit. The blackberries provide anthocyanins, powerful antioxidants linked to heart health.
Because you control the sugar content, you can adjust sweetness to fit your dietary preferences. The natural pectin from the berries means you’re getting a whole-food preserve without artificial thickeners or preservatives. Spread it thin on whole-grain toast for a balanced breakfast with protein and healthy fats from nut butter.
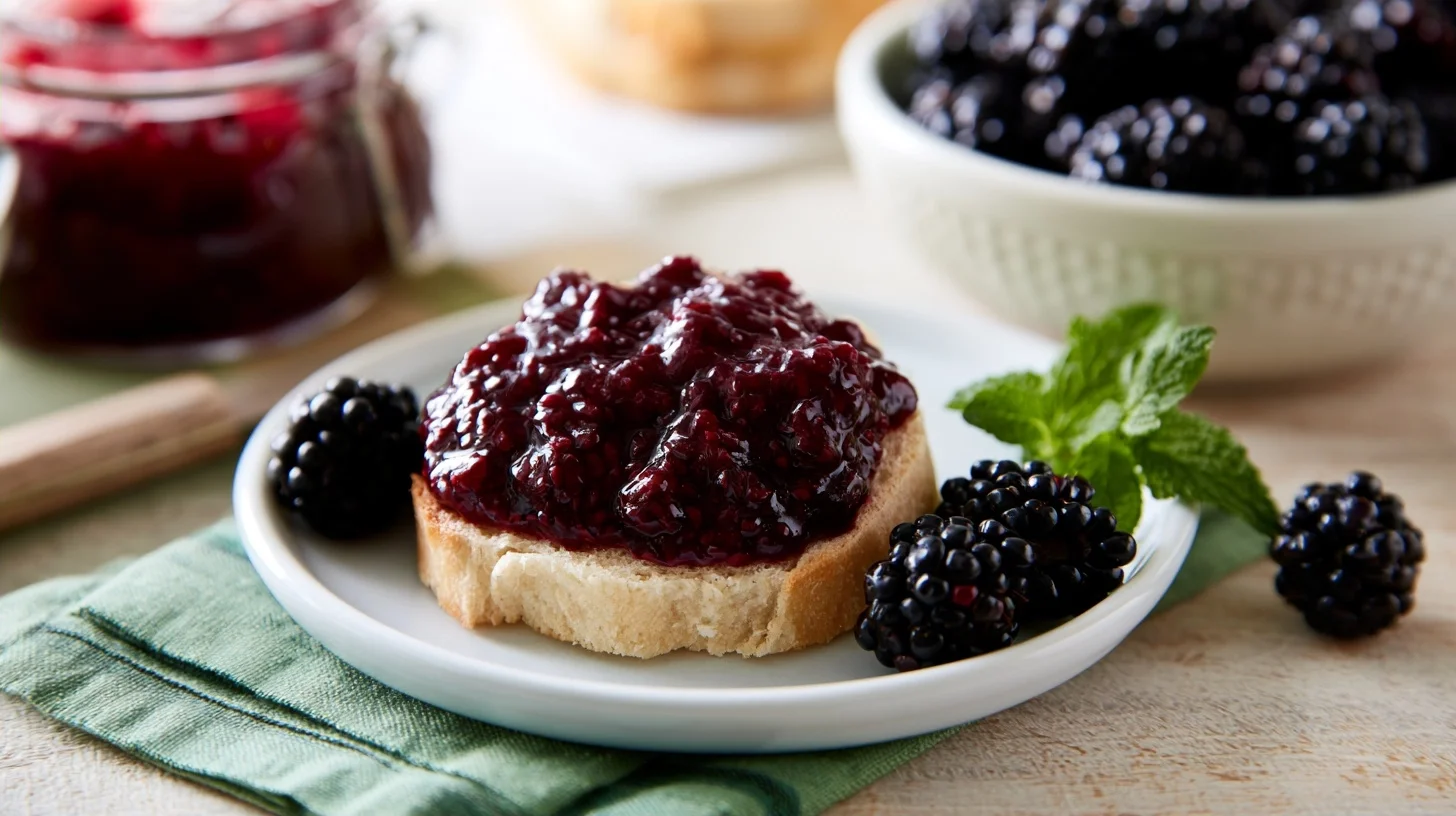
Delicious Ways to Enjoy Your Homemade Blackberry Jam
This versatile preserve shines in both sweet and savory applications. For breakfast, swirl it into Greek yogurt with granola, or spread it generously on buttermilk biscuits. I love using it as a filling for thumbprint cookies or layering it between vanilla cake layers for a stunning summer dessert.
Try pairing it with sharp cheddar cheese on a charcuterie board for an elegant appetizer. The sweet-tart jam balances salty, aged cheeses beautifully. You can also whisk a spoonful into vinaigrettes for salads or use it as a glaze for roasted pork tenderloin. The possibilities extend far beyond morning toast.
How to Store Your Blackberry Jam for Maximum Freshness
Store unopened jars in a cool, dark pantry for up to one year. Proper canning with sterilized jars and a water bath creates a vacuum seal that preserves freshness. Once opened, keep the jar in the refrigerator and use within three weeks. Always use a clean spoon to prevent introducing bacteria.
For longer storage, freeze your jam in freezer-safe containers for up to 18 months. Leave half an inch of headspace to allow for expansion. Thaw overnight in the refrigerator before using. Frozen jam maintains its bright color and fresh flavor better than long-term pantry storage.
Frequently Asked Questions
No, you don’t need store-bought pectin. Blackberries contain natural pectin, especially when slightly underripe. Adding lemon juice activates this natural pectin and helps the jam set properly. The key is cooking the mixture to the right temperature and using the freezer plate test to check consistency.
Your jam is done when it reaches 220°F on a candy thermometer or passes the freezer plate test. Drop a spoonful of jam onto a frozen plate, wait 30 seconds, then push it with your finger. If it wrinkles and doesn’t run, it’s ready. The mixture should also thicken noticeably and coat the back of a spoon.
Yes, you can make seedless blackberry jam. Cook the berries for 10 minutes, then press the mixture through a fine-mesh strainer or food mill to remove seeds. Return the strained mixture to the pot and continue cooking until it reaches gel point. This creates a smooth, silky preserve without the crunchy seeds.
Properly canned blackberry jam lasts up to one year in a cool, dark pantry. Once opened, store the jar in the refrigerator and use within three weeks. For even longer storage, freeze jam in freezer-safe containers for up to 18 months. Always use clean utensils to prevent contamination and spoilage.

Leave a Reply