

If you’ve ever carved a pumpkin and wondered what to do with the seeds inside, this pumpkin seeds recipe transforms those fresh seeds into a crispy, savory snack that’s hard to stop eating. Roasting pumpkin seeds brings out their natural nutty flavor while creating a satisfying crunch that makes them perfect for snacking, salad topping, or even stirring into trail mix. The key to getting them perfectly crispy instead of chewy lies in drying them thoroughly and roasting them at the right temperature long enough to drive out all the moisture.
This recipe uses a simple combination of olive oil and sea salt, but the technique works just as well with sweet or spiced variations. Whether you’re using seeds from a Halloween jack-o-lantern or a pie pumpkin, you’ll end up with a nutritious snack that’s rich in magnesium, zinc, and healthy fats.
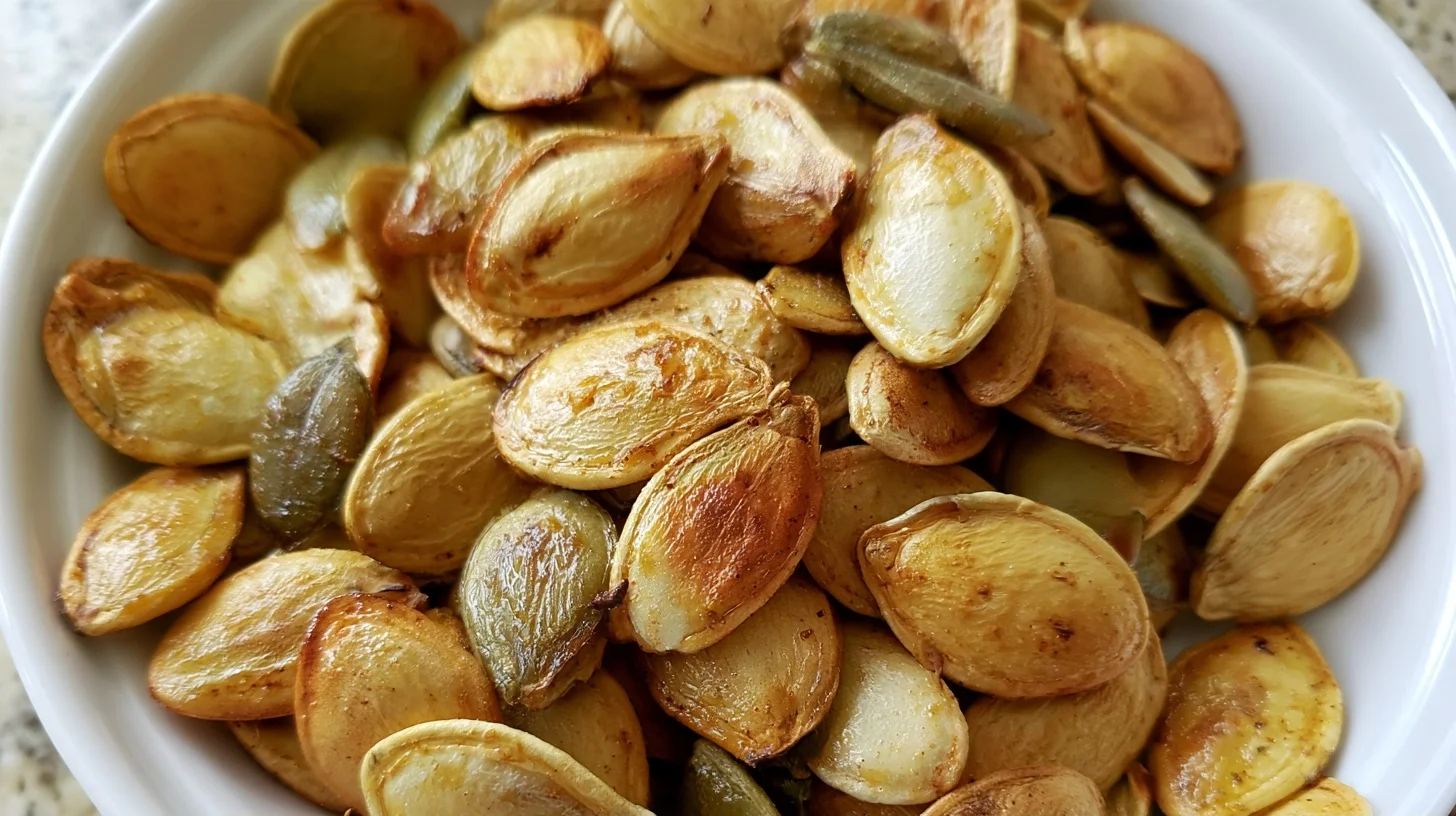
Table of contents
- Why You Will Love This Roasted Pumpkin Seeds Recipe
- What You Need to Make Crispy Pumpkin Seeds Recipe
- How to Make Perfectly Crispy Roasted Pumpkin Seeds
- How to Get Crunchy Pumpkin Seeds Every Time
- Common Mistakes When Roasting Pumpkin Seeds
- Ways to Customize Your Roasted Pumpkin Seeds Recipe
- Nutritional Benefits of Roasted Pumpkin Seeds
- What to Serve with Roasted Pumpkin Seeds
- How to Store Roasted Pumpkin Seeds
Why You Will Love This Roasted Pumpkin Seeds Recipe
- Turns pumpkin carving scraps into a crunchy, nutritious snack instead of throwing them away.
- Uses just three ingredients and takes less than 30 minutes from start to finish.
- Creates a perfectly crispy texture by removing moisture before roasting.
- Easily customizable with sweet, spicy, or savory seasonings to match your taste.
What You Need to Make Crispy Pumpkin Seeds Recipe
This recipe requires minimal equipment, but each piece plays an important role in achieving that signature crispy texture.
- Large bowl: Needed for rinsing and separating the seeds from the stringy pumpkin pulp.
- Colander: Essential for draining the seeds thoroughly after rinsing.
- Clean kitchen towel or paper towels: Used to pat the seeds completely dry, which is critical for crispness.
- Rimmed baking sheet: Provides enough space to spread the seeds in a single layer so they roast evenly instead of steaming.
- Parchment paper or silicone baking mat: Prevents sticking and makes cleanup easier.
- Mixing bowl: For tossing the dried seeds with oil and salt before roasting.
How to Make Perfectly Crispy Roasted Pumpkin Seeds
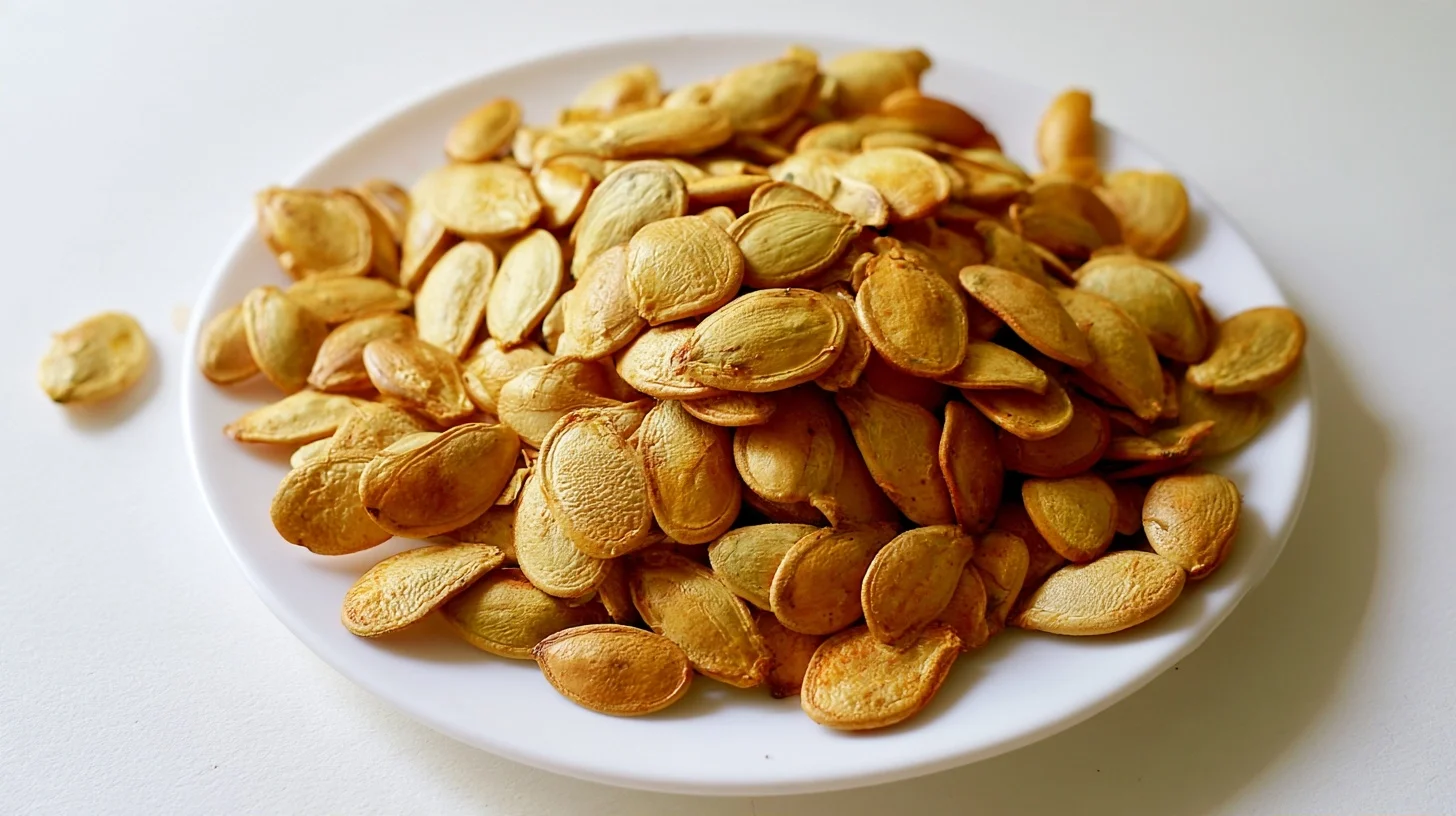
Crispy Roasted Pumpkin Seeds
4
servings35
minutes15
minutes150
kcalThis roasted pumpkin seeds recipe transforms fresh pumpkin seeds into a perfectly crispy, savory snack. The key to success is drying the seeds thoroughly before roasting and spreading them in a single layer so they crisp evenly instead of steaming.
Keep the screen of your device on
Ingredients
2 cups fresh pumpkin seeds
1 tablespoon olive oil
0.75 teaspoon sea salt
0.25 teaspoon garlic powder
0.25 teaspoon black pepper
0.25 teaspoon paprika
0.125 teaspoon cayenne pepper
1 teaspoon fresh parsley
Directions
- Preheat your oven to 325°F and line a rimmed baking sheet with parchment paper or a silicone baking mat. This temperature allows the seeds to dry out and crisp evenly without burning.
- Rinse the pumpkin seeds thoroughly in a colander under cold running water, using your fingers to remove any remaining stringy pulp. The cleaner the seeds, the better they’ll roast.
- Pat the seeds completely dry with a clean kitchen towel, then spread them out on the towel and let them air dry for at least 30 minutes. Removing as much moisture as possible is the most important step for achieving crispness.
- Transfer the dried seeds to a mixing bowl and toss them with the olive oil until lightly coated. Add the sea salt and any optional seasonings like garlic powder, black pepper, or paprika, and toss again to distribute evenly.
- Spread the seeds in a single layer on the prepared baking sheet, making sure they’re not crowded. If they overlap too much, they’ll steam instead of roast.
- Roast for 12 to 15 minutes, stirring once halfway through, until the seeds are golden brown and crispy. They should smell nutty and toasted when they’re done.
Notes
- Drying the seeds for at least 30 minutes before roasting removes surface moisture, which is essential for achieving a crispy texture instead of a chewy one.
- If your seeds turn out chewy, they likely needed more drying time or a slightly higher roasting temperature. Try increasing the oven temperature to 350°F next time.
- Store roasted pumpkin seeds in an airtight container at room temperature for up to two weeks, or freeze them for up to three months to maintain freshness.
Nutrition Facts
- Serving Size: 1 g
- Total number of serves: 4
- Calories: 150kcal
- Fat: 13g
- Carbohydrates: 5g
- Fiber: 2g
- Protein: 5g
Did you make this recipe?
Tag @therecipemasterblog on Instagram and hashtag it with #therecipemaster
Like this recipe?
Follow @therecipemasterblog on Pinterest
Follow us on Facebook!
Follow The Recipe Master on Facebook
How to Get Crunchy Pumpkin Seeds Every Time
The most reliable way to ensure your roasted pumpkin seeds turn out crispy instead of chewy is to remove as much moisture as possible before they go into the oven. Pumpkin seeds are naturally wet and covered in sticky pulp, and any residual moisture will steam the seeds during roasting instead of crisping them.
Dry the Seeds Thoroughly Before Roasting
After rinsing the seeds in a colander, spread them out on a clean kitchen towel and pat them dry with another towel. Let them air dry for at least 30 minutes, or even overnight if you have the time. The drier the seeds are before they hit the heat, the crispier they’ll become. This step is more important than the amount of oil or salt you use.
Spread the Seeds in a Single Layer
Crowding the seeds on the baking sheet traps steam and prevents even browning. Spread them out so they barely touch each other. If you have a large batch, use two baking sheets instead of piling them on one. This allows hot air to circulate around each seed, which creates that satisfying crunch.
Stir Halfway Through Roasting
Even with a single layer, the seeds on the edges of the pan will brown faster than those in the center. Stirring them once halfway through the roasting time ensures they cook evenly. You’ll notice the seeds start to turn golden and smell nutty around the 10-minute mark, which is the perfect time to give them a quick toss.
Use Just Enough Oil to Coat
Too much oil makes the seeds greasy and can prevent them from crisping properly. You only need about one tablespoon of olive oil per cup of seeds. Toss them in a bowl until they’re lightly coated, not dripping. The oil helps the salt stick and promotes browning, but the seeds themselves contain enough natural fat to crisp up beautifully without being drenched.
Let Them Cool Completely on the Baking Sheet
The seeds will continue to crisp as they cool. If you transfer them to a bowl or container while they’re still warm, trapped steam will soften them again. Leave them on the baking sheet for at least 10 minutes after removing them from the oven. They’ll firm up and develop that final crunch as they reach room temperature.
For more ideas on using pumpkin in creative ways, try adding roasted seeds as a topping for extra texture and nutrition. You can also learn more about the nutritional benefits of pumpkin seeds and why they’re worth incorporating into your diet.
Common Mistakes When Roasting Pumpkin Seeds
Not Removing All the Pulp
Leaving stringy pumpkin pulp attached to the seeds makes them harder to dry and can cause uneven roasting. The pulp also burns more easily than the seeds themselves, which creates bitter spots. Rinse the seeds thoroughly in a colander under running water, using your fingers to rub away any remaining strands. It takes a few extra minutes, but it makes a noticeable difference in the final texture and flavor.
Skipping the Drying Step
Roasting wet seeds is the most common reason they turn out chewy instead of crispy. Moisture trapped inside the seed shell steams during roasting, which prevents the interior from drying out. Even if the outside looks golden, the inside stays soft. Pat the seeds dry with a towel and let them sit for at least 30 minutes before tossing them with oil. If you’re in a hurry, spread them on a towel-lined baking sheet and let them air dry while the oven preheats.
Roasting at Too Low a Temperature
Roasting pumpkin seeds at 300°F or lower takes too long and often results in seeds that dry out without browning. A higher temperature of 325°F to 350°F creates better color and flavor through caramelization while still allowing the seeds to crisp evenly. If your oven runs hot, start checking the seeds a few minutes earlier than the recipe suggests to avoid burning.
Adding Salt After Roasting
Salt added after roasting doesn’t stick as well and doesn’t penetrate the seed shell, which means you taste it on the surface but not in every bite. Toss the seeds with salt before roasting so it adheres to the oil and seasons the seeds more evenly. If you prefer a lighter hand with salt, you can always add a small pinch after roasting, but the bulk should go on before they hit the oven.
Ways to Customize Your Roasted Pumpkin Seeds Recipe
Once you’ve mastered the basic technique, you can experiment with different seasonings to create sweet, spicy, or savory variations.
Spicy Chili Lime Pumpkin Seeds Recipe
Toss the seeds with olive oil, chili powder, cumin, and a squeeze of fresh lime juice before roasting. The acidity from the lime brightens the flavor and balances the heat from the chili powder. Add a pinch of cayenne if you like extra spice.
Sweet Cinnamon Sugar Pumpkin Seeds
Replace the olive oil with melted butter and toss the seeds with cinnamon and granulated sugar before roasting. The sugar caramelizes slightly in the oven, creating a sweet crunchy coating. This version works well as a topping for yogurt or oatmeal.
Garlic Parmesan Pumpkin Seeds
After roasting, toss the hot seeds with finely grated Parmesan cheese and garlic powder. The residual heat from the seeds will melt the cheese slightly, helping it stick. This savory variation pairs well with soups and salads.
Ranch Seasoned Pumpkin Seeds Recipe
Use a tablespoon of ranch seasoning mix in place of plain salt. The dried herbs and buttermilk powder in the mix add a tangy, savory flavor that’s especially popular with kids. You can also use other seasoning blends like taco seasoning or everything bagel seasoning.
Nutritional Benefits of Roasted Pumpkin Seeds
Pumpkin seeds are nutrient-dense and provide a good source of plant-based protein, healthy fats, and essential minerals. A one-ounce serving contains about 150 calories, 5 grams of protein, 5 grams of carbohydrates, and 13 grams of fat, most of which is heart-healthy unsaturated fat. They’re also rich in magnesium, which supports muscle and nerve function, and zinc, which plays a role in immune health.
The fiber content in pumpkin seeds supports digestive health, and they contain antioxidants like vitamin E and carotenoids. Roasting the seeds doesn’t significantly reduce their nutritional value, though it does concentrate the flavors and make the nutrients more bioavailable. Just keep in mind that adding too much salt or sugar will increase the sodium or sugar content, so adjust seasonings based on your dietary needs.
What to Serve with Roasted Pumpkin Seeds
Roasted pumpkin seeds work well as a standalone snack, but they also add texture and flavor to a variety of dishes. Sprinkle them over roasted vegetable salads, soups like butternut squash or tomato bisque, or grain bowls for extra crunch. They’re a great addition to homemade trail mix when combined with dried cranberries, almonds, and dark chocolate chips.
You can also use them as a topping for yogurt parfaits, oatmeal, or smoothie bowls. The savory versions pair well with cheese boards, and the sweet versions work as a garnish for fall desserts like pumpkin pie or apple crisp. They’re versatile enough to complement both sweet and savory dishes.
How to Store Roasted Pumpkin Seeds
Store roasted pumpkin seeds in an airtight container at room temperature for up to two weeks. Make sure they’re completely cool before sealing the container, or trapped moisture will make them lose their crunch. If you live in a humid climate, consider storing them in the refrigerator to keep them crisp longer.
For longer storage, freeze the seeds in a freezer-safe bag or container for up to three months. They don’t need to be thawed before eating, and they’ll retain their crunch straight from the freezer. If they do soften over time, you can refresh them by spreading them on a baking sheet and warming them in a 300°F oven for five minutes.






Leave a Reply