

This Wendys chili recipe delivers the thick, hearty, mildly spiced comfort you remember from the fast-food favorite, but made fresh at home with simple pantry ingredients. The secret lies in using a combination of ground beef and finely chopped cooked beef, which mimics the texture of Wendy’s original and creates layers of meaty richness throughout every spoonful. Unlike most quick chili recipes, this version benefits from a longer simmer that allows the tomatoes, beans, and spices to meld into a deeply flavorful base that tastes even better the next day.
What sets this copycat version apart is the balance between the slightly sweet tomato base and the warm, earthy spices that never overpower the other ingredients. The chili has a consistency that’s thick enough to coat a spoon but still fluid enough to ladle easily, making it perfect for topping baked potatoes, spooning over hot dogs, or serving alongside crackers and shredded cheese. If you’ve been searching for a way to recreate that familiar bowl at home, this recipe captures the essence without requiring specialty ingredients or complicated techniques.
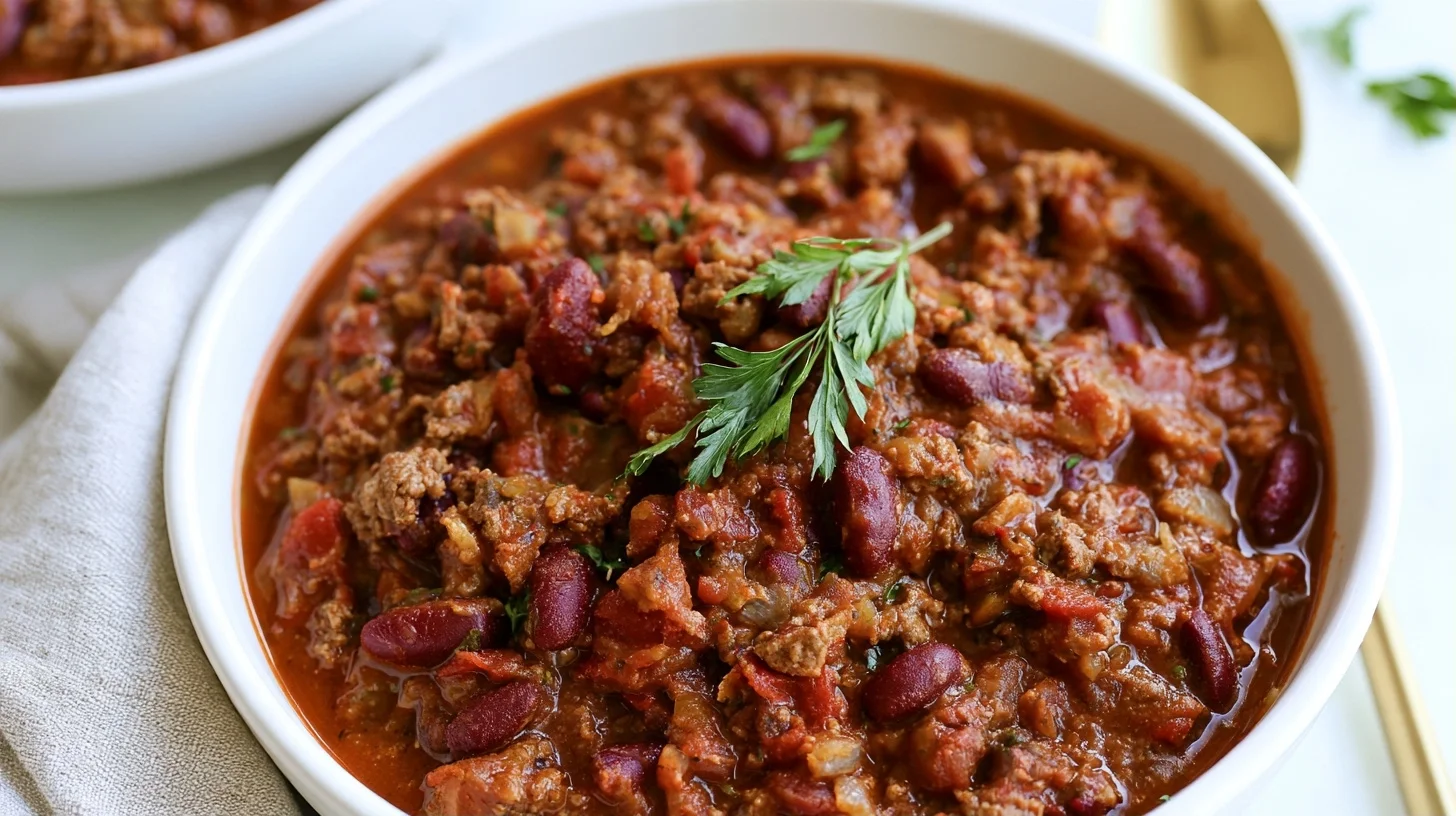
Table of contents
- Why You Will Love This Wendys Chili Recipe
- Essential Equipment for Making Wendys Chili Recipe
- How to Make the Best Wendy’s Copycat Chili
- Tips for Perfect Wendy’s Style Chili Every Time
- Common Mistakes When Making Wendys Chili Recipe
- Delicious Variations for Wendys Chili Recipe
- Nutrition Information for Wendy’s Chili
- Best Ways to Serve Wendy’s Chili
- How to Store and Reheat Wendy’s Chili
- Frequently Asked Questions about Wendys Chili Recipe
Why You Will Love This Wendys Chili Recipe
- Uses two types of beef for authentic texture and depth of flavor that mimics the original.
- Comes together in one pot with minimal prep and ingredients you likely already have.
- Tastes even better after a day in the fridge, making it ideal for meal prep or feeding a crowd.
- Easily customizable with toppings like sour cream, cheese, onions, and jalapeños.
Essential Equipment for Making Wendys Chili Recipe
This recipe requires minimal equipment, but using the right tools ensures even cooking and easier cleanup. A heavy-bottomed pot is essential for preventing scorching during the long simmer, while a sharp knife makes quick work of chopping the cooked beef into small, uniform pieces that blend seamlessly into the chili.
- Large heavy-bottomed pot or Dutch oven: Distributes heat evenly and prevents the bottom from burning during the extended simmer.
- Sharp chef’s knife: Needed to finely chop the cooked beef into small pieces that integrate smoothly into the chili base.
- Wooden spoon or heat-resistant spatula: Allows you to stir frequently without scratching the pot and helps break up the ground beef as it cooks.
- Measuring cups and spoons: Ensures accurate seasoning and ingredient ratios for consistent flavor every time.
How to Make the Best Wendy’s Copycat Chili
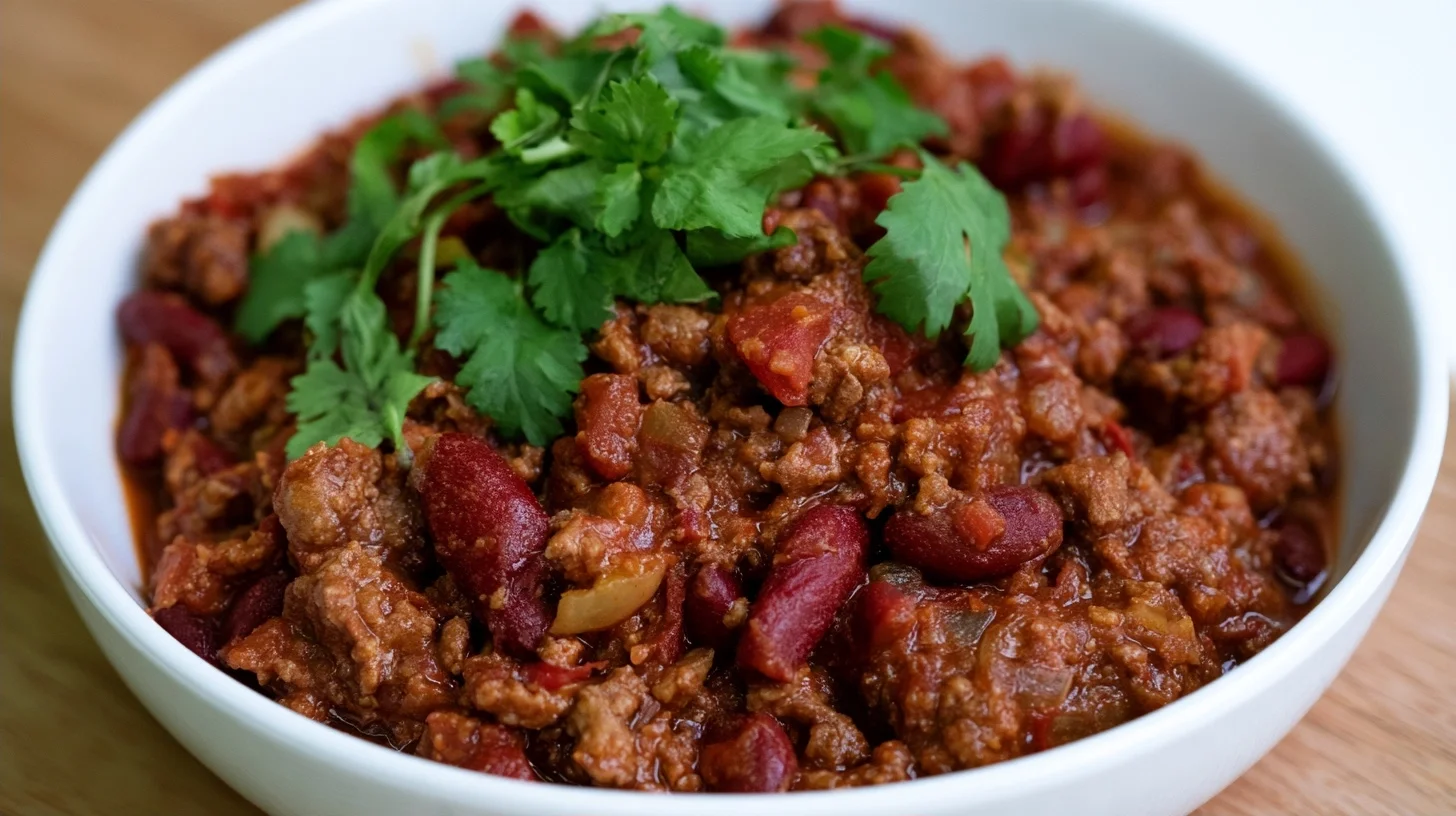
Wendy’s Chili Recipe
8
servings15
minutes2
hours250
kcalThis copycat Wendy’s chili uses a combination of ground beef and finely chopped cooked beef to recreate the signature texture and hearty flavor of the original. A slow simmer allows the tomatoes, beans, and spices to meld into a thick, comforting chili that tastes even better the next day.
Keep the screen of your device on
Ingredients
2 lbs ground beef
1 lb cooked beef
1 large yellow onion
2 cans kidney beans
2 cans pinto beans
1 can diced tomatoes
1 can tomato sauce
3 tablespoons chili powder
2 teaspoons ground cumin
1 teaspoon garlic powder
1 teaspoon salt
0.5 teaspoon black pepper
Directions
- Brown the ground beef in a large heavy-bottomed pot or Dutch oven over medium-high heat, breaking it apart with a wooden spoon as it cooks. This should take about 8 to 10 minutes, until no pink remains and the beef is cooked through.
- Drain most of the rendered fat from the pot, leaving about 1 tablespoon to coat the bottom. This keeps the chili rich without becoming greasy.
- Add the diced onion to the pot and cook for 3 to 4 minutes, stirring occasionally, until the onion softens and becomes translucent. The onion will absorb some of the beef flavor and add sweetness to the chili.
- Stir in the chili powder, cumin, garlic powder, salt, and black pepper, cooking for about 1 minute to bloom the spices in the residual fat. This step intensifies the flavor and prevents the spices from tasting raw.
- Add the diced tomatoes, tomato sauce, and finely chopped cooked beef to the pot, stirring to combine. The chopped beef should be in small, bite-sized pieces that distribute evenly throughout the chili.
- Bring the mixture to a gentle simmer, then reduce the heat to low and cover the pot partially. Let the chili simmer for 60 minutes, stirring occasionally to prevent sticking.
Notes
- The chili tastes even better after a day in the fridge because the flavors continue to develop as the dish cools and the ingredients absorb the seasoned liquid.
- If the chili becomes too thick during simmering, add small amounts of water or beef broth to reach your desired consistency.
- For a spicier version, add one or two finely diced jalapeños along with the onions or stir in a pinch of cayenne pepper during the seasoning step.
Nutrition Facts
- Serving Size: 1g
- Total number of serves: 8
- Calories: 250kcal
- Fat: 8g
- Carbohydrates: 25g
- Fiber: 7g
- Protein: 20g
Did you make this recipe?
Tag @therecipemasterblog on Instagram and hashtag it with #therecipemaster
Like this recipe?
Follow @therecipemasterblog on Pinterest
Follow us on Facebook!
Follow The Recipe Master on Facebook
Tips for Perfect Wendy’s Style Chili Every Time
The key to achieving the signature texture and flavor of Wendy’s chili is using both raw ground beef and pre-cooked chopped beef, which creates layers of meaty richness and prevents the chili from tasting one-dimensional. This technique mimics the way Wendy’s repurposes their cooked burger patties, giving the chili its distinctive hearty texture.
Use Two Types of Beef for Authentic Texture
Combining freshly browned ground beef with finely chopped cooked beef gives the chili a varied texture that’s more interesting than using ground beef alone. The ground beef provides the base and releases fat that carries the spices, while the chopped beef adds small, tender bites that stand out in each spoonful. If you don’t have leftover cooked beef, you can quickly sear a small steak or burger patty, let it rest, then chop it finely before adding it to the pot.
Simmer Low and Slow for Deeper Flavor
Allowing the chili to simmer gently for at least 90 minutes gives the tomatoes time to break down, the beans time to absorb the seasoning, and the spices time to meld into a cohesive flavor. Rushing this step by cooking on high heat can result in a watery, underdeveloped chili that tastes more like seasoned tomato soup. Stir occasionally to prevent sticking, and if the chili becomes too thick, add small amounts of water or beef broth to reach your desired consistency.
Season in Layers for Balanced Flavor
Adding the chili powder, cumin, and other spices early in the cooking process allows them to bloom in the rendered beef fat, which intensifies their flavor and prevents them from tasting raw or dusty. Taste the chili after the first hour of simmering and adjust the seasoning gradually, adding more chili powder for heat, cumin for earthiness, or a pinch of sugar to balance acidity from the tomatoes. This approach ensures the final dish is well-rounded rather than overly spicy or flat.
Don’t Skip the Resting Time
Wendy’s chili is famously better the next day because the flavors continue to develop as the dish cools and the ingredients absorb the seasoned liquid. If possible, make the chili a day ahead, refrigerate it overnight, then reheat gently before serving. The beans will plump slightly, the beef will become more tender, and the overall flavor will taste more cohesive and satisfying.
For another bold chili variation, try this hatch chili salsa recipe to add a smoky, roasted pepper kick to your meal.
Common Mistakes When Making Wendys Chili Recipe
Using Only Ground Beef
Relying solely on ground beef results in a chili that lacks the textural variety of the original. The chopped cooked beef adds small, tender pieces that break up the monotony of ground meat and give the chili a more complex mouthfeel. Without it, the chili can taste flat and one-note, even if the seasoning is correct.
Boiling Instead of Simmering
Cooking the chili at a rolling boil causes the liquid to evaporate too quickly, the beans to break apart, and the flavors to remain harsh and underdeveloped. A gentle simmer allows the ingredients to cook evenly and the flavors to meld without reducing the chili to a thick paste. Keep the heat low enough that you see only occasional bubbles rising to the surface.
Adding Beans Too Early
If you add the beans at the beginning of the cooking process, they can become mushy and lose their shape by the time the chili is done. Adding them halfway through the simmer ensures they heat through, absorb the seasoning, and maintain a tender but intact texture that holds up in each spoonful.
Not Draining Excess Fat
Ground beef with a higher fat content can release enough grease to make the chili oily and heavy. After browning the beef, drain off most of the rendered fat, leaving just enough to coat the bottom of the pot for sautéing the onions and blooming the spices. This keeps the chili rich without being greasy.
Delicious Variations for Wendys Chili Recipe
Vegetarian Wendy’s Style Chili
Replace the ground beef and chopped beef with a combination of finely chopped mushrooms, walnuts, and cooked lentils to mimic the meaty texture. The mushrooms provide umami depth, the walnuts add a slightly chewy bite, and the lentils absorb the seasoning while contributing protein and fiber. Use vegetable broth in place of any beef broth, and increase the cumin slightly to compensate for the missing richness from the meat.
Spicy Jalapeño Chili
Stir in one or two finely diced jalapeños along with the onions to add a fresh, bright heat that complements the earthy chili powder. For even more heat, leave the seeds in or add a pinch of cayenne pepper during the seasoning step. This variation pairs especially well with a dollop of sour cream and shredded cheese to balance the spice.
Slow Cooker Wendys Chili Recipe
Brown the ground beef and drain the fat, then transfer it to a slow cooker along with the chopped cooked beef, tomatoes, beans, onions, and spices. Cook on low for 6 to 8 hours or on high for 3 to 4 hours, stirring occasionally if possible. The slow cooker method deepens the flavor and makes the chili even more tender, though the texture may be slightly softer than the stovetop version.
Nutrition Information for Wendy’s Chili
This homemade Wendy’s chili is a hearty, protein-rich meal that provides a satisfying balance of macronutrients. Each serving contains approximately 250 calories, with 20 grams of protein from the beef and beans, 25 grams of carbohydrates primarily from the beans and tomatoes, and 8 grams of fat from the ground beef. The chili also delivers 7 grams of fiber per serving, which supports digestion and helps keep you full longer.
The beans contribute complex carbohydrates and additional protein, while the tomatoes provide vitamin C and lycopene. Using lean ground beef or draining excess fat keeps the saturated fat content moderate, making this chili a nutritious option for lunch or dinner. For a lighter version, you can substitute ground turkey or chicken for the beef, though the flavor will be milder and less rich.
Best Ways to Serve Wendy’s Chili
Serve the chili in deep bowls topped with shredded cheddar cheese, a dollop of sour cream, diced onions, and a handful of oyster crackers for the full Wendy’s experience. The cheese melts into the hot chili, adding creaminess, while the sour cream provides a cool contrast to the warm spices. For a heartier meal, spoon the chili over a baked potato or use it as a topping for hot dogs or nachos.
This chili also pairs beautifully with cornbread, tortilla chips, or a simple green salad dressed with lime vinaigrette. If you’re serving a crowd, set up a chili bar with various toppings like jalapeños, avocado slices, cilantro, and hot sauce so guests can customize their bowls. The chili is filling enough to stand alone as a main dish but versatile enough to serve as a topping or side.
How to Store and Reheat Wendy’s Chili
Store leftover chili in an airtight container in the refrigerator for up to 4 days. The flavors will continue to develop as the chili sits, making it even more flavorful when reheated. To reheat, warm the chili gently on the stovetop over low heat, stirring occasionally and adding a splash of water or broth if it has thickened too much. You can also reheat individual portions in the microwave, stirring halfway through to ensure even heating.
For longer storage, freeze the chili in portion-sized containers or freezer bags for up to 3 months. Let the chili cool completely before freezing to prevent ice crystals from forming. Thaw overnight in the refrigerator before reheating, or reheat directly from frozen on the stovetop over low heat, stirring frequently until warmed through. The beans may soften slightly after freezing, but the overall flavor and texture remain excellent.
Frequently Asked Questions about Wendys Chili Recipe
Yes, but the texture will be less authentic. Using only ground beef creates a more uniform chili, while adding finely chopped cooked beef mimics Wendy’s signature texture with small, tender pieces throughout.
At least 90 minutes. A gentle simmer allows the tomatoes to break down, the beans to absorb the seasoning, and the spices to meld into a cohesive flavor. Rushing this step results in watery, underdeveloped chili.
Yes. Brown the ground beef first, drain the fat, then transfer everything to a slow cooker and cook on low for 6 to 8 hours or on high for 3 to 4 hours. The slow cooker deepens the flavor and makes the chili more tender.
Add the beans halfway through the simmer rather than at the beginning. This allows them to heat through and absorb the seasoning while maintaining a tender but intact texture.









Leave a Reply