

- Keep butter ice-cold and work the dough quickly; minimal mixing yields flaky, tender, bakery-quality scones.
- Use pure pumpkin puree, not pie filling, and measure carefully to avoid excess moisture that makes scones dense or gummy.
- Chill shaped dough before baking; brush tops with cream for deep golden color and let glaze set about ten minutes before serving.
Tender, flaky, and infused with warm spices, pumpkin scones are the ultimate fall treat that brings cozy coffeehouse vibes right to your kitchen. These scones strike the perfect balance between crumbly and moist, with a golden exterior that gives way to a soft, lightly sweetened crumb studded with pumpkin and autumn spices. What sets this recipe apart is the technique of keeping the butter ice-cold and working it into the dough quickly, which creates those signature flaky layers without turning the scones dense or dry.
Unlike muffins or quick breads, scones rely on minimal mixing and cold fat to achieve their signature texture. The pumpkin puree adds natural moisture and a subtle earthy sweetness, while cinnamon, nutmeg, and ginger provide warmth without overwhelming the delicate crumb. Whether you’re baking them for a weekend brunch or as an afternoon snack with tea, these scones deliver bakery-quality results with straightforward techniques that any home baker can master.
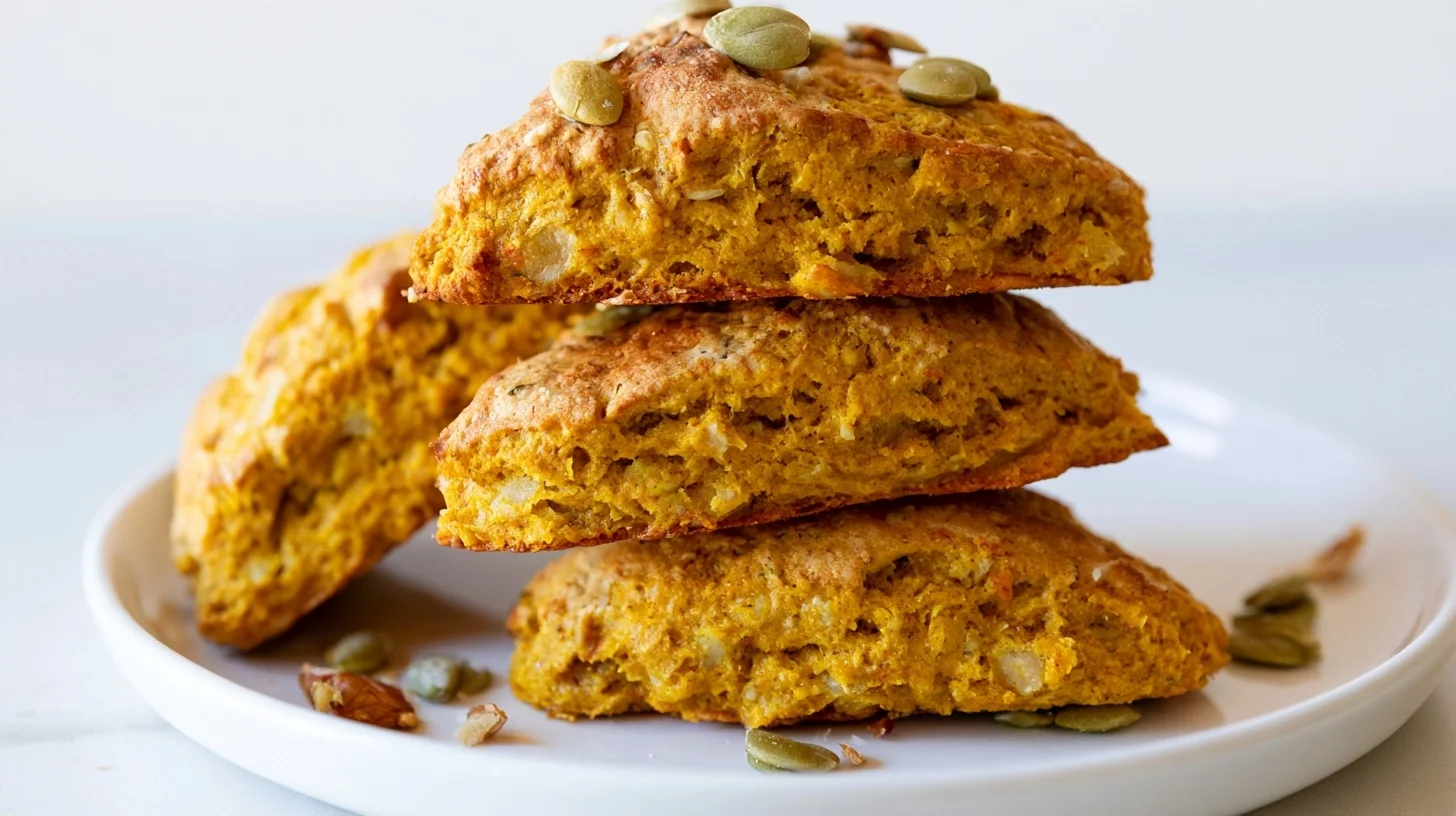
Table of contents
- Why You Will Love This Pumpkin Scones Recipe
- Essential Equipment for Perfect Pumpkin Scones
- How to Make Bakery-Style Pumpkin Scones at Home
- Expert Tips for Flaky, Tender Pumpkin Scones
- Common Mistakes That Ruin Pumpkin Scones
- Creative Variations for Pumpkin Scones
- Nutrition Facts and Health Considerations
- How to Serve Pumpkin Scones
- How to Store and Reheat Pumpkin Scones
- Frequently Asked Questions
Why You Will Love This Pumpkin Scones Recipe
- The dough comes together in under 15 minutes with no stand mixer required.
- Cold butter and minimal handling create tender, flaky layers that rival any bakery scone.
- The pumpkin glaze adds a sweet, spiced finish that complements the scone’s subtle flavor.
- These scones freeze beautifully, so you can bake a batch and enjoy them all season long.
Essential Equipment for Perfect Pumpkin Scones
You don’t need specialized tools to make excellent scones, but a few key items make the process smoother and help you achieve the best texture. The right equipment ensures the butter stays cold and the dough is handled gently, both of which are critical for flaky, tender results.
- Large mixing bowl: Provides enough room to cut in the butter and fold in the wet ingredients without overworking the dough.
- Pastry cutter or fork: Breaks the cold butter into pea-sized pieces, which creates the flaky layers as the scones bake.
- Baking sheet: A flat, unrimmed sheet allows for even heat circulation and helps the scones develop a golden, crisp exterior.
- Parchment paper: Prevents sticking and makes cleanup effortless, especially when the glaze drips during cooling.
- Sharp knife or bench scraper: Cuts the dough into clean wedges without dragging or compressing the edges, which can seal the layers and prevent proper rise.
- Small whisk or fork: Mixes the glaze ingredients smoothly and ensures the powdered sugar dissolves completely.
How to Make Bakery-Style Pumpkin Scones at Home
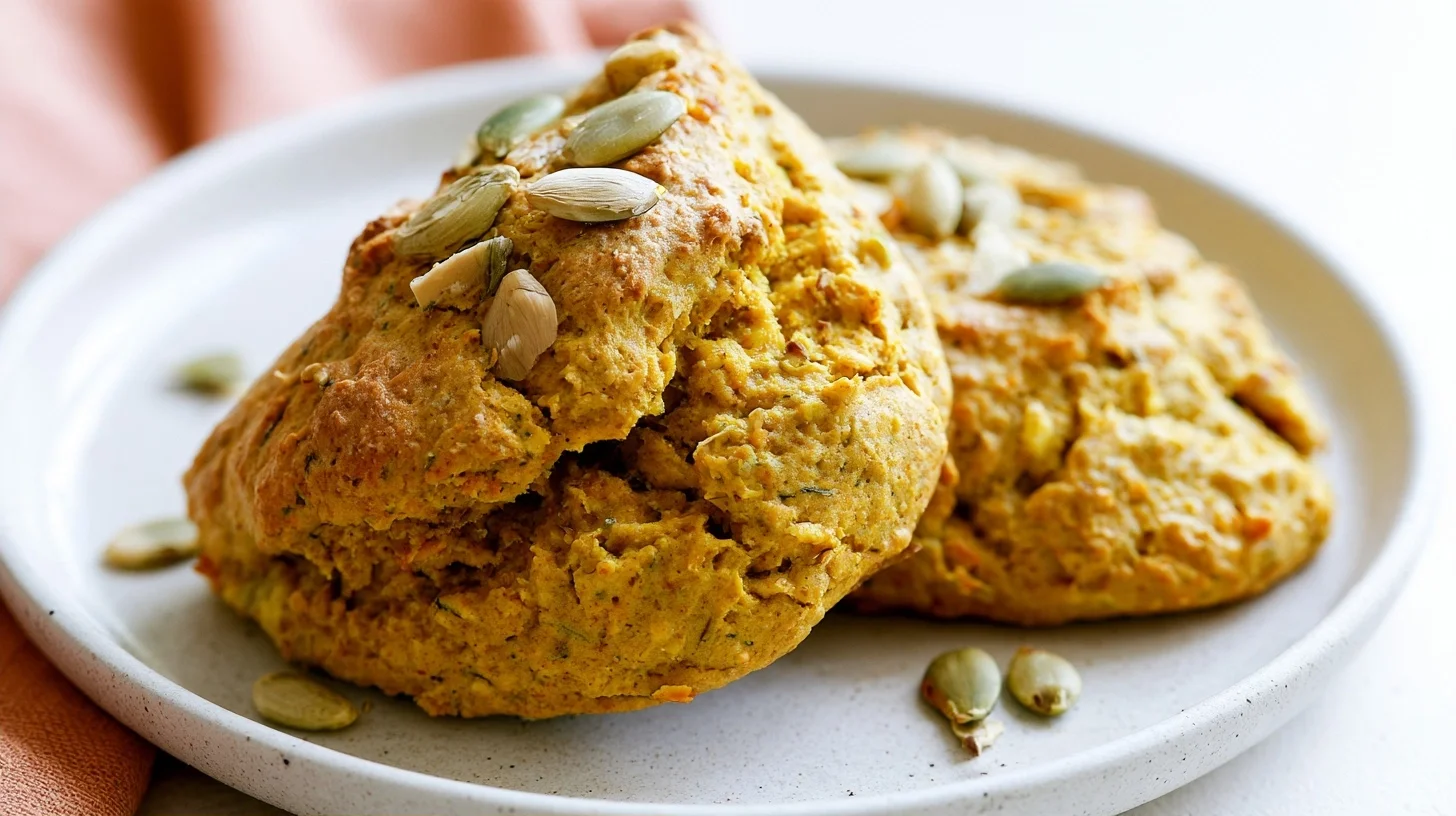
Pumpkin Scones with Spiced Glaze
8
servings15
minutes18
minutes280
kcalThese pumpkin scones combine tender, flaky layers with warm fall spices and a sweet glaze. The key to their texture is keeping the butter ice-cold and handling the dough gently, which creates distinct layers that rise beautifully in the oven. Perfect for breakfast or an afternoon treat with coffee or tea.
Keep the screen of your device on
Ingredients
2 cups all-purpose flour
0.33 cup granulated sugar
1 tablespoon baking powder
0.5 teaspoon salt
1 teaspoon ground cinnamon
0.5 teaspoon ground nutmeg
0.25 teaspoon ground ginger
0.5 cup unsalted butter
0.5 cup pumpkin puree
0.25 cup heavy cream
1 large egg
1 cup powdered sugar
Directions
- Preheat your oven to 400°F and line a baking sheet with parchment paper. This temperature creates a hot environment that helps the butter release steam quickly, which is what makes the scones rise and develop flaky layers.
- Whisk together the flour, sugar, baking powder, salt, cinnamon, nutmeg, and ginger in a large mixing bowl until the spices are evenly distributed. This ensures every bite has balanced flavor.
- Cut the cold butter into the flour mixture using a pastry cutter or fork until the mixture resembles coarse crumbs with pea-sized pieces of butter remaining. These butter pieces create the flaky texture as they melt during baking.
- Whisk together the pumpkin puree, heavy cream, and egg in a separate bowl until smooth. The pumpkin adds moisture and a subtle sweetness, while the cream contributes richness.
- Pour the wet ingredients into the dry ingredients and stir gently with a fork just until the dough begins to come together. Stop mixing when a few dry streaks remain, as overmixing will make the scones tough.
- Turn the dough out onto a lightly floured surface and gently press it into a 7-inch circle about 1 inch thick. Use your hands rather than a rolling pin to avoid compressing the butter too much.
Notes
- Chilling the shaped scones for 15 minutes before baking helps the butter stay cold, which improves the rise and creates more distinct layers.
- If the dough feels too dry and won’t hold together, add an extra tablespoon of heavy cream. If it’s too sticky, dust your hands and the work surface with a bit more flour.
- Store leftover scones in an airtight container at room temperature for up to 2 days, or refrigerate for up to 5 days. Reheat in a 300°F oven for 5 to 7 minutes to restore the crisp exterior.
Nutrition Facts
- Serving Size: 1g
- Total number of serves: 8
- Calories: 280kcal
- Fat: 12g
- Carbohydrates: 38g
- Fiber: 2g
- Protein: 4g
Did you make this recipe?
Tag @therecipemasterblog on Instagram and hashtag it with #therecipemaster
Like this recipe?
Follow @therecipemasterblog on Pinterest
Follow us on Facebook!
Follow The Recipe Master on Facebook
Expert Tips for Flaky, Tender Pumpkin Scones
The difference between a dry, crumbly scone and a tender, flaky one comes down to a few key techniques. These tips address the most common pitfalls and help you achieve the best possible texture and flavor.
Keep Your Butter Ice-Cold
Cold butter is the foundation of flaky scones. When the butter stays solid as you mix the dough, it creates small pockets of fat that melt during baking, leaving behind airy layers. If the butter warms up and blends into the flour, the scones will turn out dense and bready instead of light and flaky. Cut the butter into cubes and place it in the freezer for 10 minutes before you start mixing, and work quickly to avoid warming it with your hands.
Don’t Overmix the Dough
Overmixing develops gluten, which makes scones tough and chewy rather than tender. Once you add the wet ingredients to the dry, stir just until the flour disappears and the dough begins to hold together. A few dry streaks are fine—they’ll hydrate as the dough rests. If the dough looks shaggy or rough, resist the urge to keep stirring. Instead, use your hands to gently press it into a cohesive disk.
Use Pure Pumpkin Puree, Not Pie Filling
Pumpkin pie filling contains added sugar, spices, and thickeners that throw off the balance of the recipe. Pure pumpkin puree is unsweetened and has a smooth, thick consistency that blends evenly into the dough without adding excess moisture. Check the ingredient list on the can to make sure it says only pumpkin.
Chill the Shaped Dough Before Baking
Chilling the dough for at least 15 minutes after shaping helps the butter firm back up, which improves the rise and creates more distinct layers. This step also prevents the scones from spreading too much in the oven, so they hold their shape and develop a tall, even crumb. If you’re short on time, place the shaped scones in the freezer for 5 minutes instead of refrigerating them for 15.
Brush with Cream for a Golden Finish
Brushing the tops of the scones with heavy cream before baking adds richness and helps them develop a deep golden color. The fat in the cream encourages browning, while the liquid creates a slight sheen. If you don’t have cream, whole milk works, but the color won’t be quite as rich.
Let the Glaze Set Before Serving
The glaze needs about 10 minutes to firm up after you drizzle it over the warm scones. If you serve them too soon, the glaze will run off and pool on the plate. For a thicker glaze that stays in place, use less liquid and whisk until the mixture is thick enough to coat the back of a spoon.
For another cozy fall treat, try these pumpkin snickerdoodle cookies that combine soft, chewy texture with warm cinnamon sugar.
Common Mistakes That Ruin Pumpkin Scones
Using Warm or Softened Butter
When the butter is too soft, it blends into the flour instead of staying in distinct pieces. This eliminates the pockets of fat that create flaky layers, leaving you with dense, cake-like scones. Always use butter straight from the fridge or freezer, and work quickly to keep it cold. If your kitchen is warm, chill the mixing bowl and pastry cutter as well.
Adding Too Much Pumpkin Puree
Extra pumpkin might seem like a good way to boost flavor, but it adds too much moisture and makes the dough sticky and difficult to shape. The scones will spread in the oven and turn out dense and gummy instead of light and tender. Measure the pumpkin carefully and don’t pack it into the measuring cup.
Cutting the Dough with a Dull Knife
A dull knife drags through the dough and compresses the edges, which seals the layers and prevents the scones from rising properly. Use a sharp knife or a bench scraper, and press straight down without sawing back and forth. If the dough sticks to the blade, dip it in flour between cuts.
Overbaking the Scones
Scones continue to cook slightly after you remove them from the oven, so pulling them out when they’re just set ensures they stay moist inside. Overbaked scones turn dry and crumbly. Look for a golden color on the tops and edges, and check that the bottoms are lightly browned. If the tops are pale but the baking time is up, move the pan to the top rack for the last 2 minutes.
Creative Variations for Pumpkin Scones
Chocolate Chip Pumpkin Scones
Fold a half cup of mini chocolate chips into the dough after you cut in the butter. The chips add pockets of sweetness that contrast with the warm spices, and mini chips distribute more evenly than standard-sized ones.
Maple Glazed Pumpkin Scones
Replace the milk in the glaze with pure maple syrup for a deeper, more complex sweetness. The maple flavor pairs beautifully with pumpkin and adds a subtle caramel note. Use Grade A dark amber syrup for the strongest flavor.
Gluten-Free Pumpkin Scones
Substitute a one-to-one gluten-free baking flour blend for the all-purpose flour. Make sure the blend contains xanthan gum, which helps the scones hold together. The texture will be slightly more crumbly than traditional scones, but chilling the dough thoroughly before baking helps improve the structure.
Dairy-Free Pumpkin Scones
Use cold vegan butter or coconut oil in place of regular butter, and substitute oat milk or almond milk for the heavy cream. Coconut oil creates a slightly different texture because it melts at a lower temperature, so work quickly and keep the dough as cold as possible.
Spiced Pecan Pumpkin Scones
Add a half cup of finely chopped toasted pecans to the dry ingredients. Toasting the pecans first brings out their natural oils and deepens their flavor, which complements the warm spices in the dough.
Nutrition Facts and Health Considerations
Each pumpkin scone contains approximately 280 calories, with 12 grams of fat, 38 grams of carbohydrates, and 4 grams of protein. The scones also provide 2 grams of fiber and 15 grams of sugar, most of which comes from the glaze. Pumpkin puree contributes vitamin A and a small amount of potassium, while the butter provides richness and helps the body absorb fat-soluble vitamins.
To reduce the sugar content, skip the glaze and brush the tops with a light sprinkle of cinnamon sugar before baking. You can also cut back on the sugar in the dough by a tablespoon or two without significantly affecting the texture. For a higher protein option, replace a quarter cup of the all-purpose flour with almond flour, though this will make the scones slightly denser.
How to Serve Pumpkin Scones
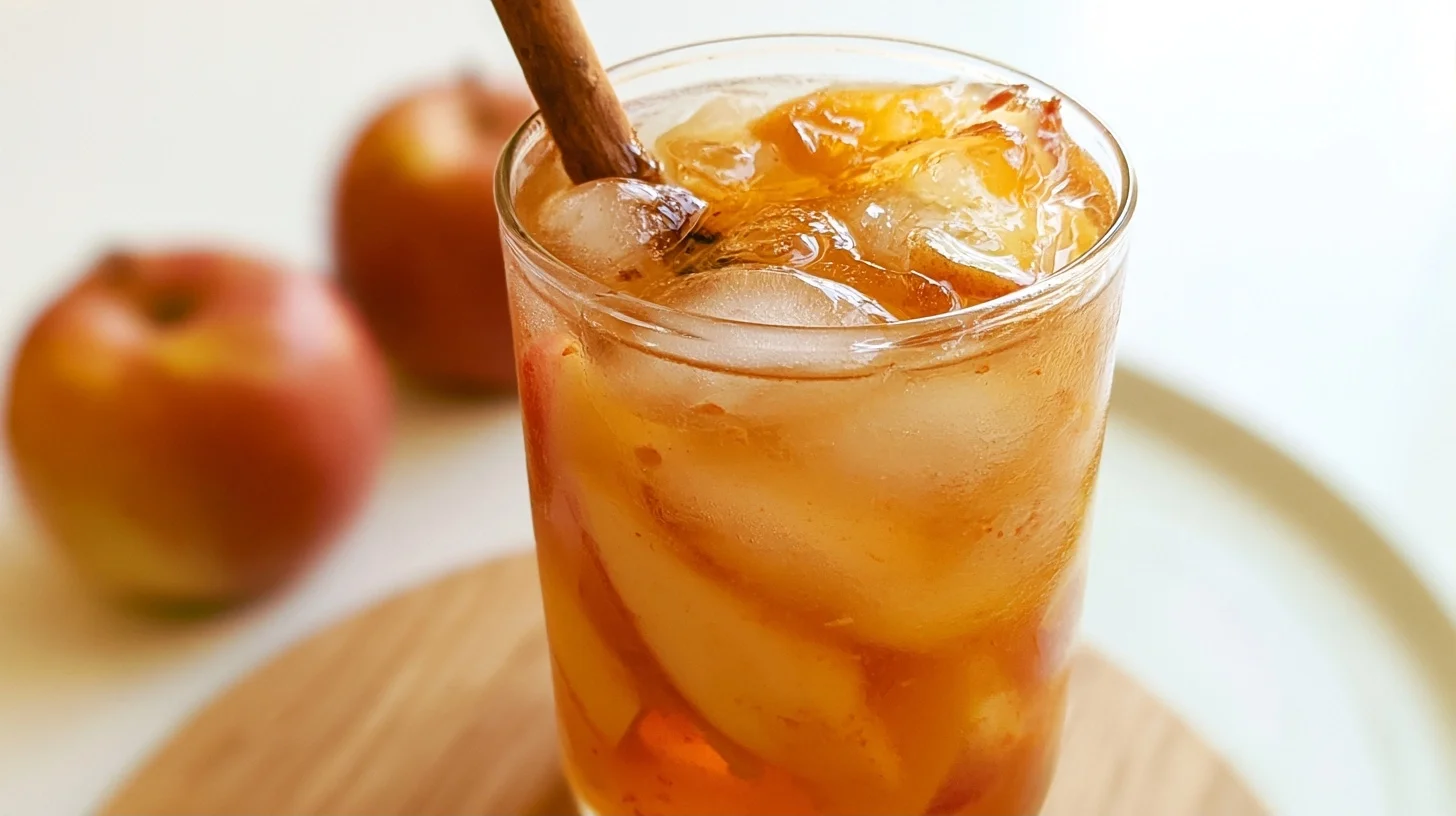
Pumpkin scones are best enjoyed slightly warm, when the exterior is still crisp and the interior is soft and tender. Serve them alongside a hot cup of coffee, chai tea, or spiced apple cider for a cozy fall breakfast or afternoon snack. They also pair well with a dollop of whipped cream or a smear of softened cream cheese, which adds richness and balances the sweetness of the glaze.
For a more substantial brunch spread, serve the scones with scrambled eggs, crispy bacon, and fresh fruit. The sweetness of the scones contrasts nicely with savory dishes, making them a versatile addition to any fall menu. If you’re hosting a gathering, arrange the scones on a tiered stand with other baked goods like muffins and quick breads for an impressive display.
How to Store and Reheat Pumpkin Scones
Store leftover pumpkin scones in an airtight container at room temperature for up to two days. If you live in a humid climate, refrigerate them to prevent the glaze from becoming sticky. The scones will stay fresh in the refrigerator for up to five days, though the texture will firm up slightly as they chill.
To reheat, place the scones on a baking sheet and warm them in a 300°F oven for 5 to 7 minutes. This restores the crisp exterior without drying out the interior. Avoid microwaving, as it makes the scones rubbery and softens the glaze too much.
For longer storage, freeze the scones before glazing. Arrange them in a single layer on a baking sheet and freeze until solid, then transfer to a freezer-safe bag or container. Frozen scones keep for up to three months. To serve, thaw them at room temperature for an hour, then reheat in the oven and glaze just before serving.
Frequently Asked Questions
Yes, you can prepare the dough up to 24 hours in advance. Shape the scones, place them on a parchment-lined baking sheet, cover tightly with plastic wrap, and refrigerate. Bake directly from the fridge, adding 2 to 3 minutes to the baking time.
Dry scones usually result from overbaking or using too much flour. Measure flour by spooning it into the measuring cup and leveling it off, and pull the scones from the oven as soon as the tops are golden and the edges are set.
Yes, but you need to cook and drain the fresh pumpkin thoroughly to remove excess moisture. Roast pumpkin chunks until tender, puree them until smooth, then strain through cheesecloth or a fine-mesh sieve to reach the same thick consistency as canned puree.
The scones are done when the tops are golden brown and the edges are lightly browned. The centers should feel firm when gently pressed, and a toothpick inserted into the thickest part should come out clean or with just a few moist crumbs.





Leave a Reply