

A pot roast recipe transforms a tough cut of beef into a fork-tender, deeply flavorful meal that fills your kitchen with the kind of aroma that makes everyone ask when dinner will be ready. This classic braised dish relies on low, slow heat to break down collagen in the meat, creating rich, savory juices that mingle with tender vegetables. The key to a truly exceptional pot roast is searing the meat first to develop a caramelized crust, then letting it braise gently in a flavorful liquid until it practically falls apart at the touch of a fork.
What sets this pot roast apart is the balance of technique and timing. By browning the roast properly and maintaining a consistent low temperature, you avoid the dry, stringy texture that plagues many home-cooked versions. The vegetables cook alongside the meat, absorbing the savory broth while adding their own sweetness and depth. This is the kind of meal that tastes even better the next day, making it perfect for Sunday dinners or meal prep.
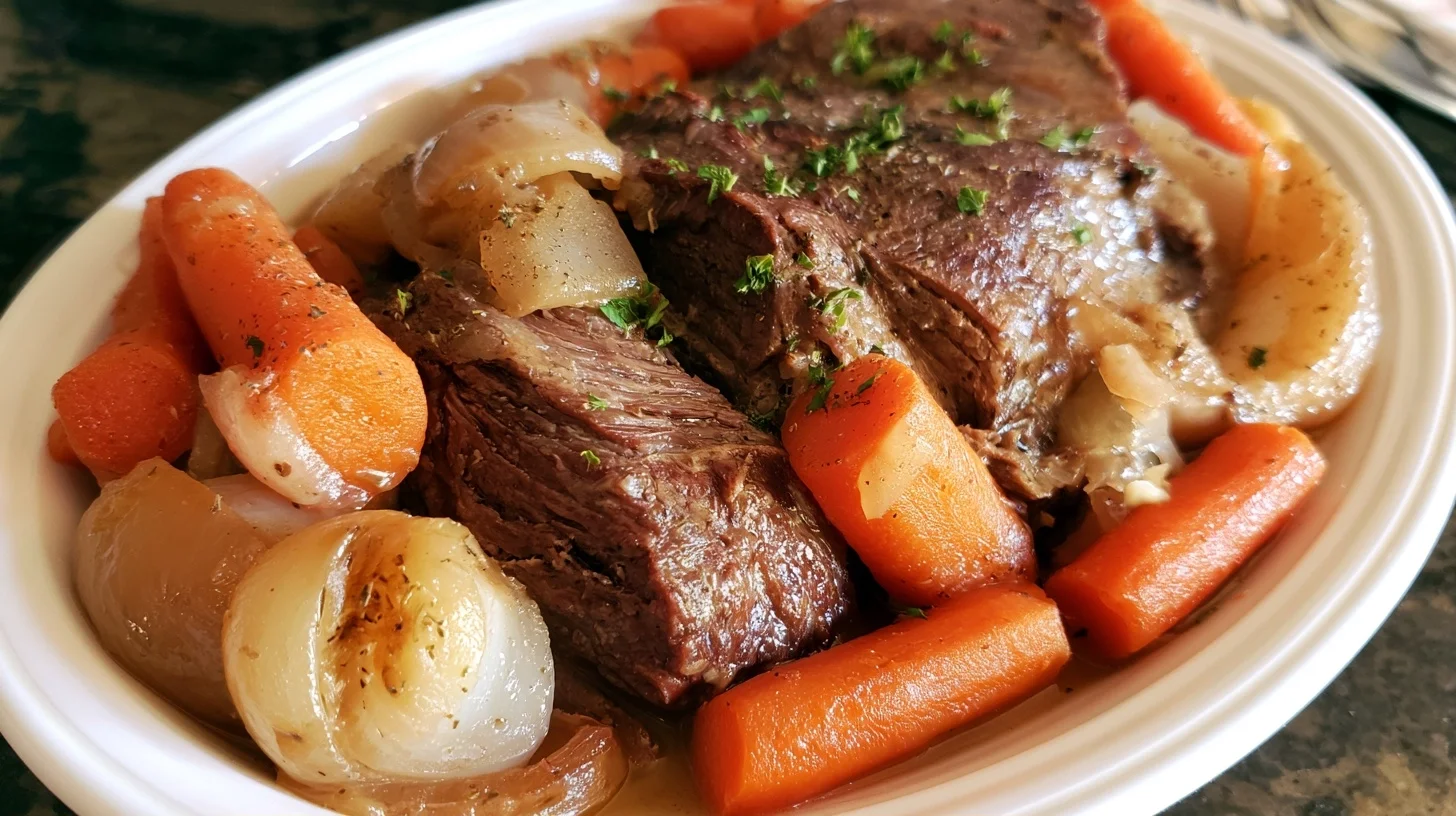
Table of contents
- Why You Will Love This Pot Roast Recipe
- Essential Equipment for Perfect Pot Roast
- How to Make Pot Roast That Falls Apart Tender
- Expert Tips for the Best Pot Roast Every Time
- Common Pot Roast Mistakes and How to Fix Them
- Delicious Pot Roast Variations to Try
- Nutrition Information and What to Expect
- What to Serve with Pot Roast Recipe
- How to Store and Reheat Pot Roast
- Frequently Asked Questions about Pot Roast Recipe
Why You Will Love This Pot Roast Recipe
- The searing step creates a deeply caramelized crust that adds layers of savory flavor to the finished dish.
- Low and slow braising breaks down tough connective tissue, resulting in meat that shreds effortly with a fork.
- Vegetables cook directly in the braising liquid, absorbing rich beefy flavor while contributing their own natural sweetness.
- The recipe requires minimal active cooking time, making it ideal for hands-off Sunday dinners or weeknight meals.
Essential Equipment for Perfect Pot Roast
The right cookware makes a noticeable difference in how evenly your pot roast cooks and how well it retains moisture. A heavy-bottomed vessel distributes heat consistently, preventing hot spots that can cause uneven browning or scorching.
- Dutch oven or heavy oven-safe pot with lid: The thick walls and tight-fitting lid trap steam and moisture, creating the ideal braising environment. A 5 to 7-quart size accommodates a 3 to 4-pound roast comfortably.
- Tongs: Essential for turning the roast during searing without piercing the meat, which would release flavorful juices.
- Meat thermometer: Ensures the roast reaches the optimal internal temperature for tenderness without overcooking.
- Cutting board with a juice groove: Catches any liquid released when slicing the finished roast, preventing mess and preserving every drop of flavor.
How to Make Pot Roast That Falls Apart Tender
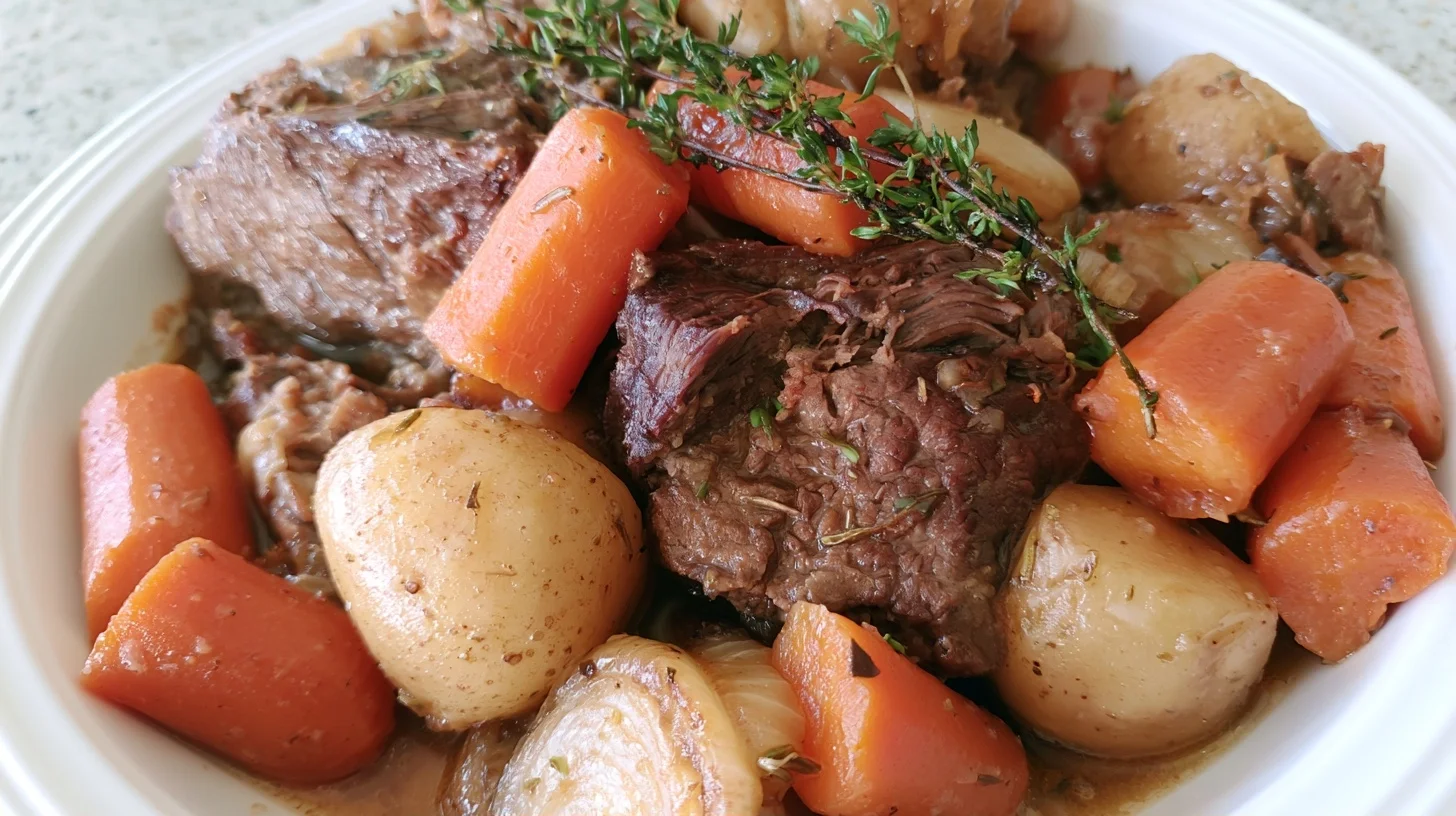
Classic Pot Roast
6
servings20
minutes3
hours485
kcalThis classic pot roast recipe produces fork-tender beef with rich, savory flavor. The key is searing the meat first to develop a caramelized crust, then braising it low and slow until the collagen breaks down into silky gelatin. Vegetables cook in the flavorful braising liquid, making this a complete one-pot meal.
Keep the screen of your device on
Ingredients
3 lb chuck roast
2 tbsp vegetable oil
1 large yellow onion
4 cloves garlic
3 cups beef broth
2 tbsp tomato paste
1 lb carrots
1.5 lb Yukon Gold potatoes
2 sprigs fresh thyme
2 bay leaves bay leaves
1 tsp salt
0.5 tsp black pepper
Directions
- Preheat your oven to 325°F and pat the chuck roast completely dry with paper towels. Season all sides generously with salt and pepper. Removing surface moisture ensures the meat browns properly instead of steaming.
- Heat the vegetable oil in a large Dutch oven over medium-high heat until it shimmers. Add the roast and sear without moving it for 3 to 4 minutes per side, until a deep golden-brown crust forms on all surfaces. This caramelization adds essential flavor to the finished dish.
- Remove the seared roast to a plate and reduce the heat to medium. Add the quartered onion and smashed garlic to the pot, stirring occasionally for 2 to 3 minutes until fragrant. The aromatics will pick up the browned bits from the bottom of the pot.
- Stir in the tomato paste and cook for 1 minute, allowing it to darken slightly. This deepens the tomato flavor and removes the raw taste. Pour in the beef broth, scraping the bottom of the pot to release any stuck-on bits.
- Return the roast to the pot along with any accumulated juices from the plate. Add the thyme sprigs and bay leaves, then bring the liquid to a gentle simmer. The liquid should come about halfway up the sides of the roast.
- Cover the pot with a tight-fitting lid and transfer it to the preheated oven. Braise for 2 hours without opening the lid, allowing the collagen to begin breaking down. The oven’s consistent heat ensures even cooking.
Notes
- Braising pot roast at 300°F to 325°F allows collagen to dissolve slowly without toughening the muscle fibers, resulting in tender, moist meat.
- If the roast remains tough after 3 hours, continue cooking and check every 30 minutes. Some cuts require up to 4 hours to become fully tender.
- Store leftover pot roast submerged in the braising liquid in an airtight container in the refrigerator for up to 4 days. The flavors deepen after a day or two.
Nutrition Facts
- Serving Size: 1 g
- Total number of serves: 6
- Calories: 485kcal
- Fat: 22g
- Carbohydrates: 28g
- Fiber: 4g
- Protein: 42g
Did you make this recipe?
Tag @therecipemasterblog on Instagram and hashtag it with #therecipemaster
Like this recipe?
Follow @therecipemasterblog on Pinterest
Follow us on Facebook!
Follow The Recipe Master on Facebook
Expert Tips for the Best Pot Roast Every Time
Achieving truly tender, flavorful pot roast depends on a few critical techniques that many recipes gloss over. Understanding why each step matters helps you adapt the recipe to your own equipment and preferences.
Sear the Meat on All Sides
Browning the roast in hot fat before braising creates a caramelized crust that adds deep, savory flavor to the finished dish. This Maillard reaction develops complex taste compounds that you cannot achieve through braising alone. Pat the meat completely dry with paper towels before searing, as surface moisture will steam the meat instead of browning it. Let each side develop a rich, golden-brown crust before turning, which usually takes 3 to 4 minutes per side over medium-high heat.
Choose the Right Cut of Beef
Chuck roast is the most reliable choice for pot roast because it contains enough marbling and connective tissue to stay moist during long cooking. The collagen in chuck roast breaks down into gelatin during braising, creating a rich, silky texture. Leaner cuts like sirloin or round roast tend to dry out and become stringy, even with careful cooking. Look for a roast with visible marbling throughout and avoid cuts labeled “extra lean.”
Maintain Low, Consistent Heat
Braising pot roast at 300°F to 325°F allows collagen to dissolve slowly without toughening the muscle fibers. Higher temperatures cause the meat to seize and release moisture too quickly, resulting in a dry, chewy texture. If you notice vigorous bubbling when you check the pot, reduce the oven temperature by 25°F. The liquid should barely simmer, with only occasional small bubbles breaking the surface.
Add Vegetables at the Right Time
Carrots and potatoes need about 45 to 60 minutes to become tender, so add them during the last hour of cooking. If you place them in the pot from the start, they will overcook and turn mushy while the meat braises. Cut vegetables into large, uniform pieces so they cook at the same rate. For a similar slow-cooked approach with game meat, the same principle applies: timing your vegetable additions prevents them from disintegrating.
Let the Roast Rest Before Slicing
Resting the finished roast for 10 to 15 minutes allows the juices to redistribute throughout the meat, preventing them from spilling out when you slice. Tent the roast loosely with foil during this time to keep it warm. If you cut into the meat immediately after removing it from the oven, much of the flavorful liquid will pool on the cutting board instead of staying in the meat.
Common Pot Roast Mistakes and How to Fix Them
The Meat Turns Out Dry and Stringy
This happens when the roast cooks at too high a temperature or for too long without enough liquid. High heat causes muscle fibers to contract rapidly, squeezing out moisture faster than collagen can dissolve into gelatin. To fix a dry roast, slice it thinly and serve it with plenty of the braising liquid, which will add back some moisture. To prevent dryness next time, use a meat thermometer and remove the roast when it reaches 195°F to 205°F internally, the range where collagen fully breaks down but the meat retains moisture.
The Roast Is Tough Even After Hours of Cooking
If your pot roast remains tough after 3 hours of braising, it likely needs more time rather than higher heat. Collagen breakdown is a time-dependent process that cannot be rushed. Return the roast to the oven and continue cooking, checking every 30 minutes until the meat yields easily when prodded with a fork. Some roasts, especially those from older animals or less marbled cuts, require up to 4 hours to become fully tender.
The Braising Liquid Tastes Weak or Bland
Weak-tasting braising liquid usually results from using too much water or not enough aromatic vegetables and seasonings. The liquid should be flavorful enough to serve as a sauce or gravy. To rescue bland braising liquid, remove the roast and vegetables, then simmer the liquid on the stovetop until it reduces by about one-third, concentrating the flavors. Taste and adjust the seasoning with salt, pepper, and a splash of Worcestershire sauce or soy sauce for added depth.
The Vegetables Turn Mushy
Overcooked vegetables lose their texture and flavor, turning into shapeless mush. This happens when they spend too much time in the braising liquid. Always add vegetables during the last hour of cooking, and cut them into large pieces that can withstand extended heat. If your vegetables consistently overcook, try reducing the oven temperature by 25°F or removing them as soon as they become fork-tender, even if the roast needs more time.
Delicious Pot Roast Variations to Try
Red Wine Pot Roast Recipe
Replace half of the beef broth with dry red wine for a richer, more complex flavor. The acidity in the wine helps tenderize the meat while adding depth to the braising liquid. Choose a wine you would enjoy drinking, as the flavor concentrates during cooking. Cabernet Sauvignon, Merlot, or Pinot Noir all work well.
Italian-Style Pot Roast
Add crushed tomatoes, fresh rosemary, and a bay leaf to the braising liquid for an Italian twist. The tomatoes provide acidity and sweetness that balance the rich beef flavor. Serve this version over creamy polenta or with crusty bread to soak up the sauce. You can also stir in a handful of chopped fresh basil just before serving.
Mississippi-Style Pot Roast
This tangy, peppery variation gained popularity for its bold flavor and minimal ingredients. Add a packet of ranch seasoning, a packet of au jus mix, pepperoncini peppers, and a stick of butter to the pot before braising. The result is a rich, slightly spicy roast with a creamy, flavorful sauce. According to the history of Mississippi pot roast, this recipe became a viral sensation for good reason.
Slow Cooker Pot Roast Recipe
Adapt this recipe for a slow cooker by searing the meat in a skillet first, then transferring everything to the slow cooker. Cook on low for 8 to 10 hours or on high for 4 to 5 hours. Add vegetables during the last 2 hours on low or the last hour on high. The slow cooker method requires less attention but produces similarly tender results.
Nutrition Information and What to Expect
Pot roast provides a substantial amount of protein from the beef, along with vitamins and minerals from the vegetables. A typical serving contains around 450 to 500 calories, depending on the cut of meat and the amount of fat trimmed before cooking. Chuck roast naturally contains more fat than leaner cuts, which contributes to the rich flavor and tender texture but also increases the calorie count.
The braising liquid adds minimal calories, especially if you skim excess fat from the surface before serving. Vegetables like carrots, potatoes, and onions contribute fiber and complex carbohydrates, making this a balanced meal that keeps you satisfied. For a lower-fat version, refrigerate the finished pot roast overnight, then remove the solidified fat from the surface before reheating. This reduces the overall fat content without sacrificing flavor or texture.
What to Serve with Pot Roast Recipe
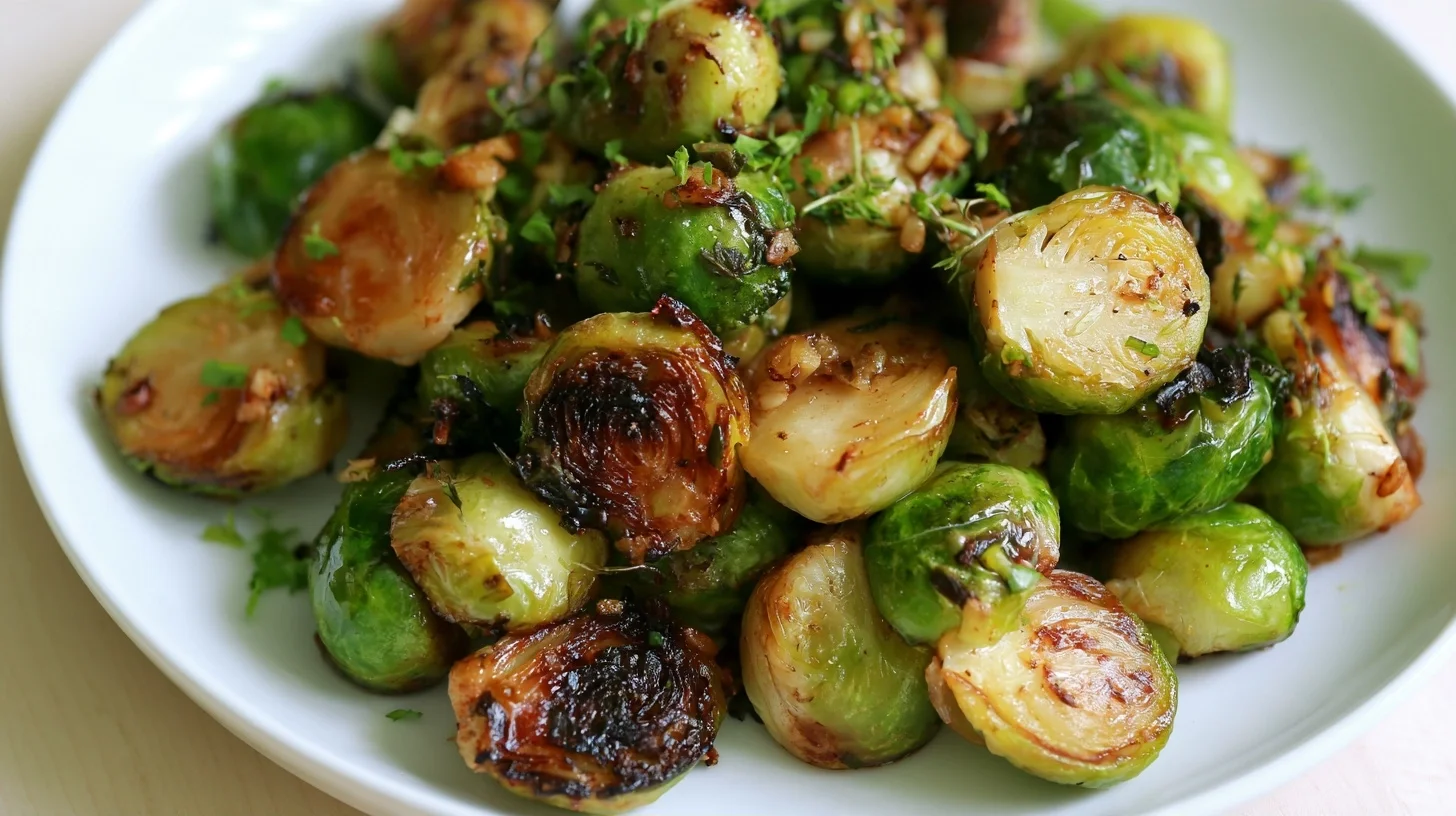
Pot roast pairs beautifully with simple sides that soak up the rich braising liquid. Mashed potatoes are a classic choice, providing a creamy base that complements the savory meat and vegetables. Buttered egg noodles also work well, especially if you spoon plenty of the braising liquid over the top. For a lighter option, serve the pot roast over cauliflower mash or alongside roasted Brussels sprouts.
Crusty bread or dinner rolls are essential for mopping up every last bit of the flavorful sauce. A simple green salad with a tangy vinaigrette provides a refreshing contrast to the rich, hearty meat. If you want to make the meal feel more complete, add a side of roasted root vegetables or sautéed green beans. The key is to keep the sides straightforward so the pot roast remains the star of the meal.
How to Store and Reheat Pot Roast
Store leftover pot roast in an airtight container in the refrigerator for up to 4 days. Keep the meat submerged in the braising liquid to prevent it from drying out. The flavors often deepen and improve after a day or two, making leftovers even more delicious than the original meal.
To reheat, place the pot roast and vegetables in a covered pot or baking dish with some of the braising liquid. Warm gently in a 300°F oven for 20 to 30 minutes, or until heated through. You can also reheat individual portions in the microwave, covering the dish to trap steam and keep the meat moist. Pot roast freezes well for up to 3 months. Let it cool completely, then transfer it to a freezer-safe container with enough liquid to cover the meat. Thaw overnight in the refrigerator before reheating.
Frequently Asked Questions about Pot Roast Recipe
Chuck roast is the best cut for pot roast because it contains enough marbling and connective tissue to stay moist during long cooking. The collagen breaks down into gelatin during braising, creating a rich, tender texture.
Pot roast typically takes 3 to 4 hours in a 300°F to 325°F oven. The exact time depends on the size of the roast and how much connective tissue it contains. The meat is done when it reaches 195°F to 205°F internally and yields easily to a fork.
Yes, you can make pot roast in a slow cooker. Sear the meat in a skillet first, then transfer everything to the slow cooker. Cook on low for 8 to 10 hours or on high for 4 to 5 hours, adding vegetables during the last 2 hours on low or the last hour on high.
Pot roast remains tough when it has not cooked long enough for the collagen to break down. This is a time-dependent process that cannot be rushed. Continue cooking and check every 30 minutes until the meat yields easily to a fork. Some roasts require up to 4 hours to become fully tender.




Leave a Reply