

This chocolate pie recipe makes a rich, silky filling with cocoa powder and chocolate chips in a flaky crust. The filling sets in the refrigerator without eggs or gelatin, and the pie slices cleanly after 4 hours of chilling.
The chocolate pie recipe takes 25 minutes of active work and 4 hours to chill. It yields 8 servings. The cornstarch thickens the filling to a pudding texture that holds its shape when sliced, and the pie keeps in the refrigerator for up to 3 days.
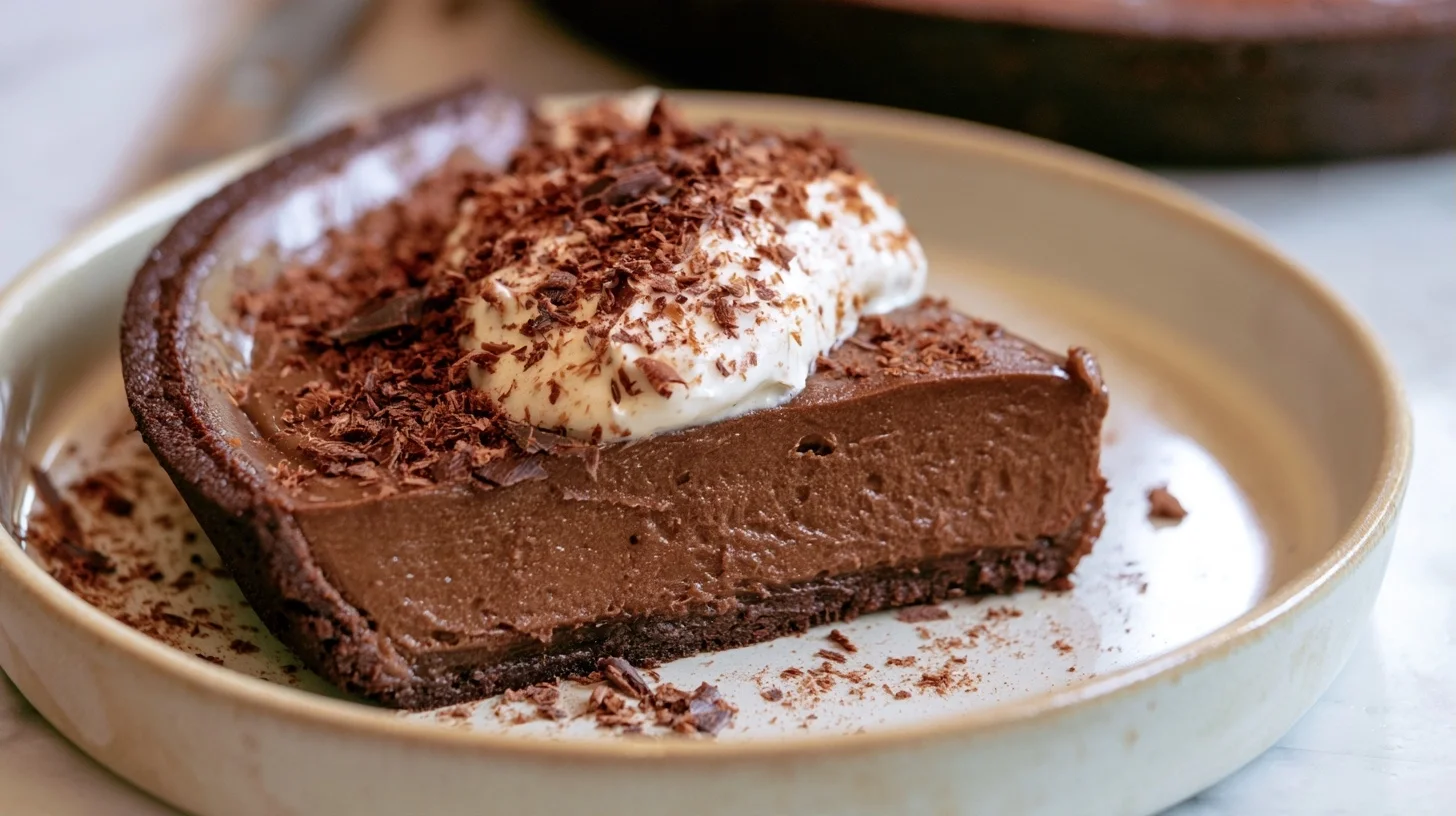
Table of contents
Why This Chocolate Pie Recipe Works
- Cornstarch thickens the filling to a sliceable consistency without eggs, so the pie holds its shape at room temperature for up to 2 hours.
- Cocoa powder and chocolate chips give the recipe a deep chocolate flavor with two layers of richness.
- Cooking the filling to 180°F activates the cornstarch fully and prevents a raw starch taste.
Chocolate Pie Recipe and Instructions
Chocolate Pie Recipe
8
servings15
minutes10
minutes385
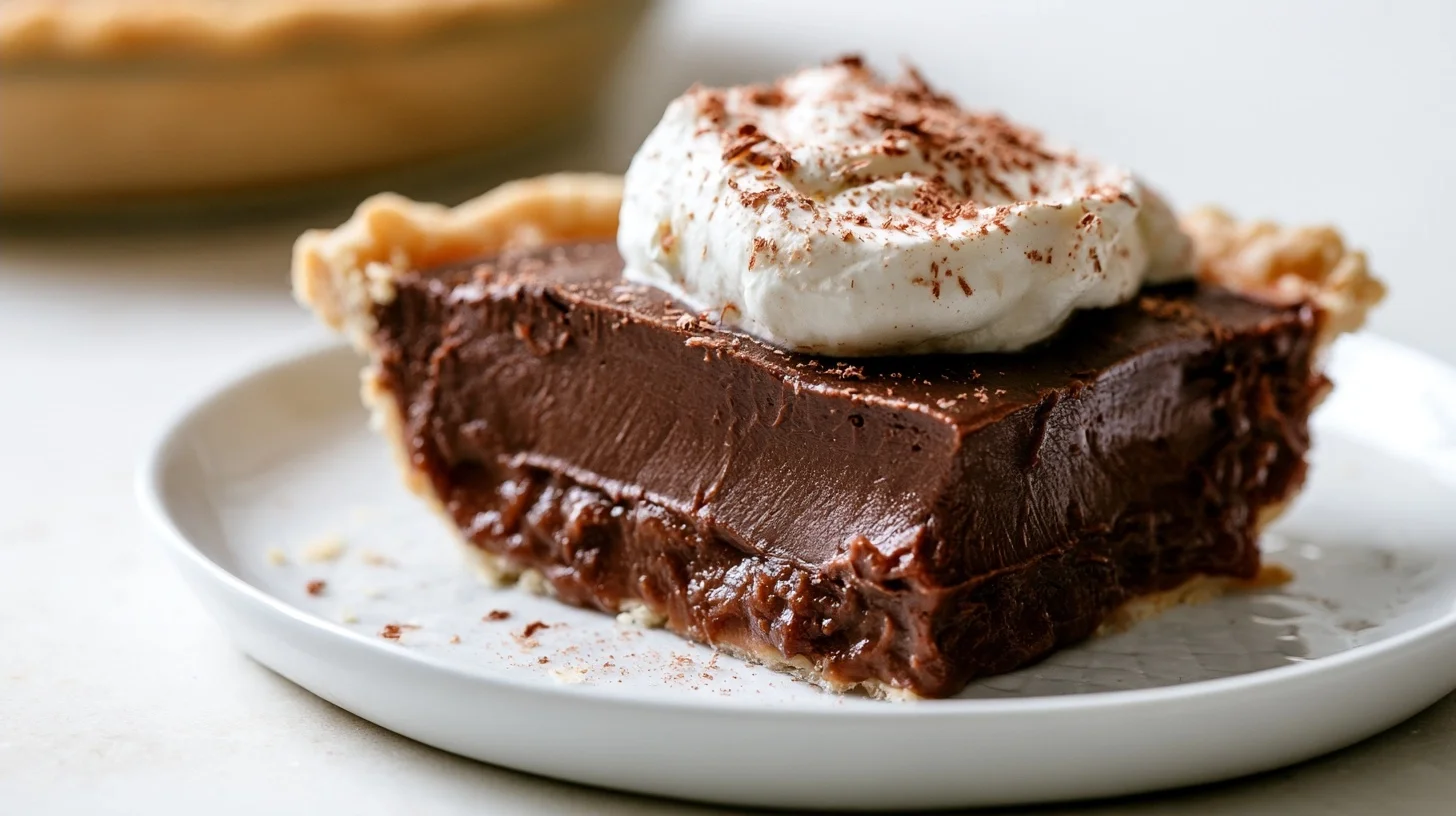
kcalThis chocolate pie has a rich, silky filling made with cocoa powder, chocolate chips, and cornstarch in a flaky baked crust. The recipe takes 25 minutes of active work plus 4 hours of chilling, yields 8 servings, and the cornstarch thickens the filling without eggs.
Keep the screen of your device on
Ingredients
3/4 cup granulated sugar
4 tablespoons cornstarch
1/3 cup unsweetened cocoa powder
1/4 teaspoon salt
3 cups whole milk
1 cup semi-sweet chocolate chips
2 tablespoons unsalted butter
1 teaspoon vanilla extract
1 whole 9-inch pie crust
Directions
- Whisk the dry ingredients in a medium saucepan. Combine the sugar, cornstarch, cocoa powder, and salt. Whisk until no lumps remain.
- Add the milk gradually while whisking. Pour in 1/2 cup at first and whisk until smooth, then add the remaining milk. This prevents lumps.
- Cook over medium heat for 8 to 10 minutes, stirring constantly. The mixture will thicken and reach 180°F. It should coat the back of a spoon and hold a line when you run your finger through it.
- Remove from heat and stir in the chocolate chips and butter. Stir for 1 to 2 minutes until both are melted and the filling is smooth and glossy.
- Stir in the vanilla extract. Mix until combined.
- Cool the filling for 10 minutes, stirring occasionally. This prevents the filling from cracking the crust when you pour it in.
Notes
- The filling must reach 180°F to activate the cornstarch fully and set properly, so use a thermometer or cook until the mixture coats the back of a spoon.
- If the filling is runny after chilling, the cornstarch did not reach 180°F. Return it to the saucepan, whisk in 1 tablespoon of cornstarch mixed with 2 tablespoons of cold milk, and cook until it thickens.
- Store the pie covered in the refrigerator for up to 3 days. Substitute dark chocolate chips for a more intense flavor or milk chocolate chips for a sweeter pie.
Nutrition Facts
- Serving Size: 1 g
- Total number of serves: 8
- Calories: 385kcal
- Fat: 18g
- Carbohydrates: 52g
- Net Carbs: 49g
- Fiber: 3g
- Protein: 6g
Did you make this recipe?
Tag @therecipemasterblog on Instagram and hashtag it with #therecipemaster
Like this recipe?
Follow @therecipemasterblog on Pinterest
Follow us on Facebook!
Follow The Recipe Master on Facebook
This chocolate pie recipe uses ingredients you likely have on hand. The sections below cover the best cocoa powder to use, how to prevent lumps in the filling, and what to do if the pie does not set.
Key Ingredients and Substitutions
Each ingredient in this chocolate pie recipe affects the texture and flavor of the filling.
- Cocoa powder: Unsweetened cocoa powder gives the filling its chocolate base. Dutch-process cocoa creates a darker color and smoother flavor, while natural cocoa tastes slightly more acidic. Use either type in the same amount.
- Chocolate chips: Semi-sweet chocolate chips add richness and help the filling set as it cools. Dark chocolate chips make the pie more intense, and milk chocolate chips make it sweeter. The different types of chocolate affect both sweetness and melt time.
- Cornstarch: Cornstarch thickens the milk into a pudding that slices cleanly. Reduce the amount to 3 tablespoons for a softer filling, or increase to 5 tablespoons for a firmer slice.
- Whole milk: Whole milk creates a creamy filling. 2% milk works but makes the filling slightly thinner. Heavy cream in place of 1 cup of the milk makes the pie richer.
- Butter: Butter adds smoothness and a glossy finish. Omit it for a slightly less rich pie, but the filling may look dull.
- Pie crust: A baked 9-inch pie crust holds the filling. Use store-bought or homemade. The crust must be fully baked and cooled before you add the filling, or it will turn soggy.
How to Make Chocolate Pie
Follow these steps to make a chocolate pie that sets properly and slices without weeping.
- Whisk the dry ingredients first: Combine the sugar, cornstarch, cocoa powder, and salt in the saucepan before adding any liquid. This prevents lumps. If you add cornstarch to hot milk, it clumps.
- Cook to 180°F: Stir constantly over medium heat for 8 to 10 minutes until the mixture reaches 180°F and thickens enough to coat the back of a spoon. Cornstarch needs to reach 180°F to thicken fully. If you stop at 170°F, the filling stays runny.
- Stir in the chocolate off the heat: Remove the pan from the burner before adding the chocolate chips and butter. Residual heat melts them without scorching. Stir for 1 to 2 minutes until smooth.
- Cool the filling before pouring: Let the filling cool for 10 minutes, stirring occasionally. This recipe makes a chocolate pie that does not crack when you chill it, because the temperature difference between the filling and the crust is smaller.
- Chill for 4 hours: Cover the pie with plastic wrap pressed directly onto the surface of the filling to prevent a skin. Refrigerate for at least 4 hours. The filling firms as it cools and is sliceable after 4 hours.
Make Ahead Instructions
Make the pie up to 2 days ahead. Keep it covered in the refrigerator. Add whipped cream just before serving so it stays fluffy. The crust softens slightly after 2 days, but the filling holds its texture for 3 days.
What Went Wrong
Why Is the Filling Runny?
The filling is runny when the cornstarch did not reach 180°F or when you used too little cornstarch. Use a thermometer to check the temperature while cooking. If the filling is already in the crust and still runny after 4 hours, return it to the saucepan, whisk in 1 more tablespoon of cornstarch mixed with 2 tablespoons of cold milk, and cook over medium heat until it thickens.
Why Is the Filling Lumpy?
Lumps form when cornstarch clumps in hot liquid or when cocoa powder is not fully mixed. Always whisk the dry ingredients together before adding milk. If lumps appear, pour the filling through a fine mesh strainer into a bowl, then pour it into the crust.
Why Did a Skin Form on Top?
A skin forms when the filling is exposed to air while cooling. Press plastic wrap directly onto the surface of the filling before refrigerating. If a skin already formed, peel it off gently. The pie underneath is fine. Top the pie with whipped cream to cover any marks.
Ways to Change the Recipe
Peanut Butter Chocolate Pie
Stir 1/2 cup of creamy peanut butter into the filling after you add the chocolate chips. The peanut butter thins the filling slightly, so increase the cornstarch to 5 tablespoons. The pie tastes like a peanut butter cup.
Mint Chocolate Pie
Add 1/2 teaspoon of peppermint extract to the filling after it cools for 10 minutes. Use dark chocolate chips for a stronger mint-chocolate contrast. Top with whipped cream and crushed peppermint candies.
No-Bake Crust
Use a graham cracker crust instead of a baked pie crust. Press 1 1/2 cups of graham cracker crumbs mixed with 1/3 cup of melted butter into a 9-inch pie pan. Chill for 30 minutes before adding the filling. The crust stays firm without baking.
What to Serve With Chocolate Pie
Serve chocolate pie with whipped cream, vanilla ice cream, or fresh berries. Raspberries and strawberries cut the richness of the chocolate. A cup of coffee balances the sweetness. For a Mexican-inspired pairing, serve it with champurrado, a thick chocolate drink with cinnamon and masa.
How to Store and Reheat Chocolate Pie
Chocolate pie keeps for 3 to 4 days in the refrigerator, covered with plastic wrap or in an airtight container. The filling stays firm and sliceable. Do not freeze the pie, because the cornstarch filling weeps and turns grainy when thawed.
Serve the pie cold or at room temperature. Let it sit out for 20 to 30 minutes before slicing for the smoothest texture. Do not reheat the pie. The filling melts and does not reset properly.
Chocolate Pie FAQs
Yes, a store-bought crust works perfectly. Use a 9-inch pie crust and bake it according to the package directions. Let it cool completely before adding the filling.
No, but a thermometer helps. Cook the filling until it thickens enough to coat the back of a spoon and hold a line when you run your finger through it. This happens around 180°F.
Yes, this recipe contains no eggs. Cornstarch thickens the filling instead. The pie sets firm in the refrigerator without eggs or gelatin.
The pie is set when the filling no longer jiggles in the center and holds its shape when you tilt the pan. This takes 4 hours in the refrigerator.







Leave a Reply