

This squash soup recipe uses roasted butternut squash, onions, and broth to make a smooth, creamy soup in about 1 hour. The roasting step caramelizes the squash and deepens the flavor without adding cream or butter.
The soup takes 1 hour from start to finish and serves 6. Roasting the squash at 425°F for 30 minutes is the step that makes or breaks the final flavor. The soup keeps for 4 days in the refrigerator or freezes for up to 3 months.
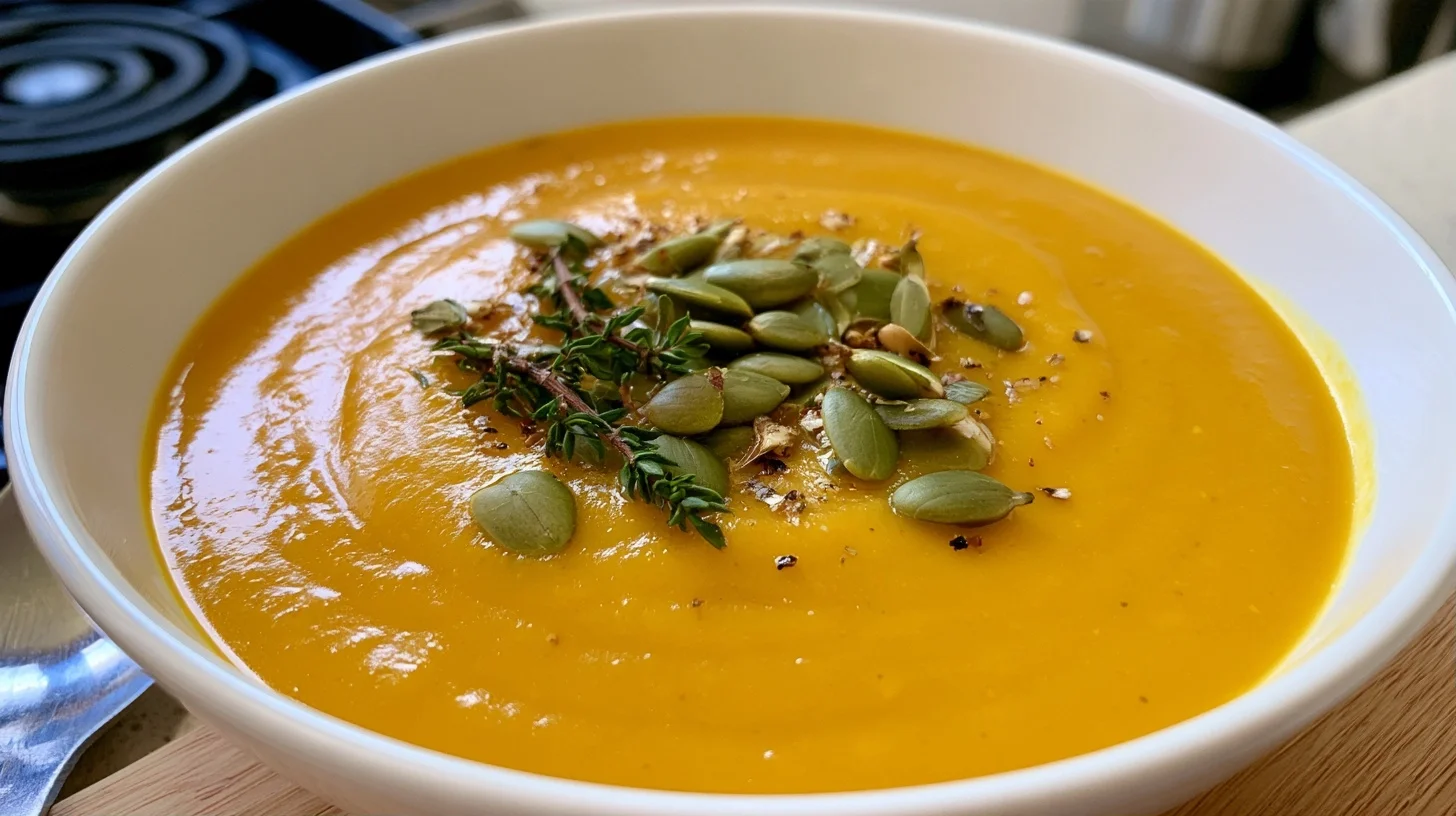
Table of contents
Why This Squash Soup Recipe Works
- Roasting the squash at 425°F for 30 minutes caramelizes the natural sugars and concentrates the flavor.
- Using 4 cups of broth keeps the soup thick enough to coat a spoon without adding cream.
- Blending while hot creates a smooth texture in 1 to 2 minutes with no straining needed.
Butternut Squash Soup Recipe Card

Squash Soup Recipe
6
servings15
minutes45
minutes120
kcalThis squash soup uses roasted butternut squash, onions, garlic, and vegetable broth to create a smooth, creamy soup with deep caramelized flavor. The recipe takes 1 hour from start to finish, serves 6, and requires roasting the squash at 425°F for 30 minutes before blending.
Keep the screen of your device on
Ingredients
3 pounds butternut squash
1 medium onion
2 cloves garlic
2 tablespoons olive oil
4 cups vegetable broth
1 teaspoon salt
0.25 teaspoon black pepper
Directions
- Preheat the oven to 425°F. Line a large baking sheet with parchment paper.
- Toss the squash, onion, and garlic with the olive oil on the baking sheet. Spread in a single layer. The vegetables should not overlap or they will steam instead of roast.
- Roast for 30 minutes until the squash edges are golden brown and the flesh is fork tender. Stir halfway through for even browning.
- Transfer the roasted vegetables to a blender or large pot. Add 3 cups of the broth.
- Blend on high speed for 1 to 2 minutes until completely smooth. The soup should have no visible chunks or fibrous bits.
- Add the remaining broth 1/4 cup at a time and blend until you reach the thickness you want. The soup should coat the back of a spoon.
Notes
- Roasting the squash at 425°F for 30 minutes caramelizes the natural sugars and concentrates the flavor, which is what makes this soup taste rich without adding cream.
- If the soup tastes bland, add salt 1/4 teaspoon at a time until the flavor brightens, or stir in 1 teaspoon of maple syrup to enhance the natural sweetness.
- The soup keeps for 4 days in the refrigerator in an airtight container or freezes for up to 3 months. Acorn squash or kabocha squash work as substitutes, but you may need an extra 1/2 cup of broth with kabocha.
Nutrition Facts
- Serving Size: 1 g
- Total number of serves: 6
- Calories: 120kcal
- Fat: 5g
- Carbohydrates: 22g
- Fiber: 4g
- Protein: 2g
Did you make this recipe?
Tag @therecipemasterblog on Instagram and hashtag it with #therecipemaster
Like this recipe?
Follow @therecipemasterblog on Pinterest
Follow us on Facebook!
Follow The Recipe Master on Facebook
The sections below cover the best substitutions for this squash soup recipe, the roasting technique that builds the most flavor, and fixes for watery or bland results.
Key Ingredients and Substitutions
These ingredients control the texture and flavor of the soup.
- Butternut squash: Roasting 3 pounds of squash yields about 4 cups of flesh, which gives the soup its body and natural sweetness. Acorn squash or kabocha squash work as substitutes, but acorn squash has a milder flavor and kabocha is drier, so you may need an extra 1/2 cup of broth.
- Vegetable broth: 4 cups of broth creates a thick, spoonable soup. Use chicken broth for a richer flavor, or add an extra cup of broth for a thinner, sippable consistency.
- Onion: 1 medium onion adds savory depth without overpowering the squash. Shallots make the soup slightly sweeter, while leeks add a mild onion flavor with less bite.
- Garlic: 2 cloves roasted with the squash add a mellow, caramelized garlic flavor. Raw garlic sautéed in the pot tastes sharper and more pungent.
- Olive oil: 2 tablespoons coat the squash for roasting and help it caramelize. Avocado oil or melted coconut oil work the same way, though coconut oil adds a faint sweetness.
How to Get Squash Soup Right
These techniques control the flavor and texture of the finished soup.
- Roast at 425°F for 30 minutes: The squash edges turn golden brown and the flesh is fork tender. Lower heat or shorter time leaves the squash pale and less flavorful.
- Cut squash into 1 inch cubes: Uniform pieces roast evenly in 30 minutes. Larger chunks take 10 to 15 minutes longer and may brown unevenly.
- Blend while hot: Hot soup blends smooth in 1 to 2 minutes. Cold soup takes longer and may leave fibrous bits even after extended blending.
- Add broth gradually: Start with 3 cups, blend, then add the remaining cup until you reach the thickness you want. Adding all 4 cups at once can make the soup too thin to adjust.
- Season after blending: Taste the soup after it is smooth and add salt 1/4 teaspoon at a time. Roasted squash sweetness varies, so the soup may need 1/2 to 1 teaspoon of salt total.
Slow Cooker Method
Roast the squash as directed, then transfer it to a slow cooker with the onion, garlic, and broth. Cook on low for 4 hours or high for 2 hours. Blend the soup with an immersion blender directly in the slow cooker, or transfer it in batches to a countertop blender.
What Went Wrong
Why Is the Soup Watery?
The soup is watery when too much broth is added or the squash is not roasted long enough to concentrate its flavor. Simmer the soup uncovered for 10 to 15 minutes to reduce excess liquid. Next time, use only 4 cups of broth and roast the squash until the edges are golden brown.
Why Does the Soup Taste Bland?
Bland soup usually means undersalted or underroasted squash. Add salt 1/4 teaspoon at a time until the flavor brightens. If the soup still tastes flat, stir in 1 teaspoon of maple syrup or a pinch of cinnamon to enhance the natural sweetness of the squash.
Why Is the Texture Grainy?
Grainy texture happens when the soup is not blended long enough or is blended while cold. Blend the soup for at least 1 to 2 minutes on high speed while it is still hot. If it is already cold, reheat it to steaming before blending again.
Squash Soup Variations
Curried Squash Soup
Add 1 tablespoon of curry powder to the roasted squash before blending. The curry adds warmth and a savory, slightly spicy flavor that balances the sweetness of the squash.
Coconut Squash Soup
Replace 1 cup of the broth with 1 cup of full fat coconut milk. The coconut milk adds richness and a faint tropical sweetness. Stir it in after blending to keep the texture smooth.
Apple Squash Soup
Roast 1 peeled and diced apple with the squash. The apple adds a fruity sweetness and a hint of tartness that complements the squash without making the soup taste like dessert.
What to Serve With Butternut Squash Soup
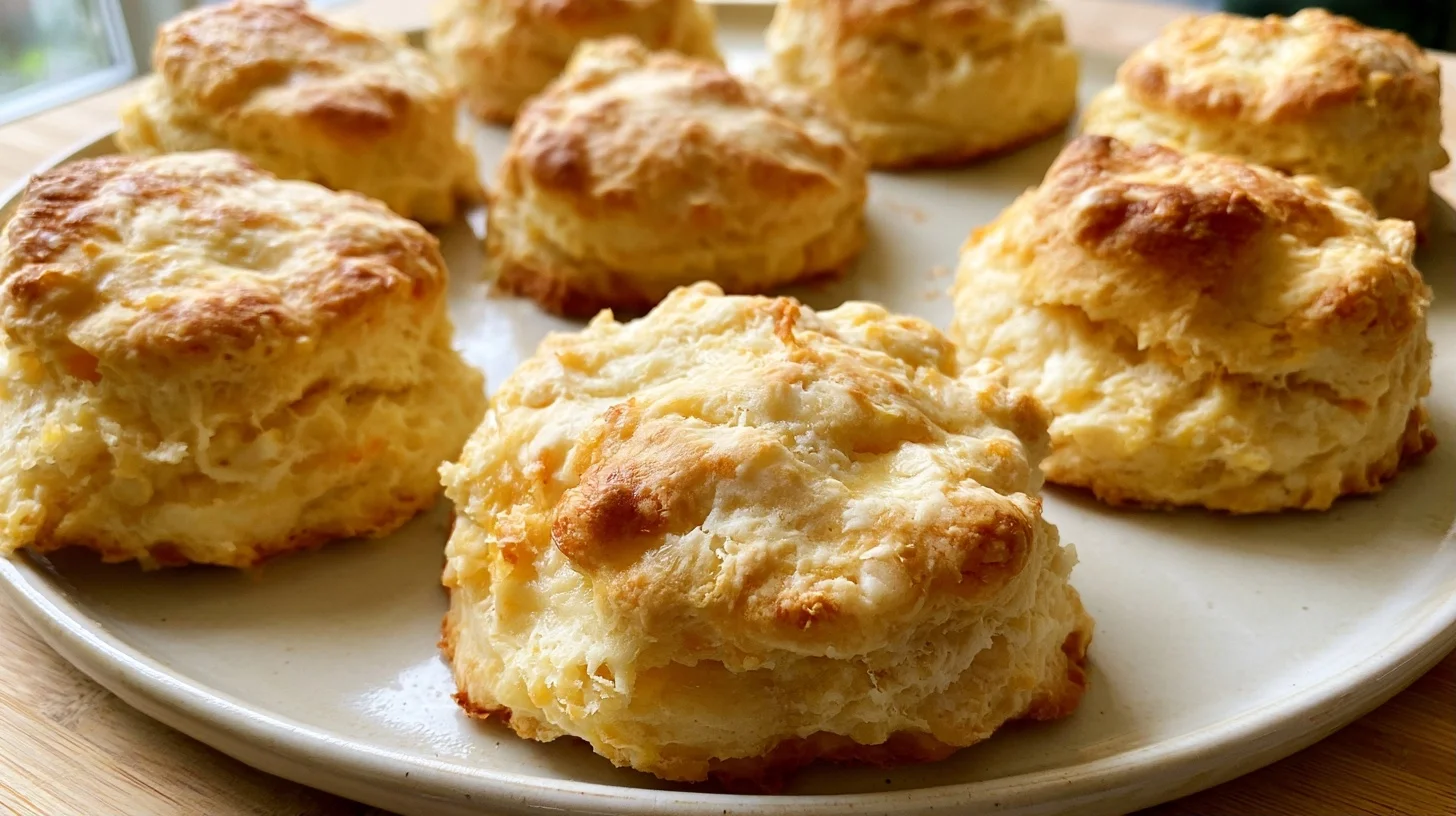
Serve the soup with crusty bread, a green salad, or a grilled cheese sandwich. The soup is thick enough to be a main course with a side, or it works as a starter before roasted chicken or pork. For a complete fall meal, pair it with roasted butternut squash as a side dish.
How to Store and Reheat Squash Soup
Butternut squash soup keeps for 4 days in the refrigerator in an airtight container. Let the soup cool completely before covering it. Freeze the soup for up to 3 months in freezer safe containers, leaving 1 inch of headspace for expansion.
Reheat the soup on the stovetop over medium heat for 5 to 7 minutes, stirring occasionally, until it reaches 165°F. Thin it with 1/4 to 1/2 cup of broth if it thickens during storage. Reheat frozen soup in the refrigerator overnight, then warm it on the stovetop.
Squash Soup FAQs
Yes, but the flavor will be milder. Simmer peeled and cubed squash in broth for 20 minutes until tender, then blend. Roasting caramelizes the squash and adds depth that simmering does not.
Yes. The skin is tough and does not soften enough during roasting to blend smooth. Peel the squash with a vegetable peeler before cutting it into cubes.
Yes. Use 4 cups of thawed frozen squash cubes. Skip the roasting step and simmer the squash with the onion, garlic, and broth for 15 minutes, then blend. The soup will be milder than roasted.
A countertop blender creates the smoothest texture in 1 to 2 minutes. An immersion blender works directly in the pot but may take 3 to 4 minutes and leave some texture.







Leave a Reply