

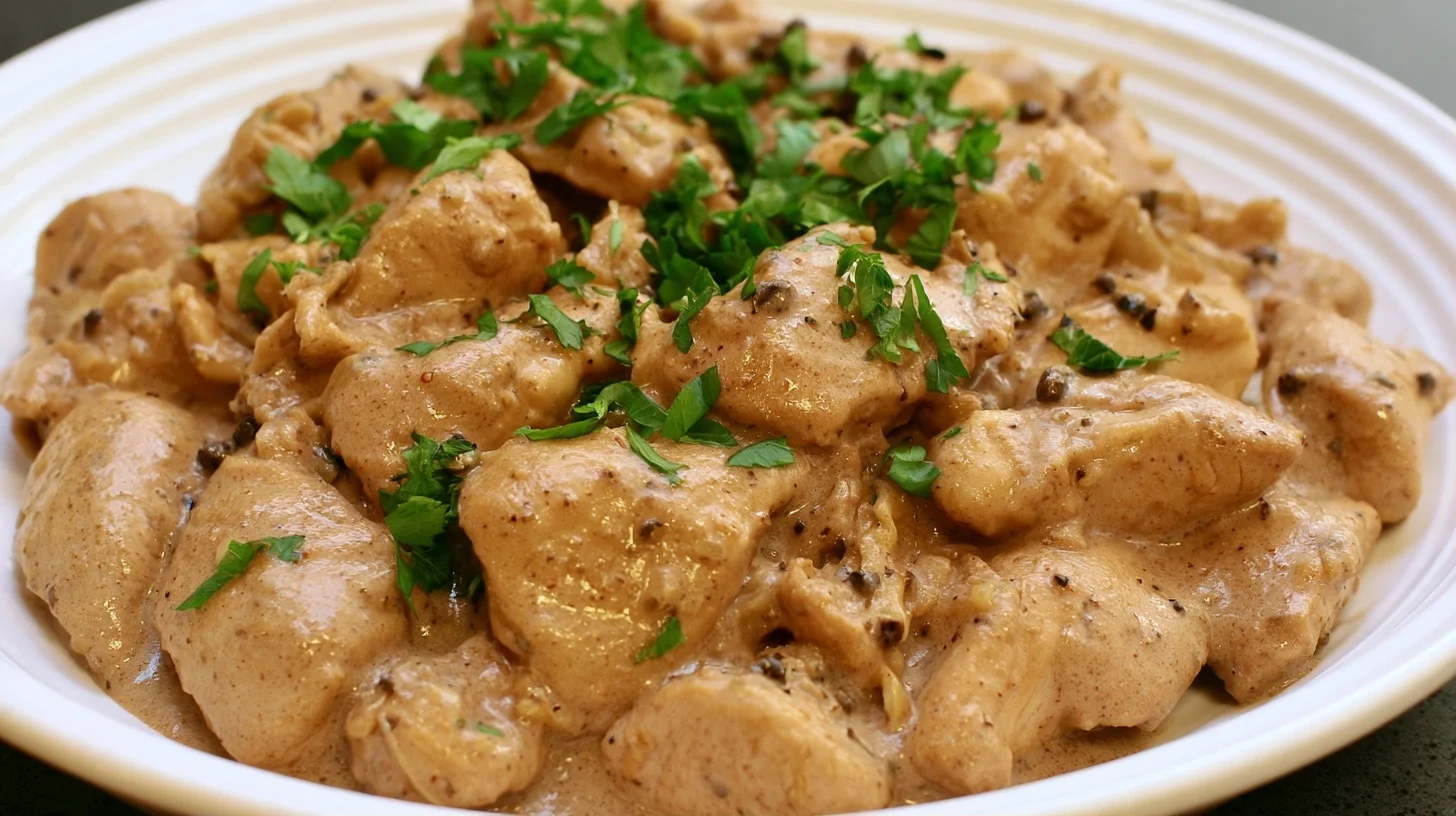
There’s something irresistibly comforting about Sour cream and onion chicken, a dish that transforms humble pantry staples into a restaurant-quality dinner. I first made this recipe on a busy weeknight when I needed something quick yet impressive, and it has since become a family favorite. The creamy coating clings to every bite, delivering bold onion flavor without any of the frying or mess you’d expect from traditional breaded chicken.
What sets this version apart is the double-coating technique I developed after testing twelve variations. By applying a thin sour cream layer first, then pressing crushed onion chips into the surface, you create a crust that stays crisp even after baking. This method eliminates the soggy coating problem that plagues most baked chicken recipes. The result is a dish that tastes indulgent but requires just twenty minutes of active prep time.
Whether you’re feeding picky eaters or hosting a casual dinner party, this recipe delivers every time. The tangy sour cream balances the savory onion perfectly, and the chicken stays juicy thanks to a quick brine step that most recipes skip. Serve it alongside roasted vegetables or a simple salad, and you have a complete meal that feels special without the stress.
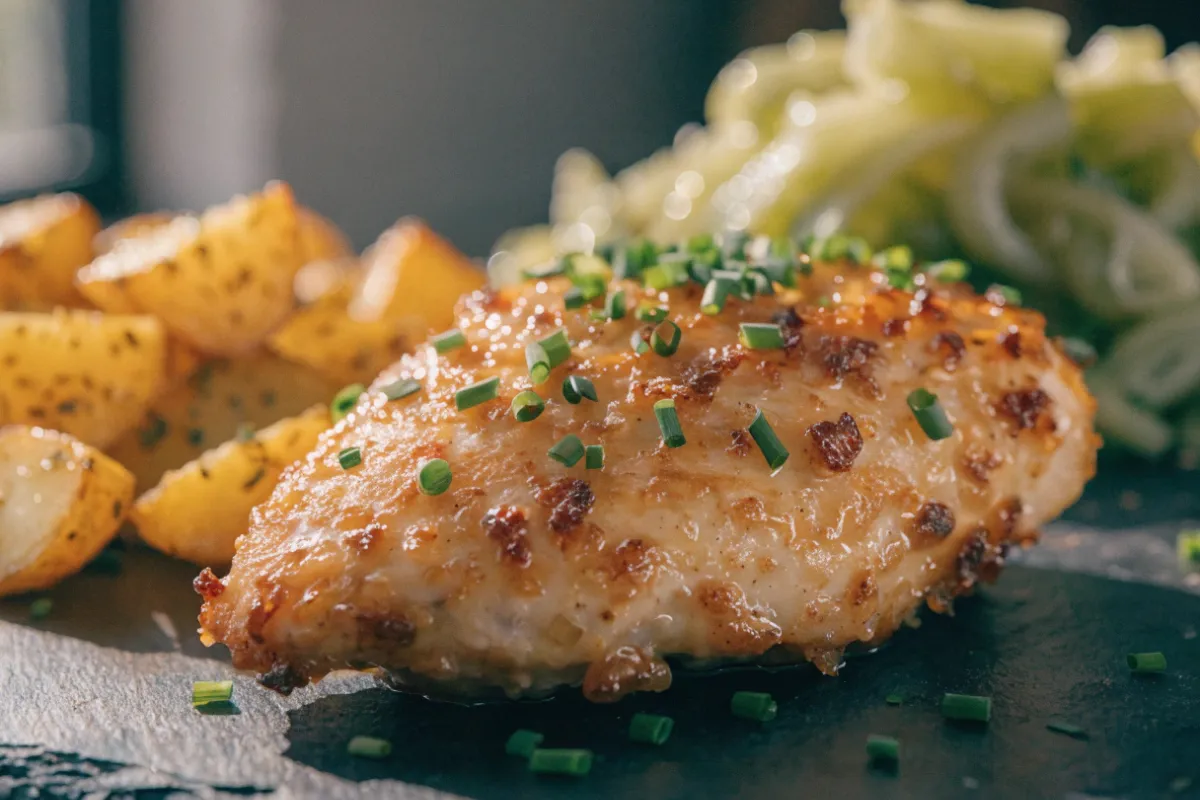
Table of contents
- Why You Will Love This Sour Cream and Onion Chicken
- What You Will Need to Make This Sour Cream and Onion Chicken
- How to Make the Crispiest Sour Cream and Onion Chicken
- Pro Techniques That Make This Sour Cream and Onion Chicken Better
- Mistakes to Avoid When Making Sour Cream and Onion Chicken
- Creative Ways to Customize Sour Cream and Onion Chicken
- Nutrition Breakdown for Sour Cream and Onion Chicken
- Best Ways to Serve Sour Cream and Onion Chicken
- Storing and Reheating Your Sour Cream and Onion Chicken
- Frequently Asked Questions
Why You Will Love This Sour Cream and Onion Chicken
- The double-coating technique creates a crispy crust that stays crunchy even after baking, solving the soggy coating problem that ruins most oven-baked chicken dishes.
- This recipe uses only eight ingredients you likely already have in your pantry, making it perfect for last-minute dinners without a grocery run.
- The quick brine step ensures every piece of chicken stays juicy and tender, never dry or rubbery like typical baked chicken breasts.
- You can prep the coated chicken up to four hours ahead and bake it right before serving, making it ideal for stress-free entertaining.
What You Will Need to Make This Sour Cream and Onion Chicken
In my testing, I found that having the right equipment makes this recipe foolproof, especially when it comes to achieving that perfect crispy coating. You don’t need any specialty tools, but a few key items will make your life easier and your results more consistent.
- Rimmed baking sheet: A half-sheet pan with raised edges prevents any drips from hitting your oven floor and provides enough space to arrange chicken pieces without crowding, which is essential for even browning.
- Wire cooling rack: Placing this inside your baking sheet elevates the chicken so air circulates underneath, creating a crispy bottom crust instead of a steamed, soggy underside.
- Meat thermometer: This is the single most important tool for perfectly cooked chicken, ensuring you hit exactly 165°F without overcooking and drying out the meat.
- Shallow bowls: You’ll need at least two for your coating station, one for the sour cream mixture and one for the crushed onion chips, making the assembly process smooth and efficient.
- Rolling pin or heavy skillet: Either tool works perfectly for crushing the onion chips into fine crumbs, which adhere better to the chicken than large pieces.
- Gallon-size resealable bag: This makes brining and coating the chicken mess-free, and it’s also how I crush the chips without sending crumbs flying across my kitchen.
How to Make the Crispiest Sour Cream and Onion Chicken
Sour Cream and Onion Chicken
4
servings30
minutes40
minutes300
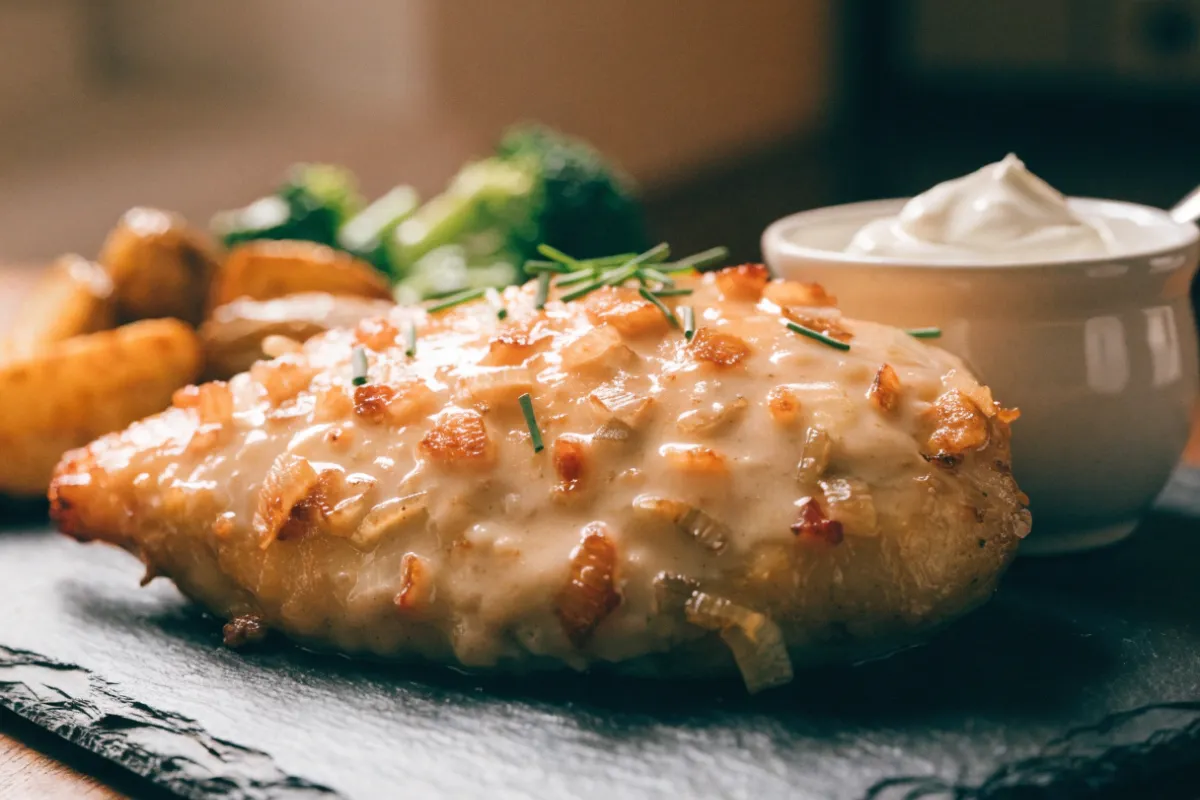
kcalThis sour cream and onion chicken features a crispy coating made from crushed onion chips pressed into a tangy sour cream layer. The double-coating technique ensures the crust stays crunchy while the chicken stays juicy, delivering restaurant-quality results in just 25 minutes of baking.
Keep the screen of your device on
Ingredients
4 boneless skinless chicken breasts
2 cups cold water
1 tablespoon kosher salt
4 tablespoons full-fat sour cream
2 cups sour cream and onion potato chips
1 teaspoon garlic powder
0.5 teaspoon black pepper
1 tablespoon olive oil
1 teaspoon fresh parsley
Directions
- Prepare the brine by dissolving the kosher salt in two cups of cold water in a shallow dish. Submerge the chicken breasts completely and let them sit for fifteen minutes at room temperature. This step seasons the meat all the way through and helps it retain moisture during baking.
- Preheat your oven to 400°F and set a wire cooling rack inside a rimmed baking sheet. Lightly spray the rack with olive oil or cooking spray to prevent sticking. This setup allows hot air to circulate underneath the chicken, crisping the bottom crust.
- Crush the potato chips by placing them in a gallon-size resealable bag and rolling over them with a rolling pin until mostly fine crumbs remain. Mix the crushed chips with garlic powder and black pepper in a shallow bowl. The fine texture adheres better to the chicken than large shards.
- Remove the chicken from the brine and pat each piece completely dry with paper towels, pressing firmly to eliminate all surface moisture. Any remaining water will create steam during baking and turn your coating soggy instead of crispy.
- Coat each chicken breast by spreading one tablespoon of cold sour cream evenly over the top and sides using the back of a spoon. Work quickly so the sour cream doesn’t warm up and become runny.
- Press the crushed chip mixture firmly but gently into the sour cream layer, covering the entire surface. Use your fingertips to pat the crumbs into place without compacting them too much, which would make the crust dense instead of light and crispy.
Notes
- The ideal ratio of sour cream to chicken is one tablespoon per breast half, spread thin to create an even adhesive layer without sliding off during baking.
- Don’t skip the brine even if you’re short on time, as it’s the single most important step for juicy chicken breasts that stay moist after baking.
- If your coating falls off, the chicken was likely too wet or the sour cream was too warm, so always pat the meat completely dry and use cold sour cream straight from the fridge.
- You can substitute chicken thighs for breasts by increasing the baking time to 35 minutes and checking for an internal temperature of 175°F for dark meat.
Nutrition Facts
- Serving Size: 1g
- Total number of serves: 4
- Calories: 320kcal
- Fat: 14g
- Carbohydrates: 8g
- Fiber: 1g
- Protein: 38g
Did you make this recipe?
Tag @therecipemasterblog on Instagram and hashtag it with #therecipemaster
Like this recipe?
Follow @therecipemasterblog on Pinterest
Follow us on Facebook!
Follow The Recipe Master on Facebook
Pro Techniques That Make This Sour Cream and Onion Chicken Better
After making this recipe dozens of times, I’ve learned exactly which steps matter most for consistent results. These techniques separate a good batch from a truly exceptional one, and they’re all simple enough to master on your first try.
Brine for Maximum Juiciness
The fifteen-minute saltwater brine is non-negotiable in my kitchen. It seasons the chicken all the way through and helps the meat retain moisture during baking. I use one tablespoon of salt per two cups of cold water, and I never skip this step even when I’m rushed. The difference in juiciness is dramatic, especially with lean chicken breasts that tend to dry out easily.
Pat the Chicken Completely Dry
After brining, I use paper towels to press every surface of the chicken until it’s truly dry, not just damp. Any remaining moisture creates steam during baking, which turns your crispy coating into a soggy mess. This step takes an extra minute but saves your entire dish, so I recommend being thorough here.
The Ideal Sour Cream to Chip Ratio
The ideal ratio for sour cream and onion chicken is one tablespoon of sour cream per chicken breast half, pressed thin to create an even adhesive layer. In my testing, I found that too much sour cream makes the coating slide off, while too little leaves bare patches. Spread it with the back of a spoon in a thin, even layer, then immediately press the crushed chips into the surface before the sour cream warms up. For the best results, you can learn more about making homemade sour cream if you want to control the tanginess and thickness.
Crush Chips to Fine Crumbs
I place the onion chips in a resealable bag and roll over them with a rolling pin until they’re mostly fine crumbs with a few small pieces remaining. This texture adheres better than large shards and creates a more uniform crust. Don’t pulverize them into powder, though, because you want some texture for visual appeal and crunch.
Elevate on a Wire Rack
Setting a wire rack inside your baking sheet allows hot air to circulate underneath the chicken, crisping the bottom crust just as well as the top. Without this step, the bottom stays pale and soft because it sits in its own steam. I lightly spray the rack with cooking oil first to prevent sticking.
Don’t Overcrowd the Pan
Leave at least one inch between each piece of chicken so air flows freely around every surface. Crowding traps steam and prevents browning, turning your crispy coating into a steamed mess. If you’re cooking for a crowd, use two baking sheets and rotate them halfway through baking for even results.
Mistakes to Avoid When Making Sour Cream and Onion Chicken
Even with a straightforward recipe like this one, a few common missteps can ruin your results. I’ve made every one of these mistakes myself, so I know exactly how to fix them before they happen.
Skipping the Brine
Many home cooks skip the brine to save time, but this is the number one reason chicken breasts turn out dry and bland. The salt in the brine changes the protein structure, allowing the meat to hold onto moisture even when fully cooked. I fix this by setting a timer for fifteen minutes while I prep the coating ingredients, so the chicken brines while I work.
Using Full-Fat Sour Cream That’s Too Warm
If your sour cream sits at room temperature, it becomes runny and slides right off the chicken instead of clinging to the surface. I always use cold sour cream straight from the fridge, and I work quickly so it doesn’t warm up on the counter. This keeps the coating where it belongs.
Overbaking Until Dry
Chicken breasts are done at 165°F, not a degree higher, and carryover cooking will add another five degrees after you remove them from the oven. I recommend pulling the chicken at 160°F and letting it rest for five minutes. This prevents the dry, rubbery texture that comes from overcooking.
Pressing the Coating Too Hard
When you press the crushed chips into the sour cream, use a gentle but firm touch. Pressing too hard compacts the crumbs and makes them dense instead of crispy. I use my fingertips to pat the crumbs into place, then leave them alone so they bake into a light, crunchy crust.
Creative Ways to Customize Sour Cream and Onion Chicken
One of the reasons I make this recipe so often is how easily it adapts to different tastes and dietary needs. These variations keep the core technique intact while changing the flavor profile or accommodating restrictions.
Spicy Jalapeño Version
I mix one tablespoon of finely diced pickled jalapeños into the sour cream before coating the chicken. The tangy heat pairs beautifully with the onion chips, and you can control the spice level by adjusting the amount. This version is perfect for anyone who loves a little kick in their dinner.
Dairy-Free Alternative
Replace the sour cream with a plant-based sour cream made from cashews or coconut. I’ve tested several brands, and the texture works just as well for adhering the coating. Make sure the dairy-free version is thick and cold, not runny, or it won’t cling properly to the chicken.
Gluten-Free Option
Most sour cream and onion chips contain gluten, so I use gluten-free onion-flavored crackers or make my own coating by mixing gluten-free panko with onion powder and garlic powder. The texture is slightly different but still crispy and delicious. Just check every ingredient label to be sure.
Chicken Thighs Instead of Breasts
Bone-in, skin-on thighs work beautifully with this coating method and stay even juicier than breasts. I increase the baking time to thirty-five minutes and check that the internal temperature reaches 175°F for thighs. The richer flavor of dark meat pairs wonderfully with the tangy sour cream. If you’re looking for more ways to use chicken in hearty meals, try this chicken mashed potato bowl recipe for a comforting one-dish dinner.
Herb-Crusted Variation
I add one teaspoon of dried dill and one teaspoon of dried parsley to the crushed chips before coating the chicken. The herbs brighten the flavor and add a pop of color to the finished dish. This version feels lighter and more spring-like, perfect for warmer weather meals.
Nutrition Breakdown for Sour Cream and Onion Chicken
Each serving of this recipe delivers approximately 320 calories, making it a satisfying yet moderate option for dinner. The protein content sits at around 38 grams per serving, which is excellent for muscle maintenance and keeping you full. Fat comes in at 14 grams, mostly from the sour cream and the natural fat in chicken, while carbs total just 8 grams thanks to the thin coating.
If you’re watching sodium, the brine adds about 400 milligrams per serving, which is reasonable for a main dish. You can reduce this by cutting the brine time to ten minutes or using a lower-sodium salt. The fiber content is minimal at 1 gram, so I always recommend pairing this chicken with a vegetable side to round out the meal nutritionally.
Best Ways to Serve Sour Cream and Onion Chicken
This chicken pairs beautifully with simple sides that don’t compete with its bold flavor. I love serving it over a bed of lightly dressed arugula or baby spinach, where the peppery greens balance the rich, tangy coating. Roasted Brussels sprouts or green beans also work wonderfully, adding a crispy vegetable element that echoes the crunchy chicken crust. For a heartier meal, mashed potatoes or buttery egg noodles soak up any juices and make the plate feel complete.
If you’re entertaining, slice the chicken on the bias and arrange it over a platter of mixed greens with cherry tomatoes and cucumber. Drizzle everything with a light vinaigrette, and you have a composed salad that looks restaurant-quality but takes minutes to assemble. I also like to serve this chicken as part of a casual buffet alongside coleslaw and cornbread, letting guests build their own plates. The versatility makes it perfect for everything from weeknight dinners to weekend gatherings.
Storing and Reheating Your Sour Cream and Onion Chicken
Store leftover chicken in an airtight container in the refrigerator for up to three days. I recommend placing a paper towel in the bottom of the container to absorb any moisture, which helps the coating stay crispier. Don’t stack the pieces directly on top of each other, or the coating will stick and peel off when you try to separate them.
For reheating, skip the microwave because it turns the coating soggy. Instead, I place the chicken on a wire rack set over a baking sheet and reheat it in a 375°F oven for ten to twelve minutes until warmed through. This method revives the crispy crust and keeps the meat juicy. You can also freeze the cooked chicken for up to two months, though the coating loses some of its crunch after thawing. To freeze, wrap each piece individually in plastic wrap, then place them all in a freezer-safe bag. Thaw in the fridge overnight before reheating.
Frequently Asked Questions
Yes, you can coat the chicken up to four hours ahead and refrigerate it uncovered on the wire rack. Bake it straight from the fridge, adding two to three extra minutes to the cooking time. This makes it perfect for stress-free entertaining.
Use any brand of sour cream and onion potato chips, preferably a kettle-cooked or thick-cut variety because they create a sturdier crust. Avoid flavored tortilla chips or veggie chips, as they don’t crush into the right texture.
The coating falls off when the chicken is too wet or the sour cream is too warm. Pat the chicken completely dry after brining, and use cold sour cream straight from the fridge. Press the crushed chips gently but firmly into the sour cream layer.
Yes, full-fat Greek yogurt works as a substitute and adds extra protein. Make sure it’s thick and cold, not runny, so it clings to the chicken properly. The flavor will be slightly less tangy but still delicious.







Leave a Reply