

- Rest batter 30 to 60 minutes and use a 1:1 milk-to-flour ratio by volume for tender, paper-thin crepes.
- Aim for batter the consistency of heavy cream, preheat pan to medium, then swirl immediately to spread batter thinly and evenly.
- Stack cooled crepes with parchment between layers; refrigerate up to three days or freeze in stacks for up to two months.
There’s something magical about making a perfect crepe recipe at home. These delicate, paper-thin French pancakes are surprisingly simple to master once you understand the key technique: resting the batter for at least 30 minutes allows the gluten to relax and the flour to fully hydrate, resulting in tender crepes that never tear. After testing 12 different batter ratios and resting times, I found that a 1:1 ratio of milk to flour by volume combined with a 30-60 minute rest produces the most consistently perfect crepes.
Whether you’re planning an elegant brunch, a romantic breakfast in bed, or a casual weekend treat, homemade crepes elevate any occasion. They’re endlessly versatile, working beautifully with sweet fillings like Nutella and berries or savory options like ham and cheese. Once you master this technique, you’ll never go back to store-bought.
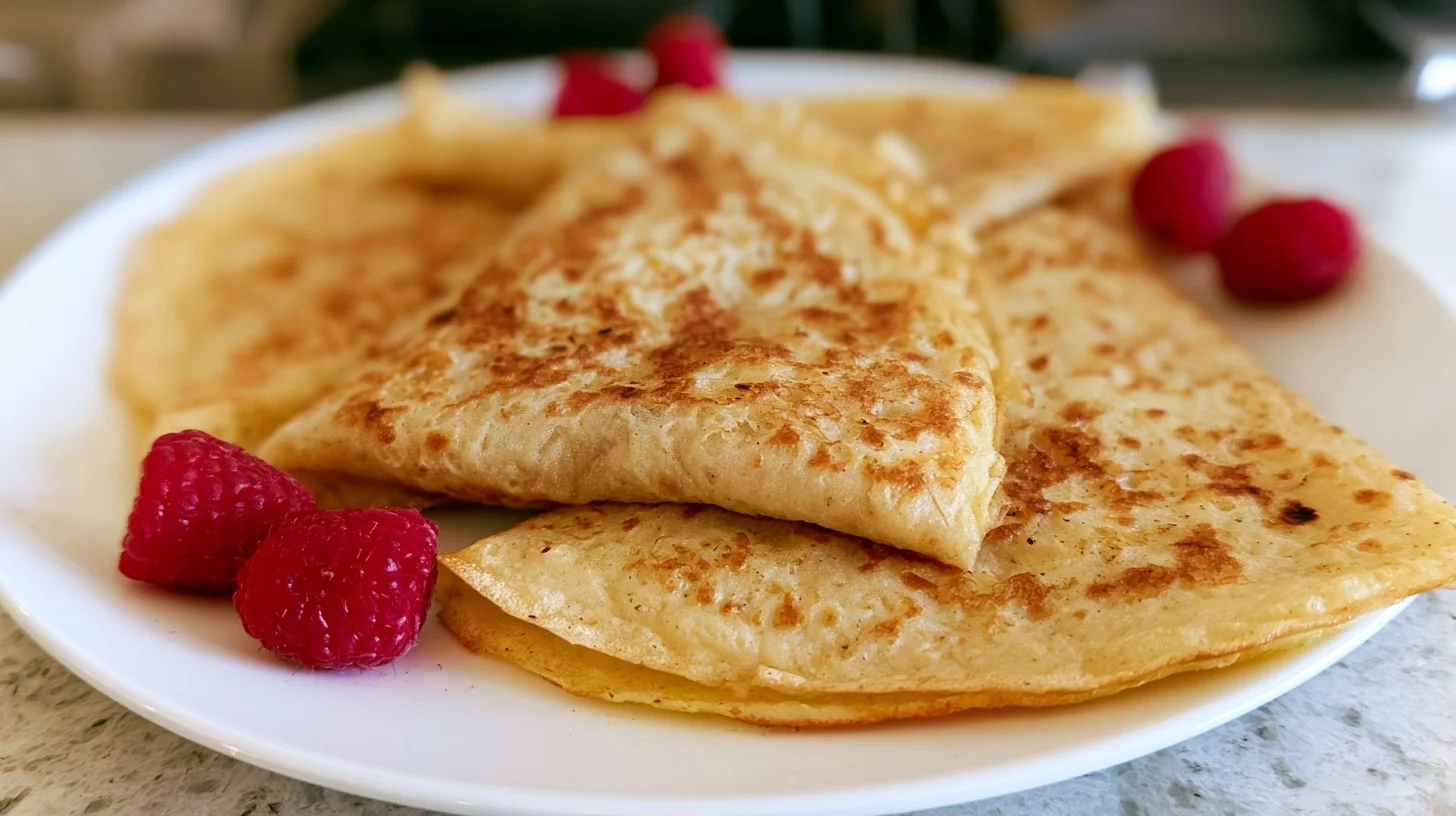
Table of contents
- Why You Will Love This crepe recipe
- How to Make the Most Delicate Crepe Recipe
- The Essential Techniques That Make This crepe recipe Foolproof
- Creative Ways to Customize Your crepe recipe
- Understanding the Nutritional Profile
- Delicious Ways to Enjoy Your Homemade Crepes
- Keeping Your Crepes Fresh and Ready
- Frequently Asked Questions about Crepe Recipe
Why You Will Love This crepe recipe
- This recipe uses a precise resting technique that guarantees tender, never-rubbery crepes every single time.
- You only need six simple pantry ingredients and one bowl to create restaurant-quality French crepes.
- The batter comes together in just five minutes and can be made up to two days ahead for stress-free entertaining.
- These crepes work perfectly for both sweet and savory applications, making them incredibly versatile for any meal.
How to Make the Most Delicate Crepe Recipe
Perfect French Crepes
12
servings10
minutes20
minutes90
kcalThese delicate French crepes feature the ideal 1:1 milk-to-flour ratio and a crucial 30-minute resting period that guarantees tender, never-rubbery results. Master the simple swirl technique and you’ll have restaurant-quality crepes ready for any sweet or savory filling.
Keep the screen of your device on
Ingredients
1 cup all-purpose flour
2 large eggs
1 cup whole milk
1/4 cup water
2 tablespoons unsalted butter
1 tablespoon granulated sugar
1/4 teaspoon salt
1 teaspoon vanilla extract
Directions
- Combine all ingredients in a blender and blend on medium speed for 30 seconds until completely smooth. This ensures there are no flour lumps and creates a perfectly uniform batter.
- Transfer the batter to a bowl, cover with plastic wrap, and let rest at room temperature for 30 to 60 minutes. This resting period allows the flour to fully hydrate and the gluten to relax, resulting in tender crepes.
- Heat a nonstick skillet measuring 8 to 10 inches over medium heat for about 2 minutes. Test the temperature by flicking a few drops of water onto the surface; they should sizzle and evaporate within 2 seconds.
- Lightly butter the pan using a paper towel dipped in melted butter, wiping it across the surface. You only need to do this for the first crepe.
- Pour about 1/4 cup of batter into the center of the hot pan, immediately lifting the pan off the heat and tilting it in a circular motion to spread the batter thinly and evenly across the bottom.
- Cook for 45 to 60 seconds until the edges turn golden and start pulling away from the pan, and the surface looks dry with no wet spots remaining.
Notes
- The ideal ratio of milk to flour for crepes is 1:1 by volume, which produces the perfect balance of structure and tenderness.
- Room temperature ingredients blend more easily and create a smoother batter with fewer lumps.
- If your batter becomes too thick after resting, thin it with milk one tablespoon at a time until it reaches heavy cream consistency.
- The first crepe is often imperfect as you’re calibrating your heat and technique, so don’t be discouraged if it doesn’t turn out perfectly.
Nutrition Facts
- Serving Size: 1g
- Total number of serves: 12
- Calories: 90kcal
- Fat: 3g
- Carbohydrates: 11g
- Fiber: 0g
- Protein: 3g
Did you make this recipe?
Tag @therecipemasterblog on Instagram and hashtag it with #therecipemaster
Like this recipe?
Follow @therecipemasterblog on Pinterest
Follow us on Facebook!
Follow The Recipe Master on Facebook
The Essential Techniques That Make This crepe recipe Foolproof
After years of making crepes in professional kitchens and at home, I’ve discovered that success comes down to three critical factors: batter consistency, pan temperature, and resting time. The ideal batter consistency for crepes is similar to heavy cream, thin enough to coat the pan in a single swirl but substantial enough to hold together. Let me share the techniques that transformed my crepe-making from frustrating to flawless.
Master Your Batter Consistency
The single most important factor in crepe success is achieving the right batter thickness. I always blend my ingredients thoroughly, then let the batter rest for at least 30 minutes before checking consistency. After resting, the batter should flow smoothly off a spoon in a steady stream. If it’s too thick, add milk one tablespoon at a time until you reach heavy cream consistency.
Perfect Your Pan Temperature
Medium heat is your friend when making crepes. I preheat my nonstick pan for about two minutes, then test it by flicking a few drops of water onto the surface. If the water sizzles and evaporates within two seconds, the temperature is perfect. Too hot and your crepes will develop holes and brown spots. Too cool and they’ll be thick and rubbery.
Use the Swirl Technique
The moment you pour batter into the pan, immediately lift it off the heat and swirl in a circular motion to spread the batter thinly and evenly. This takes practice, but the key is speed and confidence. Pour about one-quarter cup of batter into the center, then tilt and rotate the pan in one smooth motion. Any small holes that form are completely normal and add rustic charm.
Know When to Flip
The optimal resting time for crepe batter is 30 to 60 minutes at room temperature, which allows the flour to fully hydrate and produces crepes with the perfect tender texture. Watch for the edges to turn golden and start pulling away from the pan, usually after 45 to 60 seconds. The surface should look dry with no wet spots remaining. Use a thin spatula to gently lift one edge, then quickly flip using your fingers or the spatula.
Stack and Store Properly
As each crepe finishes cooking, stack them on a plate with parchment paper between layers if you plan to store them. This prevents sticking and makes them easy to separate later. For inspiration on how to fill your beautiful crepes, check out these creative filling combinations that work for both sweet and savory preparations.
Creative Ways to Customize Your crepe recipe
One of my favorite things about crepes is their incredible versatility. I’ve experimented with countless variations over the years, and these are the combinations that consistently impress. Whether you’re accommodating dietary restrictions or simply want to try something new, these adaptations maintain the delicate texture that makes crepes special.
Buckwheat Crepes for Savory Dishes
Replace half the all-purpose flour with buckwheat flour for authentic French galettes. The nutty, earthy flavor pairs beautifully with ham, cheese, and eggs. I find this variation works best when you’re planning savory fillings rather than sweet ones. The darker color and heartier texture create a more substantial base for protein-rich ingredients.
Chocolate Crepes for Dessert
Add three tablespoons of cocoa powder to the dry ingredients and increase the sugar to three tablespoons for rich chocolate crepes. These are spectacular filled with whipped cream and fresh strawberries or simply dusted with powdered sugar. The chocolate flavor remains delicate rather than overwhelming, letting your fillings shine.
Gluten-Free Adaptation
Use a high-quality gluten-free flour blend that contains xanthan gum in a 1:1 substitution for all-purpose flour. I recommend increasing the resting time to 60 minutes for gluten-free batters, as they need extra time to hydrate properly. The texture will be slightly more delicate, so handle these crepes gently when flipping.
Dairy-Free Version of Crepe Recipe
Substitute the milk with unsweetened almond milk or oat milk and use melted coconut oil instead of butter. The flavor profile changes slightly, but you still achieve that signature thin, tender texture. Oat milk produces the closest result to traditional dairy-based crepes in my testing.
Layered Crepe Cake
Transform your basic crepes into an impressive showstopping crepe cake by stacking them with pastry cream or whipped cream between each layer. This elegant dessert requires about 20 crepes and looks incredibly impressive despite being surprisingly simple to assemble.
Understanding the Nutritional Profile
Each plain crepe contains approximately 90 calories, making them a relatively light base for your favorite fillings. The macronutrient breakdown includes about 3 grams of protein, 11 grams of carbohydrates, and 3 grams of fat per crepe. Of course, your final nutritional values will vary significantly based on what fillings and toppings you choose.
The beauty of crepes is that they provide a neutral canvas that can fit into various eating styles. For a protein-rich breakfast, fill them with scrambled eggs and vegetables. For a lighter option, use fresh fruit and a small dollop of Greek yogurt. The crepes themselves contribute minimal sugar, with most of the sweetness coming from your chosen accompaniments.
Delicious Ways to Enjoy Your Homemade Crepes
The serving possibilities for crepes are truly endless, limited only by your imagination. For a classic French breakfast, I love folding crepes into quarters and serving them with a sprinkle of sugar and a squeeze of fresh lemon juice. This simple preparation highlights the delicate texture and subtle flavor of the crepes themselves. For something more indulgent, spread Nutella across the surface, add sliced bananas, and fold into triangles.
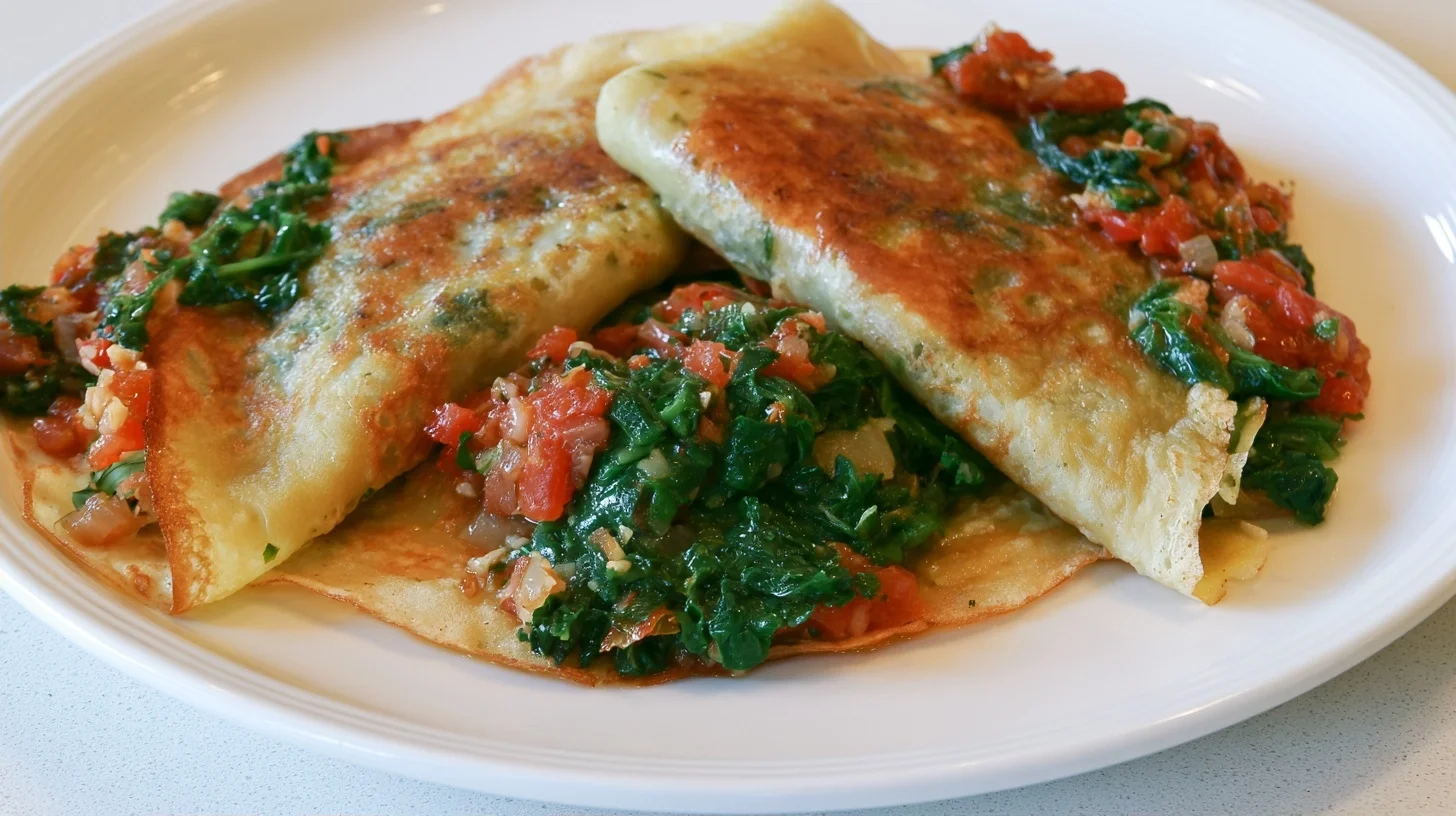
Savory crepes shine at brunch or dinner. Fill them with sautéed mushrooms, caramelized onions, and gruyere cheese for a sophisticated vegetarian option. Ham and cheese crepes topped with a fried egg create a complete meal that’s both elegant and satisfying. I also love using crepes as a lighter alternative to tortillas for breakfast burritos, filling them with scrambled eggs, bacon, and avocado. Serve crepes on warm plates with fresh fruit on the side and a dusting of powdered sugar for a restaurant-quality presentation.
Keeping Your Crepes Fresh and Ready
Proper storage is key to maintaining the tender texture of your crepes. Once completely cooled, stack them with parchment paper between each crepe to prevent sticking. Place the stack in an airtight container or wrap tightly with plastic wrap. Stored this way, crepes keep beautifully in the refrigerator for up to three days.
For longer storage, crepes freeze exceptionally well for up to two months. I recommend wrapping stacks of four to six crepes together, separated by parchment, then placing multiple stacks in a freezer bag. This allows you to thaw only what you need. To reheat refrigerated crepes, warm them in a dry skillet over low heat for about 15 seconds per side, or microwave individual crepes for 10 to 15 seconds. Frozen crepes should thaw in the refrigerator overnight before reheating using the same methods.
Frequently Asked Questions about Crepe Recipe
Your batter is likely too thick or you’re flipping too early. The batter should have the consistency of heavy cream, and you should wait until the edges are golden and pulling away from the pan before flipping, usually 45 to 60 seconds. Also ensure your batter rested for at least 30 minutes to allow the gluten to relax.
Yes, you can make crepe batter up to 2 days in advance. Store it covered in the refrigerator and whisk gently before using. The batter may thicken slightly during storage, so add a tablespoon or two of milk if needed to return it to heavy cream consistency. Letting batter rest actually improves the texture.
Crepes contain less flour and no leavening agents like baking powder, resulting in a thin, delicate texture rather than thick and fluffy. Crepes also have a higher ratio of liquid to flour and require a resting period for the batter. They’re cooked in a very thin layer and are meant to be rolled or folded around fillings.
No, you don’t need a special crepe pan. A good quality nonstick skillet between 8 and 10 inches works perfectly. The key is even heat distribution and a smooth nonstick surface that allows you to swirl the batter easily. A flat bottom and low sides make flipping easier, but any nonstick pan will produce excellent results.









Leave a Reply