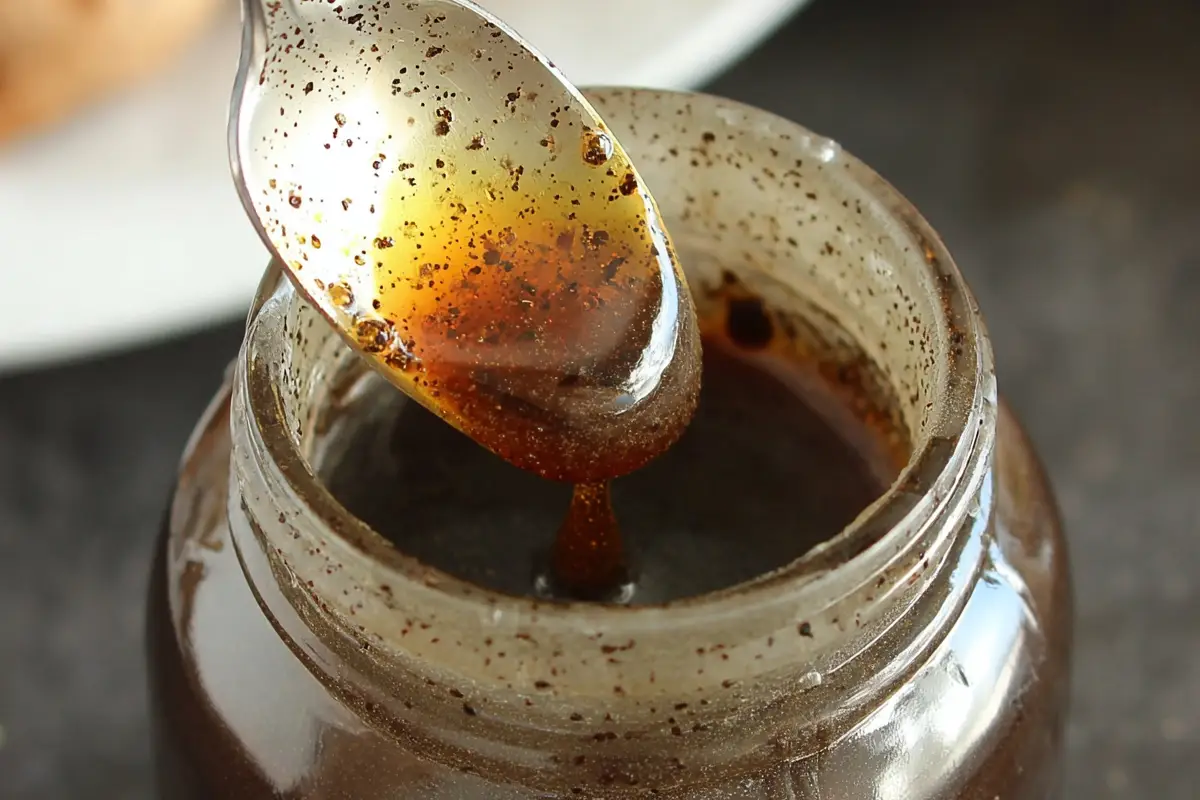
Ever wondered how to make a vanilla paste recipe that rivals the depth and elegance of store-bought versions? I certainly did, until I discovered how easy and satisfying it is to create my own right in my cozy New York kitchen. Making homemade vanilla bean paste not only unlocks a richer, more nuanced flavor but also adds those lovely flecks of vanilla seeds that instantly elevate any dessert.
Whether you’re whipping up a classic crème brûlée or adding a gourmet touch to your morning pancakes, this recipe fits beautifully into everyday life. It’s simple, deeply aromatic, and endlessly versatile. What makes it truly special is how it bridges the gap between vanilla extract and whole beans, delivering the best of both worlds in one spoonful.
Table of contents
Why This Vanilla Paste Recipe Works
Creating your own vanilla bean paste might sound daunting, but it’s simpler than you think. Here’s why this recipe stands out:
- Intense Flavor: Using whole vanilla beans ensures a deep, aromatic flavor that’s hard to match with store-bought extracts.
- Visual Appeal: The tiny black flecks from the vanilla seeds add a gourmet touch to your desserts.
- Versatility: This paste can replace vanilla extract in any recipe, offering a richer taste.
- Long Shelf Life: Stored properly, your homemade vanilla paste can last up to a year, making it a cost-effective choice.
- Customizable: Adjust the sweetness or consistency to suit your preferences.
Dietary Customizations
- Sugar-Free Option: Use vegetable glycerin instead of sugar and corn syrup for a diabetic-friendly version.
Recipe Card
Handy Tips to Make Your Vanilla Paste Shine
Making vanilla paste is super rewarding, but there are a few things you can do to take it from good to absolutely unforgettable. Here are some of my favorite little tricks that make a big difference:
- Bean Quality Matters: Always opt for fresh, plump vanilla beans. Dry or brittle beans can affect the flavor and texture.
- Blender Efficiency: A high-speed blender ensures a smoother paste. If using a standard blender, blend in intervals and ensure the pods are finely chopped.
- Flavor Development: While the paste can be used immediately, allowing it to rest for a week enhances its flavor.
- Storage: Always use a clean spoon to prevent contamination. Store in a cool, dark place away from direct sunlight.
Fun Ways to Switch It Up
Once you’ve got the basics down, you can totally customize this vanilla paste to match your taste or the season. These variations are easy to whip up and will make you feel like a flavor wizard:
- Sugar-Free Vanilla Paste: Replace granulated sugar with erythritol or monk fruit sweetener. The flavor remains rich with fewer calories.
- Brown Sugar Vanilla Paste: Substitute granulated sugar with brown sugar for a deeper, molasses-like flavor.
- Spiced Vanilla Paste: Add a pinch of cinnamon or nutmeg during blending for a warm, spiced undertone.
- Citrus-Infused Vanilla Paste: Incorporate a teaspoon of orange or lemon zest for a refreshing twist.
Storing It Just Right
You’ve made your paste, now let’s make sure it stays fresh and fabulous! Proper storage not only preserves flavor but keeps your vanilla paste ready to go whenever inspiration strikes. Keep the vanilla paste in a sterilized glass jar with a tight lid. Store in a cool, dark place. It remains fresh for up to a year.
FAQs About Vanilla Paste Recipe
Yes, but for the best flavor, let it sit for at least 24 hours.
Vanilla paste includes the seeds and has a thicker consistency, offering a more intense flavor and visual appeal.
Yes, but the flavor might be less intense compared to using fresh pods.
No, it’s optional. It helps in maintaining a uniform consistency but isn’t essential.
Use a 1:1 ratio. One teaspoon of paste equals one teaspoon of extract.
Wrapping It Up with a Sweet Vanilla-Scented Bow
If you’re still on the fence about making your own vanilla bean paste recipe, trust me, once you taste the rich, speckled magic it brings to your bakes, you’ll never want to go back. Whether you’re whipping up cookies, cakes, or something totally creative, this little jar of goodness will be your new secret weapon in the kitchen.
If you’re already dreaming about what to bake next, don’t miss my Butterfinger Cake Recipe for a decadent dessert or try the Crusty Italian Bread Recipe, because nothing beats fresh bread with a hint of vanilla in your butter!
Let us know how it turns out for you, and don’t forget to tag your kitchen adventures. We’re cheering you on every step of the way!






Leave a Reply