- Easy-to-make peanut butter cookies topped with chocolate “spiders” deliver chewy texture, rich flavor, and festive Halloween appeal.
- Prep tips—chill dough, use room-temperature ingredients, and pipe legs after cooling—ensure bakery-quality results every time.
- Highly versatile: swap flours or fillings for dietary needs, make no-bake or air-fryer versions, and customize flavors and sizes.
The first time I made spider cookies, I wasn’t sure if my guests would find them spooky or adorable. Turns out, they were both, and completely irresistible. These cookies are a fun way to bring Halloween spirit into your kitchen without needing fancy tools or hours of decorating. Whether you’re baking with kids, preparing for a party, or just want a creative dessert idea, this spider cookies recipe delivers flavor, fun, and fright in every bite.
These cookies fit perfectly into the category of festive treats that make your Halloween table unforgettable. They’re chewy, rich with chocolate and peanut butter flavor, and topped with a candy spider that makes everyone smile before they take a bite.
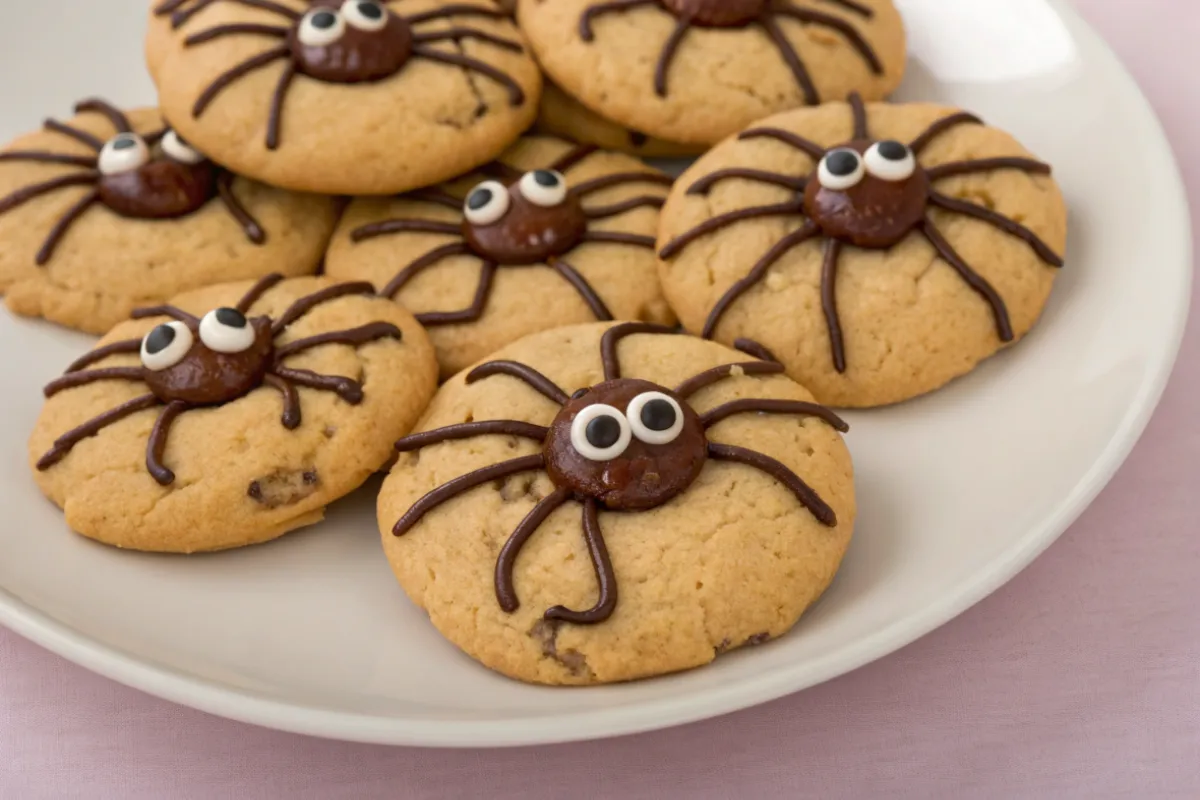
Table of contents
Get Ready Before You Bake
Having everything ready makes baking these spider cookies much more enjoyable.
Here’s what I like to prepare ahead:
- Candy spiders or truffles – Unwrap your chocolate truffles or peanut butter cups and keep them at room temperature.
- Dry mix – Combine flour, baking soda, and salt in a bowl so it’s ready to go.
- Baking sheets – Line them with parchment paper before starting to save time.
- Butter and eggs – Bring them to room temperature for a smoother dough.
- Decorating materials – Have your melted chocolate or icing ready for drawing spider legs once cookies are cooled.
If you’re planning to bake a big batch, prepare the dough earlier and chill it in the fridge for up to 48 hours. It enhances the flavor and makes handling easier.
Spider Cookies Recipe Card
Spider Cookies Recipe
24
servings20
minutes10
minutes180
kcalThese adorable spider cookies are perfect for Halloween and taste as good as they look. A soft peanut butter base topped with chocolate truffles turns simple cookies into spooky showstoppers.
Keep the screen of your device on
Ingredients
1.25 cups all-purpose flour
1 tsp baking soda
0.25 tsp salt
0.5 cup unsalted butter (softened)
0.5 cup granulated sugar
0.5 cup brown sugar
1 large egg
1 tsp vanilla extract
0.5 cup creamy peanut butter
24 chocolate truffles (or round candies)
Melted chocolate or icing for decorating
Directions
- Start by preheating your oven to 350°F (175°C) and lining a baking sheet with parchment paper. In a bowl, whisk together the flour, baking soda, and salt. In a separate bowl, cream butter with both sugars until fluffy, then beat in the peanut butter, egg, and vanilla. Gradually add the dry mix to the wet ingredients until fully combined.
- Scoop dough into small balls and place them on the prepared baking sheet. Bake for about 10 minutes, until the edges are golden but the centers are soft. Press a chocolate truffle into each warm cookie immediately after baking to create the spider’s body. Once cookies cool completely, use melted chocolate to draw spider legs around each truffle. Let them set before serving or storing.
Notes
- Chill dough for 15-20 minutes if your kitchen is warm.
- For darker cookies, use dark brown sugar.
- Store in an airtight container for up to 4 days or refrigerate for a week.
Nutrition Facts
- Fat: 9g
- Carbohydrates: 21g
- Fiber: 1g
- Sugar: 14g
- Protein: 4g
Did you make this recipe?
Tag @therecipemasterblog on Instagram and hashtag it with #therecipemaster
Like this recipe?
Follow @therecipemasterblog on Pinterest
Follow us on Facebook!
Follow The Recipe Master on Facebook
What Makes These Cookies So Good
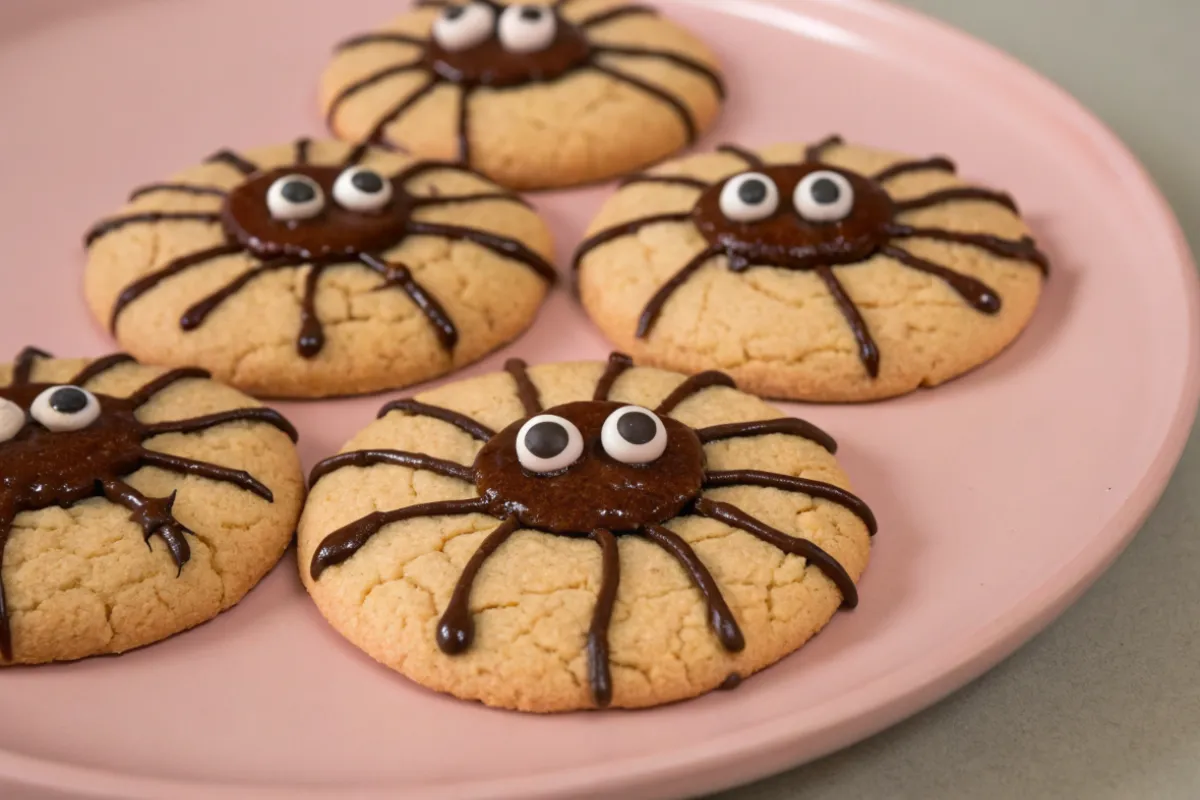
What sets these spider cookies apart is the combination of rich flavor and simple decoration. You don’t need to be a skilled baker to create them, yet they look like something straight out of a professional kitchen. The base cookie is soft and slightly chewy with a deep peanut butter taste that complements the chocolate “spider body.”
Here’s why this recipe works so well:
- Balance of flavor and texture – The peanut butter base contrasts beautifully with the smooth chocolate center.
- Kid-friendly – Decorating these spider cookies is fun and safe for little hands.
- Easy customization – Swap peanut butter for almond butter, use gluten-free flour, or replace chocolate truffles with mini peanut butter cups.
- Make-ahead friendly – You can bake the cookies a day in advance and decorate them just before serving.
For inspiration on peanut butter desserts and variations, check out this Allrecipes Peanut Butter Desserts. And if you want another recipe that I tried and I was happy with, I suggest the Peanut Butter and Jelly Cake Recipe!
Tips That Make All the Difference
These little tricks guarantee your spider cookies turn out bakery-quality every time:
- Use soft butter, not melted – It helps the cookies hold their shape.
- Chill the dough – Even 15 minutes makes a difference in texture.
- Press the truffles gently – Add them right after baking while the cookies are still warm, so they stick without melting too much.
- Draw legs after cooling – Wait until cookies are fully cooled to pipe the legs neatly.
- Use a squeeze bottle or piping bag – It gives better control when decorating spiders.
- Store correctly – Keep cookies in an airtight container at room temperature for up to four days.
For decorating techniques, see King Arthur Baking’s cookie decorating guide, their tutorials on piping and cooling are excellent for beginners and pros alike.
Different Ways to Spin These Spider Cookies
One of the joys of making spider cookies is how versatile they can be. You can adjust the flavors, toppings, or presentation to match your taste or dietary needs. Here are my favorite takes on this classic Halloween cookie:
1. Double Chocolate Spider Cookies
For chocolate lovers, make a cocoa-based dough and use dark chocolate truffles as the spider bodies. The result is intensely rich and indulgent, perfect for true chocolate enthusiasts. A pinch of espresso powder can deepen the flavor beautifully.
2. Gluten-Free Spider Cookies
Swap regular flour with an almond or oat flour blend for a chewy, nutty variation. Ensure your chocolate decorations are also gluten-free. This version maintains the same flavor balance while being friendly for those with dietary restrictions.
3. Salted Caramel Spider Cookies
Add a small dollop of caramel to the center before placing the chocolate spider on top. The touch of salt enhances sweetness, creating an irresistible balance of flavors.
4. Spider Cookies Without Peanut Butter
If you have allergies or prefer another flavor, try sunflower seed butter or cookie butter. These alternatives keep the texture soft while offering a new taste experience.
5. Mini Spider Bites
Make smaller cookies with mini chocolate candies for bite-sized treats that are ideal for parties or trick-or-treat bags.
Baking Methods That Suit You
While the classic spider cookies are baked, there are other ways to enjoy this idea depending on your time and tools:
Oven-Baked – The traditional way ensures crisp edges and chewy centers. Perfect for a deep flavor and that homemade cookie texture.
No-Bake Version – Use crushed graham crackers, melted chocolate, and peanut butter to form cookie bases, then chill them in the fridge. This option is great for kids or hot days when you’d rather avoid the oven.
Air Fryer Spider Cookies – Quick and energy-efficient, these can be baked in batches in under eight minutes. Keep a close eye on them, as they bake faster than in a conventional oven.
Common Questions About Spider Cookies Recipe
Chill the dough before baking. Cold dough holds its shape better and prevents excess spreading.
Chocolate truffles, malt balls, or peanut butter cups all work well. Choose one that holds its shape after baking.
Replace peanut butter with sunflower seed butter and ensure candies are nut-free.
Overbaking is usually the reason. Remove them when edges are golden and centers still soft.
Bring the Spooky Fun to Your Kitchen
These spider cookies recipe are the perfect combination of cute, spooky, and delicious. They’re simple enough for beginners yet impressive enough to steal the spotlight at any Halloween gathering. I love how they bring people together, kids laugh while decorating, adults sneak extra bites, and everyone leaves with a smile.


Leave a Reply