- Ultra-creamy texture achieved by high butterfat ice cream and controlled ice cream-to-milk ratio.
- Use peppermint extract, not spearmint, and hydrate it into milk for true mint flavor without aftertaste.
- Add a splash of heavy cream and a pinch of kosher salt to boost richness and balance sweetness.
- Chill glasses, soften ice cream briefly, and pulse blend technique to avoid icy or foamy shakes.
- Use gel food coloring for vibrant green and start with 0.25 tsp peppermint to avoid toothpaste flavor.
I finally found the secret to the perfect Shamrock Shake copycat recipe in my own kitchen. We all know that “Monday repentance” feeling, the desire for a clean start after a weekend of indulgence, but sometimes, you just need a minty, nostalgic hug in a glass. This drink was a staple of my childhood; my grandmother used to make her own version with garden-fresh mint and heavy cream, a far cry from the artificial syrups of the fast-food world.
I made this three times in one week just to get the texture right. In my first trial, the shake was too icy; in the second, the mint was overwhelming. The verdict? You need high-fat dairy and a specific “hydration” phase for the mint extract to truly shine. This Shamrock Shake recipe delivers a velvety, thick consistency that holds its peak, just like a professional soda fountain treat.
What Makes Our Shamrock Shake Special
- Ultra-Creamy Texture: By controlling the ice cream to milk ratio, we achieve a thick, decadent mouthfeel.
- No Artificial Aftertaste: We use pure extracts and high-quality dairy to avoid that “chemical” mint flavor.
- Family-Favorite Status: It’s a festive, bright green tradition that kids and adults look forward to every March.
- Customizable Sweetness: Unlike the drive-thru version, you can adjust the sugar levels to your preference.
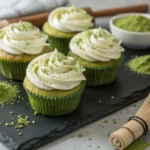
If you are looking for more festive treats, you might also love my Pistachio Lemon Cookies Recipe or my Strawberry Crumb Bars.
Choosing Your Mint and Cream
The Best Ice Cream to Use
For a successful Shamrock Shake recipe, the science of milkfat is your best friend. I recommend using a high-quality “Old Fashioned” or “Bean-Free” Vanilla ice cream. The goal is a high butterfat content (look for at least 10-12%). Avoid “Light” ice cream or “Frozen Dairy Desserts,” which contain too much air and gums. A denser ice cream ensures the shake stays thick even at room temperature for a few minutes.
Key Flavor Enhancers
- Peppermint Extract: Be specific—use peppermint, not spearmint, to get that authentic “cool” flavor.
- Heavy Cream: A splash of heavy cream adds a professional richness that milk alone cannot provide.
- Kosher Salt: A tiny pinch of salt (just a few grains) is a secret “Don’t Skip!” step. It balances the sugar and makes the mint pop.
- Gel Food Coloring: I prefer gel over liquid to get that vibrant green without thinning out the shake.
How to Make Shamrock Shake Step-by-Step
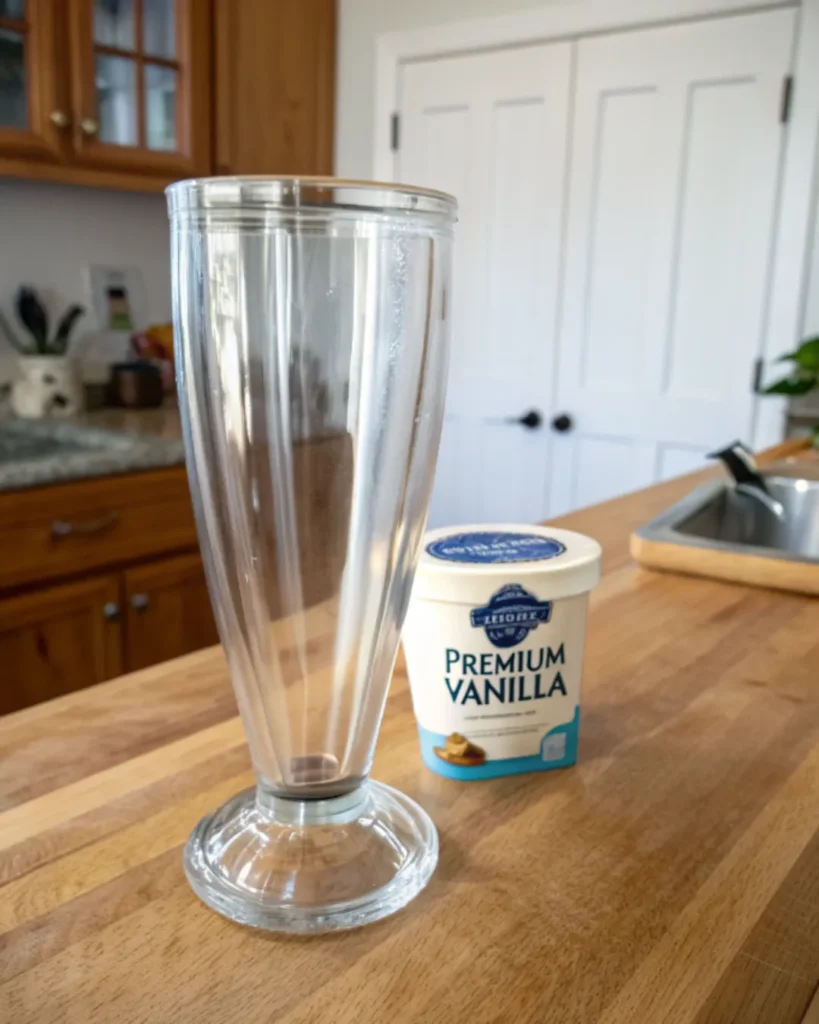
Phase 1: Prep and Chilling the Glassware
Before you even touch the blender, place your serving glasses in the freezer for at least 15 minutes. Don’t Skip! This technical step prevents the shake from melting the moment it hits the glass. While the glasses chill, let your ice cream sit on the counter for 5 minutes to reach a slightly softer room temperature, this prevents the motor from over-heating the dairy.
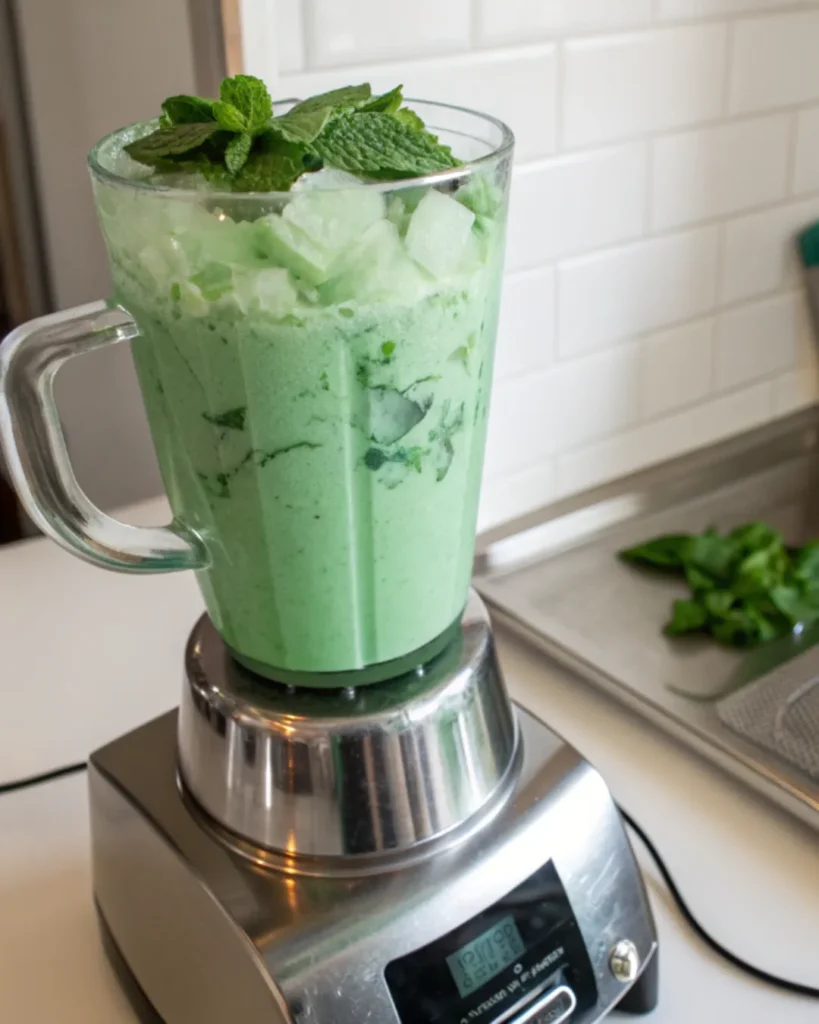
Phase 2: Technical Execution: The High-Speed Pulse
Add your milk and heavy cream to the blender first to lubricate the blades. Add the mint and food coloring. Pulse the blender 3–5 times to Hydrate the mint extract into the milk. Add the ice cream last. Blend on low speed, then increase to high for only 10 seconds. Do not overmix, or you will incorporate too much air, turning your shake into a foam.
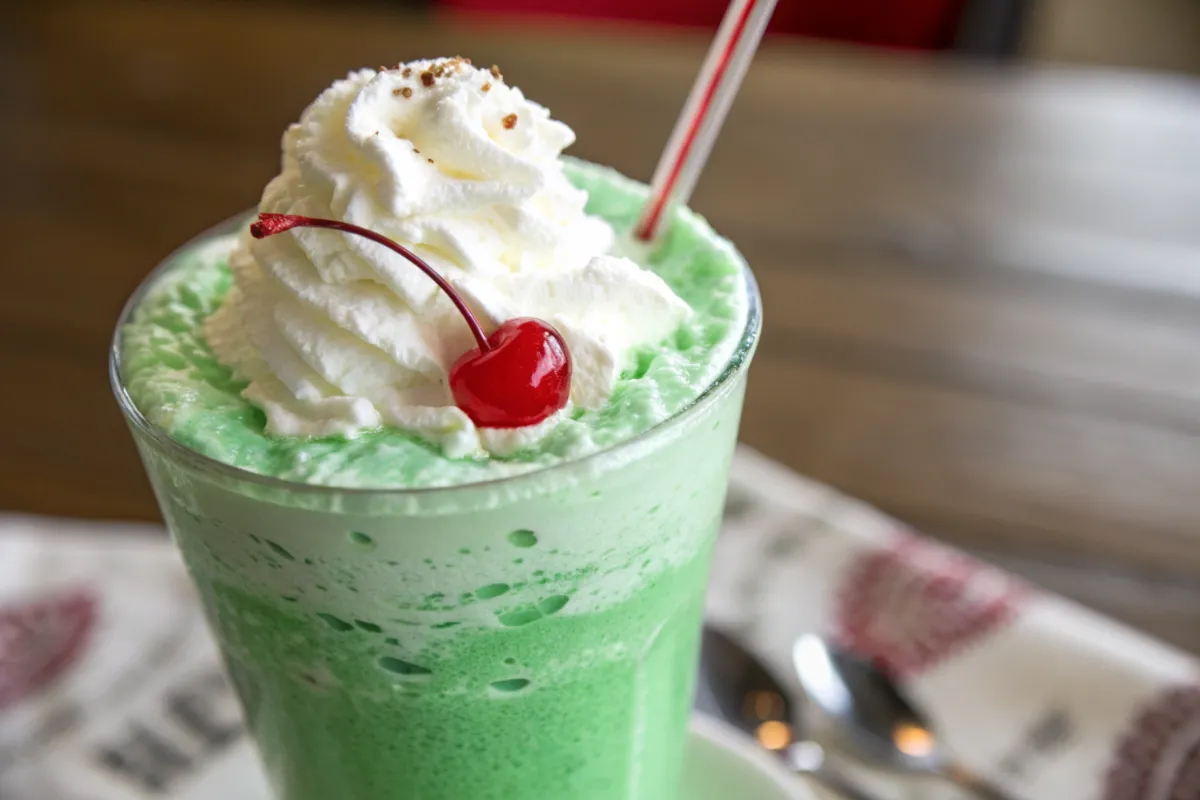
Phase 3: Finishing Touches of Shamrock Shake
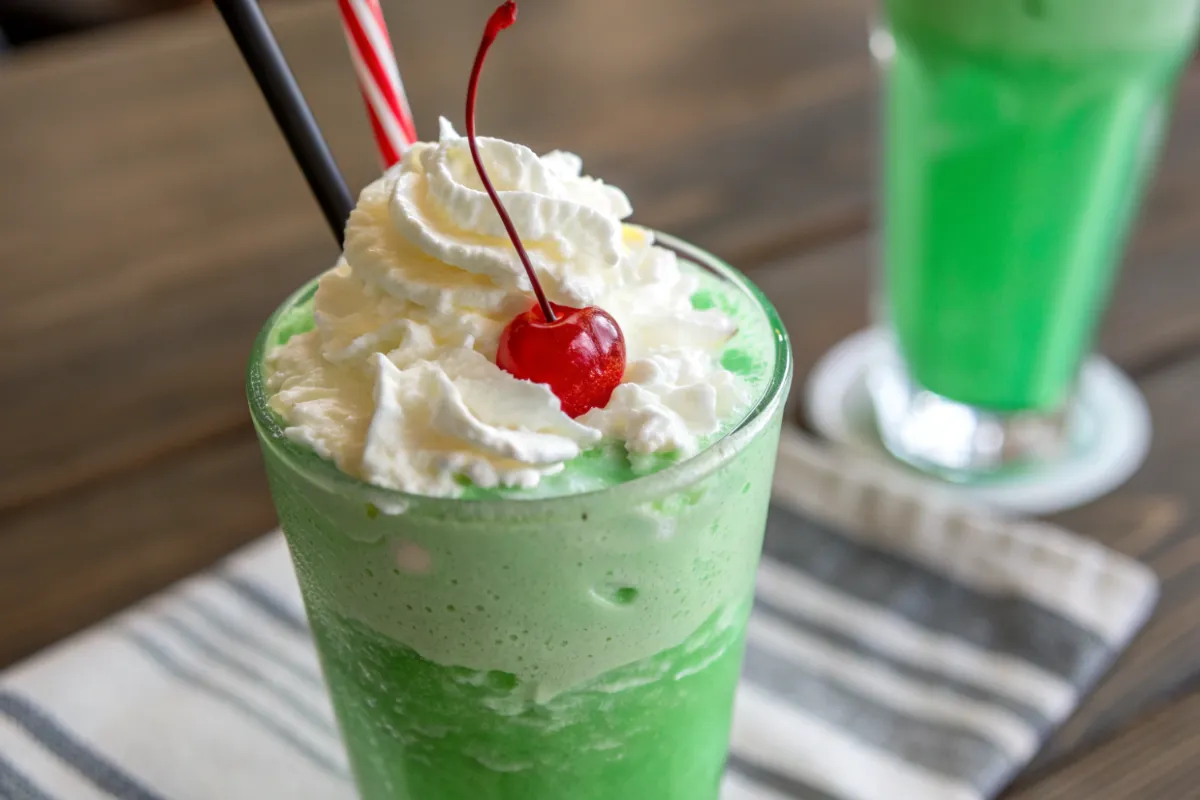
Fold a dollop of whipped cream onto the top. For a professional aesthetic, use a piping bag with a star tip. Garnish with a maraschino cherry and a sprinkle of green sugar.
Professional Secrets for the Thickest Shakes
- Temperature Precision: If you want to be truly precise, use an instant-read thermometer. Your shake is at peak consistency when the internal temperature is between 24°F and 27°F.
- Mechanical Tools: I highly recommend using a high-power blender (like a Vitamix) or a traditional spindle milk shake mixer for the smoothest results.
- Consistency Check: If your shake is too thin, add another scoop of ice cream. If it is too thick to drink through a straw, add milk one tablespoon at a time.
- The Extract Warning: If you add too much peppermint, it can taste like toothpaste. Start with 0.25 tsp and taste as you go.
Shamrock Shake Recipe Card
Shamrock Shake Recipe
2
servings5
minutes0
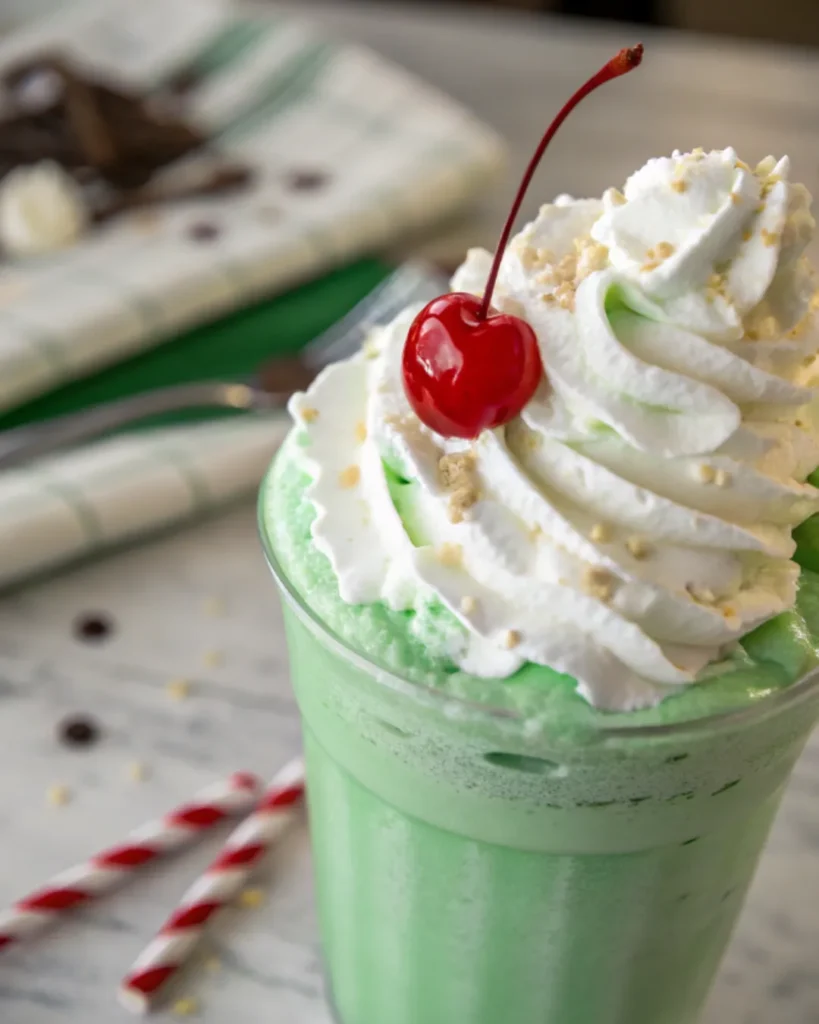
minutes450
kcalThis Shamrock Shake recipe produces a thick, minty, and vibrant green treat that is far superior to the seasonal fast-food version.
Keep the screen of your device on
Ingredients
3.00 cups Premium Vanilla Ice Cream (softened slightly)
0.75 cups Whole Milk
0.25 cups Heavy Cream
0.50 tsp Peppermint Extract (not spearmint)
3.00 drops Green Gel Food Coloring
0.05 tsp Kosher Salt (a tiny pinch)
Toppings: Whipped cream, maraschino cherries, green sprinkles
Directions
- Chill Your Tools: Place two tall glasses in the freezer. Ensuring your glassware is cold is a “Don’t Skip!” step for a professional result.
- Liquid Base: Pour 0.75 cups of whole milk and 0.25 cups of heavy cream into the blender jar.
- Flavor and Color: Add the peppermint extract, green food coloring, and the tiny pinch of Kosher salt.
- Hydrate the Mint: Give the blender two quick pulses to combine the liquids. This ensures the mint flavor is distributed evenly before the thick ice cream is added.
- The Scoop: Add 3.00 cups of slightly softened vanilla ice cream to the blender.
- The Blend: Cover and blend on medium speed for about 10–15 seconds. You want it smooth but still thick enough to resist a spoon. Do not overmix.
- The Pour: Remove the chilled glasses from the freezer. Pour the shake into the glasses, leaving an inch at the top for toppings.
- Final Touches: Pipe a generous swirl of whipped cream on top. Add your cherry and sprinkles immediately. Serve with a wide straw.
Notes
- Testing Narrative: I found that adding the heavy cream was the “verdict” in my testing—it prevents the shake from separating as it sits.
- Clean Up: To clean your blender quickly, fill it halfway with warm water and a drop of soap, then blend for 30 seconds.
Nutrition Facts
- Fat: 22g
- Sodium: 120mg
- Carbohydrates: 54g
- Protein: 8.2g
- Calcium: 25mg
Did you make this recipe?
Tag @therecipemasterblog on Instagram and hashtag it with #therecipemaster
Like this recipe?
Follow @therecipemasterblog on Pinterest
Follow us on Facebook!
Follow The Recipe Master on Facebook
Frequently Asked Questions
Milkshakes are best enjoyed immediately. However, you can blend it and store it in an Airtight container in the back of the freezer for up to 2 hours. Just give it a quick stir before serving.
You can freeze the leftover shake in a single layer in ice cube trays. Later, Pulse the “shake cubes” in the blender with a splash of milk for a quick Batch cooking treat.
Then you likely used low-fat milk or ice cream with high water content. Stick to whole milk for the best results.
Keeping Your Shake Fresh
Since this is a frozen treat, “reheating” isn’t the goal, but maintaining texture is. If the shake melts, do not try to re-freeze it as a solid block. Instead, pour the melted mixture into a single layer in a shallow dish, freeze, and then re-blend. To maintain the “crispy texture” of any cookie garnishes, always add them at the very last second.
Learn more about this shake:
- For more on dairy science and milkfat, visit International Dairy Foods Association.
- Learn about the history of St. Patrick’s Day treats at History.com.

Leave a Reply