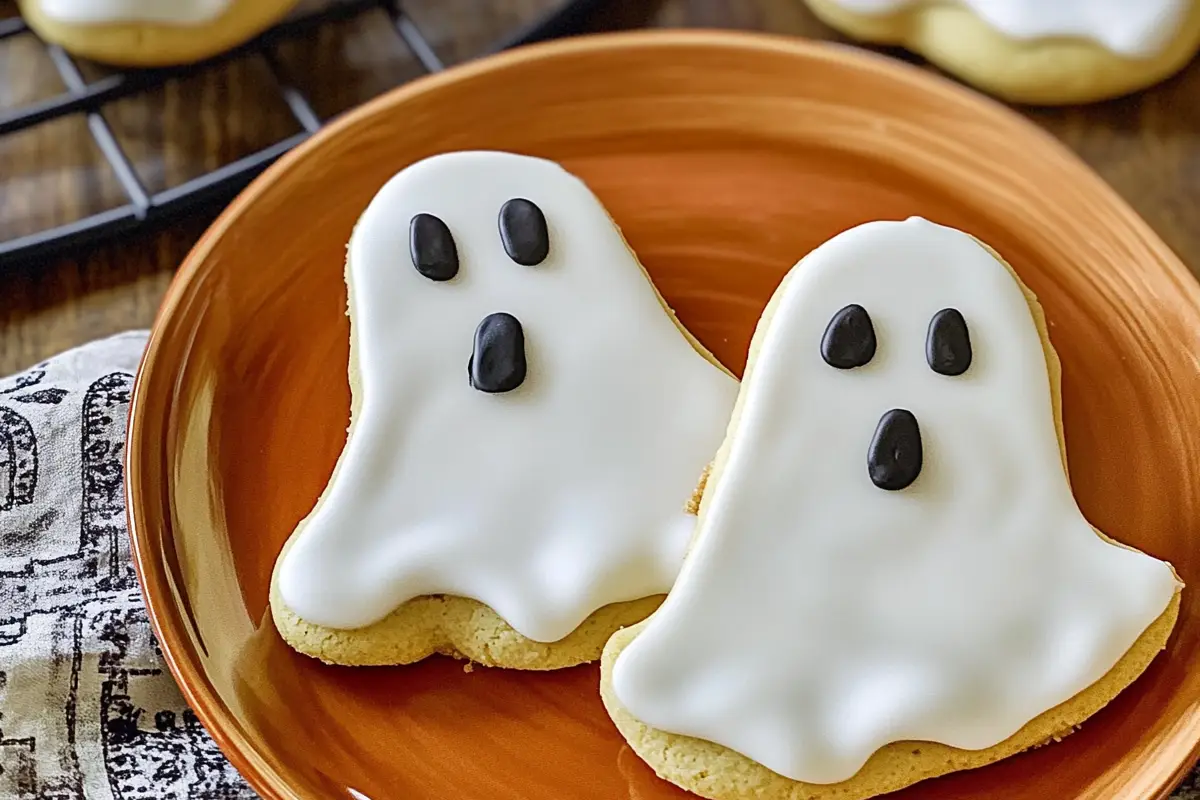
Halloween is the perfect time to get creative in the kitchen, and these Halloween Ghost Cookies are the ultimate spooky treat! Whether you’re hosting a Halloween party, making goodies for trick-or-treaters, or just getting into the festive spirit, these ghost-shaped cookies are sure to impress. The best part? They’re super easy to make, requiring only simple ingredients and a bit of decorating magic.
These Halloween Ghost Cookies are soft, buttery, and just the right amount of sweet. The sugar cookie base is crisp on the outside yet tender inside, while the icing adds a delightful sweetness with a ghostly finish. Plus, they’re incredibly fun to decorate, making them a fantastic baking project for kids and adults alike.
If you’re looking for a Halloween dessert that’s both adorable and delicious, this recipe is a must-try. These cookies have a classic vanilla flavor, but you can easily customize them with different extracts, decorations, or even a chocolate twist. They’re perfect for Halloween gatherings, school parties, or a cozy night of spooky movie marathons.
Table of contents
Recipe Card
Ghost cookies
24
servings20
minutes10
minutes120
kcalA simple, festive recipe for buttery ghost sugar cookies, perfect for Halloween. These ghost cookies are shaped with a ghost cookie cutter, making them a fun, spooky treat for all.
Keep the screen of your device on
Ingredients
2 ½ cups all-purpose flour
1 cup unsalted butter, softened
1 cup granulated sugar
1 large egg
1 tsp vanilla extract
1 tsp baking powder
¼ tsp salt
White royal icing (for decorating)
Black edible gel (for ghost eyes and mouth)
Directions
- Preheat the oven: Set your oven to 350°F (175°C).
- Mix dry ingredients: In a medium bowl, whisk together flour, baking powder, and salt. Set aside.
- Cream butter and sugar: In a large bowl, beat the butter and sugar with an electric mixer until light and fluffy. Add in the egg and vanilla extract, and beat until fully combined.
- Combine ingredients: Gradually add the dry ingredients to the butter mixture, mixing until just combined.
- Roll out the dough: On a lightly floured surface, roll the dough to about ¼ inch thickness.
- Cut the cookies: Using a ghost cookie cutter, cut out ghost shapes from the dough and place them onto a parchment-lined baking sheet.
- Bake: Bake the cookies for 8-10 minutes, or until the edges are lightly golden.
- Cool and decorate: Let the cookies cool completely before decorating with white royal icing to create the ghost body. Use black edible gel to draw on eyes and a spooky mouth.
- Let the icing set: Allow the icing to set for at least 30 minutes before serving.
Notes
- The dough can be made ahead and chilled for up to 2 days.
- Make sure the butter is softened at room temperature for easier mixing.
- Royal icing works best for a clean, polished look, but you can use any type of icing you prefer.
Did you make this recipe?
Tag @therecipemasterblog on Instagram and hashtag it with #therecipemaster
Like this recipe?
Follow @therecipemasterblog on Pinterest
Follow us on Facebook!
Follow The Recipe Master on Facebook
Additional Tips for perfect Halloween Ghost Cookies
- Chill the dough for cleaner cuts: If the dough becomes too sticky when rolling, chill it in the fridge for 10-15 minutes to firm up. This will help the ghost cookie cutter create sharp, defined edges.
- Don’t overbake: For soft cookies, make sure to take them out of the oven once the edges turn slightly golden. Overbaking will result in crunchy cookies.
- Use a piping bag for icing: To create precise lines and details on your cookies, use a piping bag with a small tip for the royal icing.
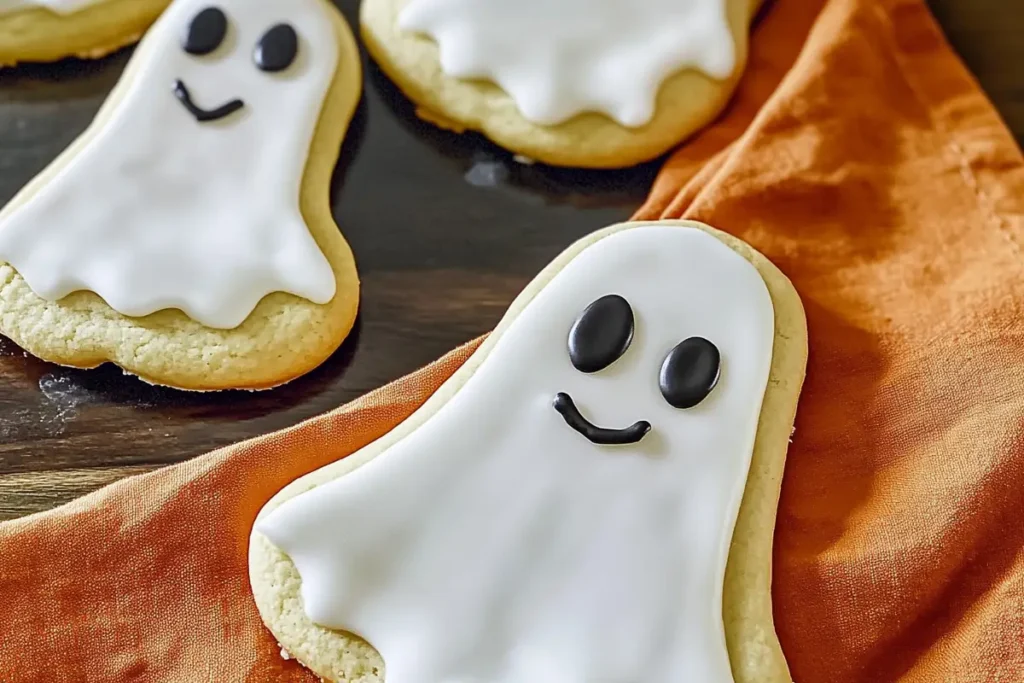
- Add personality to your ghosts: Vary the expressions on your ghost sugar cookies by changing the shape of the mouth or adding eyebrows using the edible gel.
- Adjust the thickness of the dough: If you prefer thicker, more substantial cookies, roll the dough to ½ inch thick instead of ¼ inch.
Why This Recipe of Halloween Ghost Cookies Works
These Halloween Ghost Cookies stand out from other Halloween treats for several reasons. Here’s why you’ll love this recipe:
1. Foolproof Sugar Cookie Base
The foundation of these cookies is a simple sugar cookie dough that’s easy to work with. It holds its shape well, making it ideal for creating ghostly forms without losing detail in the baking process. The dough rolls out smoothly, and the cookies bake to a perfect golden color with crisp edges and a soft center.
2. No Special Cookie Cutter Required
Don’t have a ghost-shaped cookie cutter? No problem! You can freehand the ghost shapes with a knife or use a simple oval or teardrop cutter and add details to bring the ghosts to life.
3. Fun and Simple Decorating
Decorating these cookies is where the magic happens! With just a bit of royal icing or melted white chocolate, you can create smooth, ghostly surfaces. A few dots of black icing or chocolate chips make perfect ghostly eyes and mouths. Even if you’re not an experienced baker, these cookies are easy to decorate in a fun and spooky way.
4. Customizable for Different Diets
This recipe can be easily adapted to suit dietary needs:
- Gluten-Free: Swap out regular flour for a gluten-free 1:1 baking blend.
- Vegan: Use plant-based butter and an egg substitute.
- Low-Sugar: Reduce the sugar content and use a sugar-free icing option.
5. Make-Ahead Friendly
These cookies can be baked ahead of time and stored for later, making them perfect for party prep. You can also freeze the dough, so you’re always ready to whip up a fresh batch of Halloween cookies.
FAQs About Halloween Ghost Cookies
To ensure your Halloween Ghost Cookies maintain their shape, make sure to chill the dough for at least 30 minutes before rolling it out. This helps prevent spreading during baking. Additionally, avoid overmixing the dough, as this can make the cookies too soft and prone to losing their form.
No ghost-shaped cutter? No problem! You can use a round cutter and stretch the shape slightly, cut the dough freehand with a knife, or use a teardrop or oval-shaped cutter and decorate it to resemble a ghost. The beauty of ghost cookies is that each one can have its own unique, spooky personality!
To make these cookies gluten-free, use a 1:1 gluten-free flour blend. For a vegan version, substitute plant-based butter and use a flaxseed egg (1 tablespoon flaxseed meal + 2.5 tablespoons water, let sit for 5 minutes). Also, ensure that your icing ingredients are dairy-free.
Once decorated, allow the icing to fully set before storing them in an airtight container, layering them with parchment paper to prevent sticking. Keep them at room temperature for up to a week, or freeze them for longer storage.
Final Thougths
These Halloween Ghost Cookies are the perfect blend of spooky and sweet, making them an ideal treat for Halloween festivities. Their buttery, melt-in-your-mouth texture, paired with the simple yet eerie ghostly decorations, make them a hit at parties, school events, or just a cozy night in. Plus, they’re easy to customize, allowing you to get as creative as you want with different icings, flavors, and decorations.
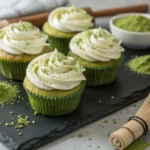
If you loved making these ghost cookies, you might also enjoy other festive baked treats like this Almond Joy Cookie Recipe, which combines chocolate and coconut for a delightful flavor. For those who enjoy unique seasonal flavors, check out this Pumpkin Cupcakes Recipe for a soft, spiced dessert that perfectly complements autumn. And if you’re looking for another easy, no-fail cookie recipe, this Crumbl Sugar Cookie Recipe is a great option.
No matter how you choose to decorate them, these Halloween Ghost Cookies are a fun, festive, and delicious way to celebrate the season. So gather your ingredients, turn on some spooky music, and let the baking begin! Happy Halloween and happy baking! 🎃👻


Leave a Reply