- Simple, three-ingredient recipe (cherries, sugar, lemon) yields bright, homemade cherry jam without pectin or fancy equipment.
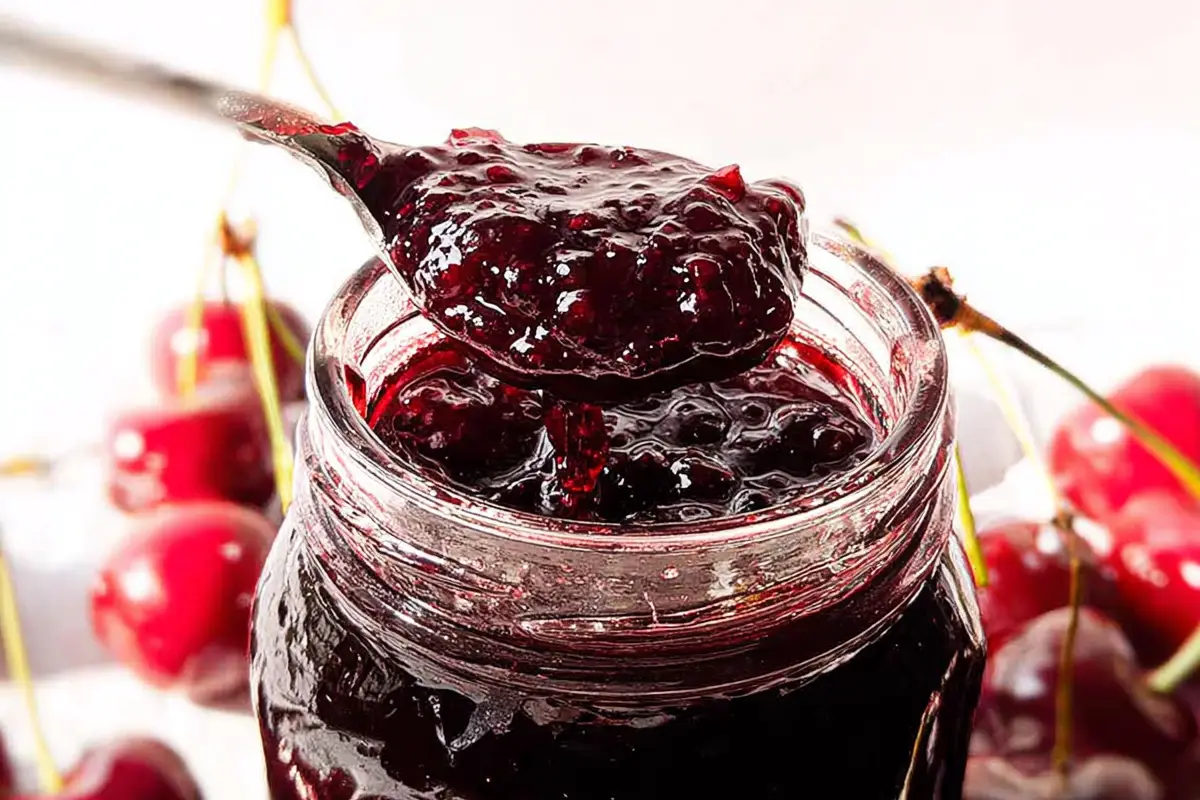
- Natural cherry pectin and slow simmering create a luscious, glossy texture; test set with a chilled plate.
- Prep tasks—pitting cherries, sterilizing jars, measuring sugar, juicing lemon—make the process smooth and enjoyable.
- Easy variations (vanilla, cherry-berry, spiced, almond, reduced sugar) let you customize flavor and sweetness.
- Store in fridge up to 3 weeks or water-bath processed jars up to 6 months; freeze for up to 6 months.
There’s nothing quite like opening a jar of homemade jam and tasting summer all over again. This cherry jam preserves recipe is one of my all-time favorites, simple, sweet, and bursting with that irresistible cherry flavor. I love how just a few ingredients can turn fresh cherries into something so cozy and delicious.
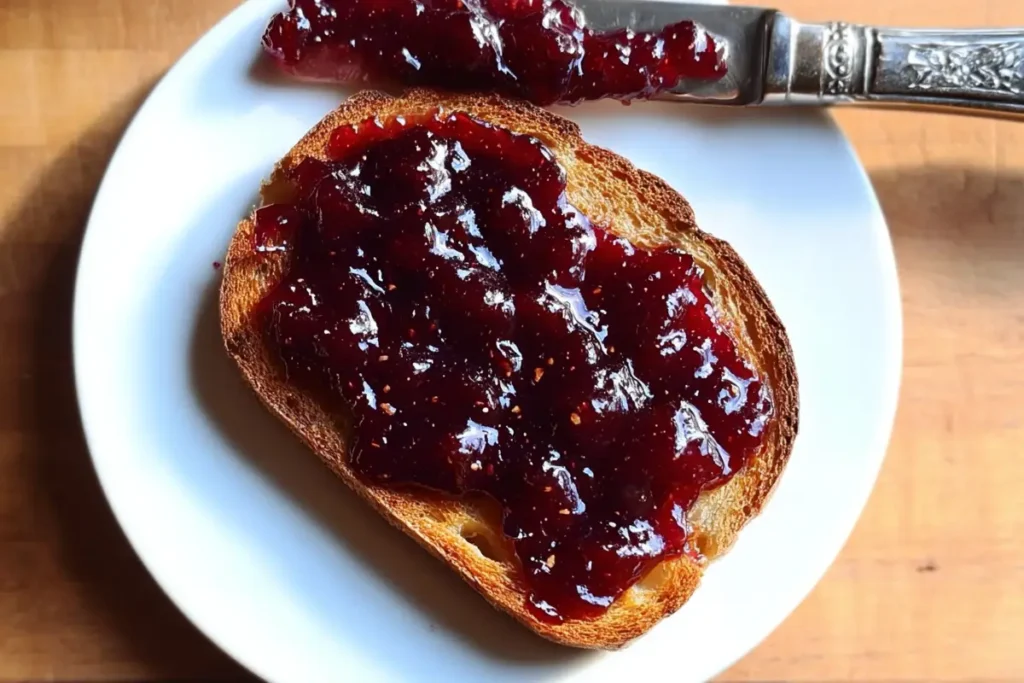
Making cherry preserves always feels like a little act of self-care in my kitchen. It’s the perfect weekend project, easy, relaxing, and so satisfying when you spread that glossy, ruby-red jam over warm toast or drizzle it on ice cream. Trust me, once you make it from scratch, you’ll never go back to store-bought again.
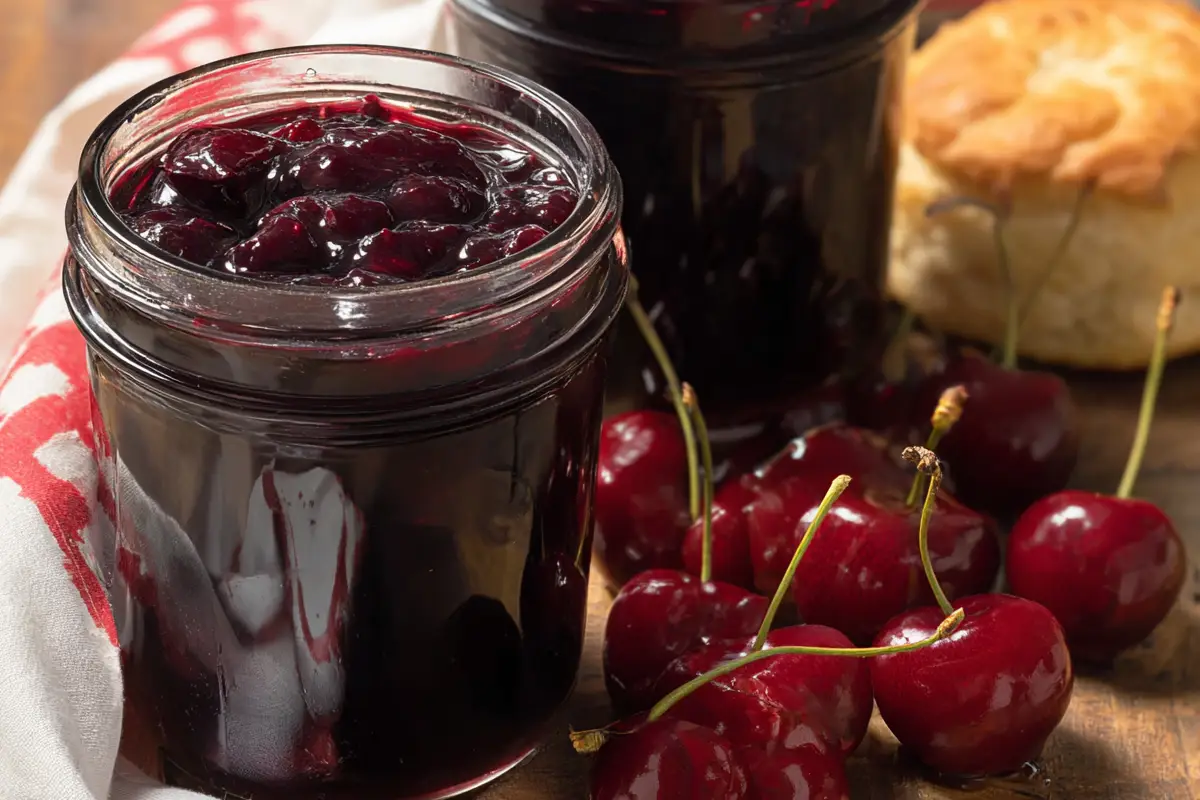
Table of contents
- Let’s Make It: My Cherry Jam Preserves Recipe
- Why These Cherry Jam Preserves Always Hit the Sweet Spot
- Get a Head Start: What to Prep Before You Jam
- My Go-To Tips for Perfect Cherry Preserves
- Fun Twists to Try: Make This Cherry Jam Your Own
- Keep It Fresh: Storage Tips for Your Cherry Preserves
- Beyond the Toast: Creative Ways to Use Cherry Jam
- FAQs: Your Cherry Jam Questions, Answered
- Wrap It Up With a Spoonful of Sweetness
Let’s Make It: My Cherry Jam Preserves Recipe
Cherry Jam Preserves Recipe
4
cups25
minutes40
minutes45
kcalSweet, glossy, and full of pure cherry flavor, this cherry jam preserves recipe captures the taste of summer in every spoonful. With just a handful of ingredients and no pectin required, it’s easy enough for beginners and impressive enough to gift or use in desserts too.
Keep the screen of your device on
Ingredients
4 cups fresh cherries, pitted and halved
2 cups granulated sugar
2 tablespoons lemon juice (freshly squeezed)
1 teaspoon lemon zest (optional, for extra brightness)
1 tablespoon water (if cherries are very thick or less juicy)
Directions
- Start by pitting your cherries, yes, it’s a bit of a labor of love, but it’s also the most satisfying prep once you see those glistening red halves ready to go. Add them to a large saucepan along with the sugar, lemon juice, and zest. Stir well and let the mixture sit for about 10-15 minutes. This allows the cherries to release their natural juices.
- Set the saucepan over medium heat and bring the mixture to a gentle simmer, stirring occasionally. Once it starts to bubble, lower the heat slightly and let it cook down, stirring often to prevent sticking. The jam will thicken gradually, it usually takes around 30-40 minutes.
- To check if it’s ready, use the “wrinkle test.” Drop a small spoonful of jam onto a chilled plate, let it sit for a few seconds, then push it gently with your finger. If it wrinkles and holds shape, you’ve nailed it!
- Once thickened to your liking, remove the jam from heat and skim off any foam. Carefully ladle the hot jam into sterilized jars, leaving about ¼ inch of space at the top. Wipe the rims clean, seal with lids, and let them cool completely at room temperature.
Notes
- For a deeper flavor, add a splash of vanilla extract or almond extract in the last few minutes of cooking.
- If you prefer a smoother jam, mash the cherries lightly halfway through cooking.
- Always use fresh lemon juice, it balances sweetness and helps the jam set naturally.
- Don’t rush the simmer, slow cooking brings out that rich, syrupy texture.
- Use clean, sterilized jars to extend shelf life and prevent spoilage.
Nutrition Facts
- Total number of serves: 4
- Calories: 45kcal
- Carbohydrates: 12g
- Fiber: 0.3g
- Sugar: 11g
- Protein: 0.1g
Did you make this recipe?
Tag @therecipemasterblog on Instagram and hashtag it with #therecipemaster
Like this recipe?
Follow @therecipemasterblog on Pinterest
Follow us on Facebook!
Follow The Recipe Master on Facebook
Why These Cherry Jam Preserves Always Hit the Sweet Spot
There’s a reason I come back to this recipe every cherry season, it just works. No pectin, no stress, no fancy canning setup. Just pure, homemade goodness that tastes like sunshine in a jar. Here’s what makes it so special:
- Simple ingredients, big flavor: Just cherries, sugar, and lemon juice, that’s it! The natural sweetness of the fruit does all the magic.
- Luscious, glossy texture: Thanks to the cherries’ natural pectin, you get a thick, spoonable jam without any additives.
- Perfectly balanced sweetness: The lemon juice cuts through the richness and brings a pop of brightness.
- So versatile: Spread it on buttery French bread, spoon it over cheesecake, or swirl it into yogurt, it elevates everything it touches.
- Beginner-friendly: Even if you’ve never made jam before, this recipe is as easy as it gets.
And if you’re feeling a little creative, try mixing cherries with another fruit, like strawberries, for a twist inspired by my go-to strawberry preserves recipe. The result? A jam that’s as vibrant as it is delicious.
Get a Head Start: What to Prep Before You Jam
Let’s be honest, making jam is relaxing once you’ve done the prep work. A few small steps before you start cooking will save you from sticky hands and frantic moments later on. Here’s how I like to set myself up for success:
- Pit the cherries early, it’s a bit of a task, but totally worth it when you’re stirring that pot of ruby-red goodness.
- Sterilize your jars by boiling them briefly and letting them air dry.
- Measure your sugar ahead so you can pour it right in when needed.
- Juice a fresh lemon, it makes all the difference in taste.
- Chill a small plate in the freezer to test when your jam has set (trust me, it’s the old-fashioned way that still works best).
A little prep time makes the process smooth and enjoyable, I often do it while baking something else, like a cozy cherry crisp or a batch of scones for later.
My Go-To Tips for Perfect Cherry Preserves
Alright, friend, you’ve got your jars, your cherries, and your kitchen smelling like pure summer. Before you dive in, let me share a few tips I’ve learned after making jam more times than I can count. These little tweaks make all the difference between “pretty good” and absolutely perfect.
- Choose ripe but firm cherries. Overripe cherries can make your jam too soft and overly sweet. Firm, ripe ones hold their shape and flavor beautifully.
- Don’t rush the simmer. Low and slow is key. The jam thickens naturally, giving it that lovely, glossy finish.
- Taste as you go. Every batch of cherries is different! Adjust sugar or lemon juice to match your flavor preference.
- Use a wide pot. More surface area means quicker evaporation and faster thickening, no need to overcook it.
- Skim that foam. It’s harmless, but removing it keeps your jam crystal-clear and beautiful in the jars.
- Test for doneness early. Once your jam starts to coat the spoon thickly, begin checking every few minutes, it can go from perfect to overdone quickly.
Homemade jam might sound intimidating, but once you’ve done it once, you’ll wonder why you ever bought it from the store.
Fun Twists to Try: Make This Cherry Jam Your Own
One of my favorite things about homemade jam is how flexible it is. Once you get the hang of the base recipe, you can tweak it to match your mood, your pantry, or even the season. Here are a few of my favorite variations that keep this cherry jam preserves recipe exciting year after year.
- Vanilla Cherry Jam: Add ½ teaspoon of pure vanilla extract during the last 5 minutes of cooking. It gives the jam a warm, dessert-like aroma that tastes heavenly on pancakes or over ice cream.
- Cherry-Berry Preserve: Mix half cherries and half strawberries or raspberries. The tartness of the berries cuts the sweetness and adds beautiful layers of flavor, like a summer fruit symphony in a jar.
- Spiced Cherry Jam: Stir in a pinch of cinnamon and nutmeg for cozy fall vibes. This version is amazing spread over warm scones or spooned on baked brie.
- Cherry Almond Jam: A drop or two of almond extract transforms your jam into something that tastes like cherry pie filling. It’s also divine spooned over a creamy cherry cheesecake, no baking required.
- Reduced Sugar Jam: If you prefer something less sweet, use 1½ cups of sugar instead of 2. The texture will be slightly softer, but the cherry flavor shines through beautifully.
Experimenting with these variations is half the fun, no two batches have to be exactly the same, and that’s what makes homemade preserves so special.
Keep It Fresh: Storage Tips for Your Cherry Preserves
Homemade jam is made to last, and with a few simple storage tips, it’ll stay just as bright and flavorful for weeks (or even months).
- For short-term storage: Keep sealed jars in the fridge for up to 3 weeks. Once opened, always use a clean spoon to avoid contamination.
- For longer storage: If you’ve processed your jars in a water bath, store them in a cool, dark place for up to 6 months.
- Avoid temperature changes: Sudden heat or cold can cause condensation inside the jars, which can affect the texture.
- Label your jars: Add the date you made them, that way, you’ll know exactly when it’s time to restock your pantry.
Unlike soups or casseroles, jam doesn’t need reheating, it’s ready to enjoy straight from the jar. But if you like it warm (say, to drizzle on desserts), just microwave a spoonful for 10 seconds to loosen it up.
Beyond the Toast: Creative Ways to Use Cherry Jam
Once you’ve made this jam, you’ll start finding ways to sneak it into everything, trust me. Here are a few fun and creative ideas:
- Bake with it: Use it as a filling for thumbprint cookies, turnovers, or layered cakes. It adds moisture and that signature tart-sweet burst.
- Glaze for meats: Mix a spoonful of cherry jam with balsamic vinegar for a quick glaze over roasted chicken or pork.
- Breakfast upgrade: Stir it into oatmeal, top off pancakes, or blend it into smoothies for a pop of fruity sweetness.
- Party board essential: Serve it on a charcuterie board alongside cheeses, crackers, and nuts, it’s always the first jar to disappear.
- Dessert drizzle: Try it over ice cream or swirl it into the batter of your favorite dessert bars for an extra cherry kick.
Homemade jam has a way of elevating even the simplest meals, it’s like your kitchen’s little secret weapon.
FAQs: Your Cherry Jam Questions, Answered
It’s mostly about texture! Jam is made with crushed cherries for a smoother spread, while preserves have larger fruit chunks or whole cherries. Both are delicious, just different styles.
No pectin needed! Cherries naturally contain enough, and the lemon juice helps it set perfectly.
Both sweet and tart cherries work great. Sweet ones make a richer jam, while tart cherries give a brighter flavor, mixing both is my favorite combo. Learn more about each type in this cherry variety guide before you start.
“Preserves” simply means you’re preserving fruit by cooking it with sugar. It’s an old-fashioned term that stuck around, and for good reason!
That usually happens if it wasn’t cooked long enough or if your cherries were extra juicy. Just simmer it again for a few minutes until it thickens, easy fix!
Yes! Just cool it completely, pour into freezer-safe containers, and freeze for up to 6 months. Thaw in the fridge overnight before using.
Wrap It Up With a Spoonful of Sweetness
Making your own cherry jam preserves is one of those simple joys that never gets old. It’s sweet, tangy, and just a little nostalgic, like capturing summer sunshine in a jar. Whether you’re spreading it over toast, gifting it to friends, or using it to dress up desserts, every spoonful feels like a small homemade luxury.
Once you make it from scratch, you’ll see how easy and rewarding it really is. So grab those cherries, roll up your sleeves, and give this recipe a try, your breakfasts (and desserts) will never be the same again.


Leave a Reply