If you’ve ever attended a birthday party or a special celebration, you’ve likely come across a Barbie cake. This iconic dessert is more than just a cake, it’s a show-stopping creation that turns any event into a magical, fairy-tale experience. I remember the first time I made a Barbie cake for a friend’s daughter’s birthday. I was skeptical at first, thinking it might be too elaborate, but the moment I placed the finished cake in front of her, her eyes lit up. It wasn’t just a cake anymore, it was a celebration, a party in the form of frosting and fondant.
This Barbie cake recipe will offer you a delicious combination of sweet, moist cake layers topped with creamy frosting. All beautifully adorned with colorful fondant or buttercream flowers. The flavor profile will appeal to kids and adults alike. Rich vanilla with just the right balance of sweetness, complemented by a light and airy texture. The cake’s design is flexible, allowing you to personalize it with your choice of colors, decorations, and even the Barbie character you want to feature!
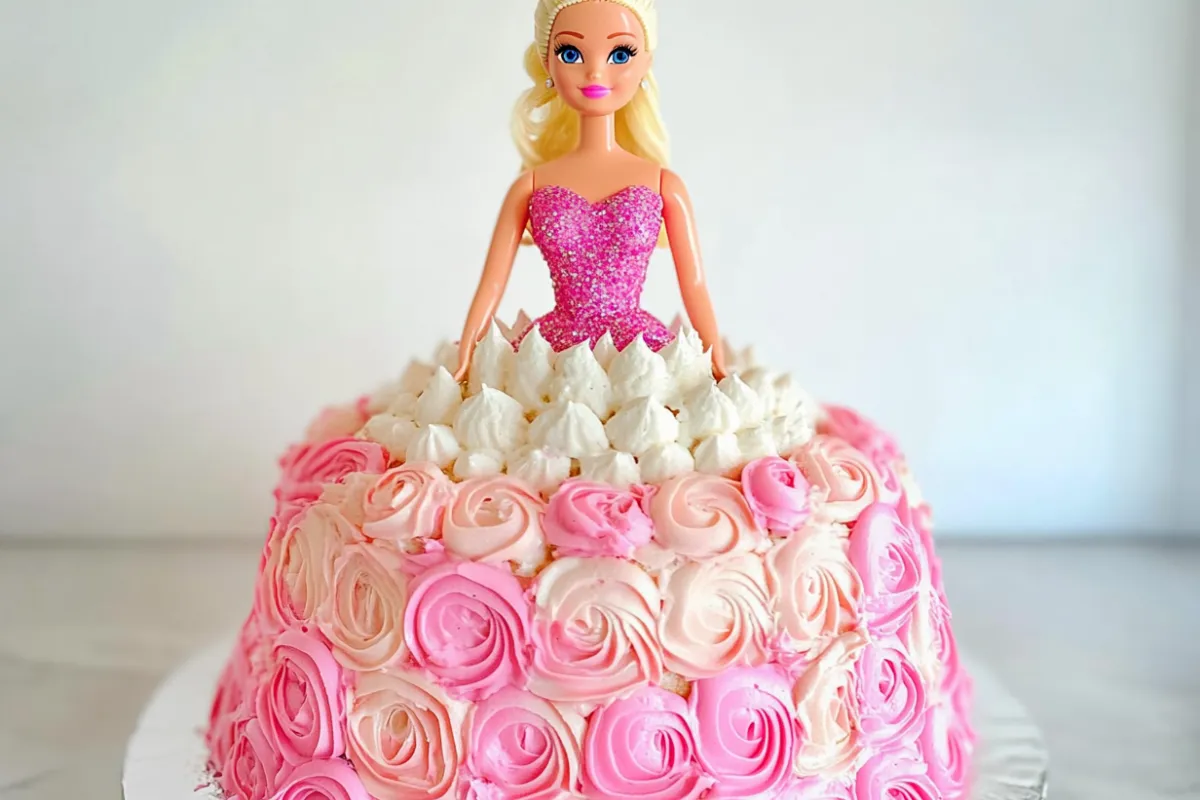
Table of contents
Barbie Cake Recipe Card
Why This Recipe Works
1. Simple Yet Elegant Design
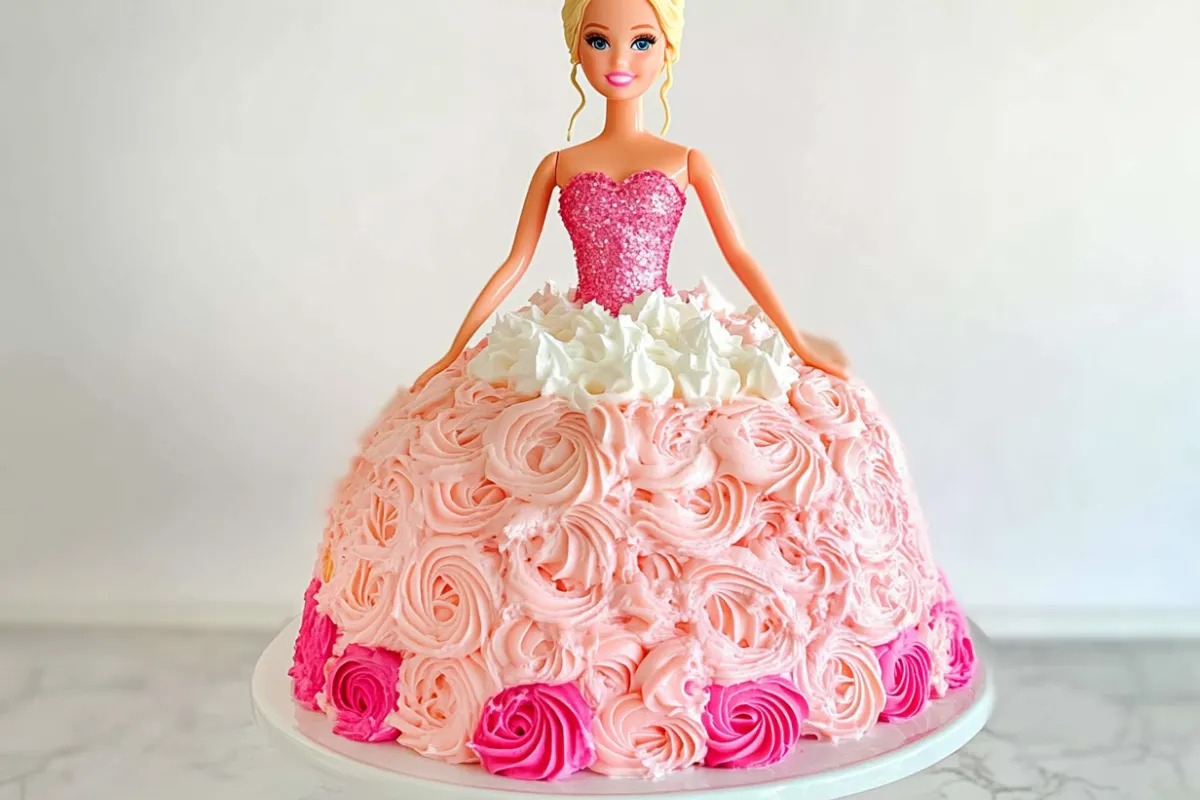
The beauty of a Barbie cake lies in its simple yet elegant design. The shape itself mimics a ball gown, where the Barbie doll’s body becomes the centerpiece and the cake forms the dress. This shape is not only visually striking but also versatile, as it can be tailored to any color scheme or theme. Whether you’re hosting a princess party, a fairy-tale gathering, or a general birthday bash, the cake can be adapted to fit the occasion with a few color changes and decorative touches.
2. Fluffy, Moist Cake Layers
This recipe ensures your Barbie cake will have soft, moist cake layers that hold up well during assembly. Some Barbie cake recipes rely on dry or overly dense cakes, but this one uses a carefully measured combination of ingredients to keep the cake fluffy yet sturdy.
To achieve the perfect texture, the cake is made using cake flour instead of all-purpose flour. Cake flour is lighter, which creates a more delicate crumb while still providing the strength needed to hold the Barbie doll in place. The cake rises beautifully without the need for any special techniques, and the layers are even and consistent.
3. Customizable Flavor Options
This recipe isn’t set in stone when it comes to flavor, it’s incredibly flexible. You can adjust the cake’s flavor to suit your preferences or dietary needs. You can make a classic vanilla cake or add a twist with flavored extracts, like almond or lemon, for a unique touch. If you’re baking for chocolate lovers, you can opt for a chocolate cake instead. If you’re feeling adventurous, you could even experiment with strawberry, orange, or any other flavor to match your party’s theme.
Pro Tips for Success
1. Use the Right Cake Pan for the Skirt
The key to a great Barbie cake lies in the shape of the “skirt” that forms around the doll. You can use a dome-shaped cake pan, which is typically sold for making “ball gown” cakes. If you don’t have a dome pan, you can easily achieve a similar result by using a regular round cake pan. And trimming the cake into a dome shape yourself. Just ensure that the cake layers are stacked evenly. Trim away any uneven edges to create a smooth, even base.
For the best results, bake the cake in separate layer. This allows you to control the thickness of the skirt and gives the cake better stability when stacking. This method will help the cake maintain its shape and prevent it from collapsing under the weight of the Barbie doll.
2. Allow the Cake to Cool Completely
Before you start assembling your Barbie cake, make sure the cake layers are completely cooled. If the cake is still warm when you begin frosting, the frosting may melt or slide off, resulting in a sloppy, uneven finish. Cooling the cake layers ensures that the frosting stays in place and sets properly.
If you’re pressed for time, you can place the layers in the fridge or freezer for a short time to speed up the cooling process. Just make sure the cake has enough time to firm up before you proceed.
3. Use a Sturdy Frosting
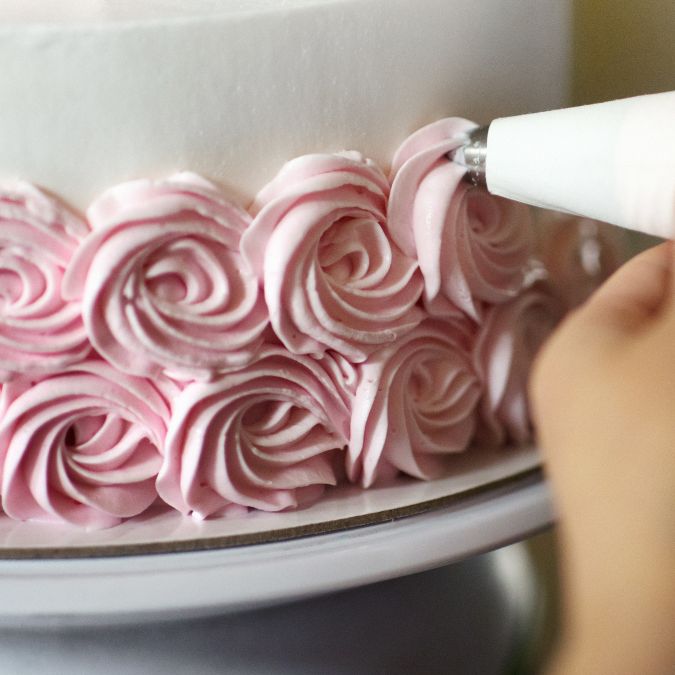
For best results, ensure your frosting is not too runny or stiff. If the buttercream is too soft, it won’t hold up on the cake. If it’s too stiff, it will be difficult to spread evenly. A good test is to check the consistency by lifting your spatula. If the frosting holds its shape but can still spread smoothly, you’re good to go.
FAQ of the Barbie Cake
A dense cake, like pound cake or sponge cake, works best because it holds its shape well when carved. Lighter cakes may crumble when you create the doll’s dress shape.
A dome-shaped or bundt pan is helpful but not necessary. You can stack and carve round cake layers to create the dress shape. Just make sure to chill the cake layers before carving for easier handling.
Wrap the doll’s lower half in plastic wrap, then insert it into the center of the cake. For extra stability, use a skewer or dowel next to the doll inside the cake to keep it securely in place.
Variants of the Barbie Cake Recipe
1. Chocolate Barbie Cake
You can keep the frosting light and sweet with a classic vanilla buttercream. Go for a more luxurious flavor combination by pairing the chocolate cake with chocolate ganache. The smooth and glossy texture of ganache will enhance the richness of the cake, giving it a beautifully glossy finish. You can also add some fun touches, like chocolate curls or edible pearls, to elevate the overall presentation.
2. Gluten-Free Barbie Cake
To make the gluten-free cake, ensure that you use a high-quality gluten-free flour blend. This flour includes xanthan gum to provide structure. Additionally, you may want to use almond flour or coconut flour to add a unique texture and flavor profile to the cake. When paired with a smooth buttercream or whipped cream frosting, a gluten-free Barbie cake is just as delightful as the traditional version.
3. Vegan Barbie Cake
For vegan guests, a plant-based Barbie cake is a perfect option. To make this cake vegan-friendly, you simply need to substitute eggs and dairy with plant-based alternatives. Instead of eggs, you can use flaxseed meal, applesauce, or a store-bought egg replacer. For the butter, choose a vegan butter or coconut oil, and for the milk, opt for any plant-based milk such as almond, oat, or coconut milk.
Conclusion
The Barbie cake is more than just a fun dessert; it’s a centerpiece of celebration, creativity, and joy. Whether you’re hosting a birthday party, a themed event, or just looking to treat your loved ones to something special, this cake will bring smiles and excitement to everyone. The towering layers, vibrant frosting, and the whimsical addition of the Barbie doll make it a memorable dish that will be talked about long after the last bite is eaten.
If you like delightful desserts, take a look at those Matcha cookies or this Philadelphia Cheesecake Recipes.





Leave a Reply