

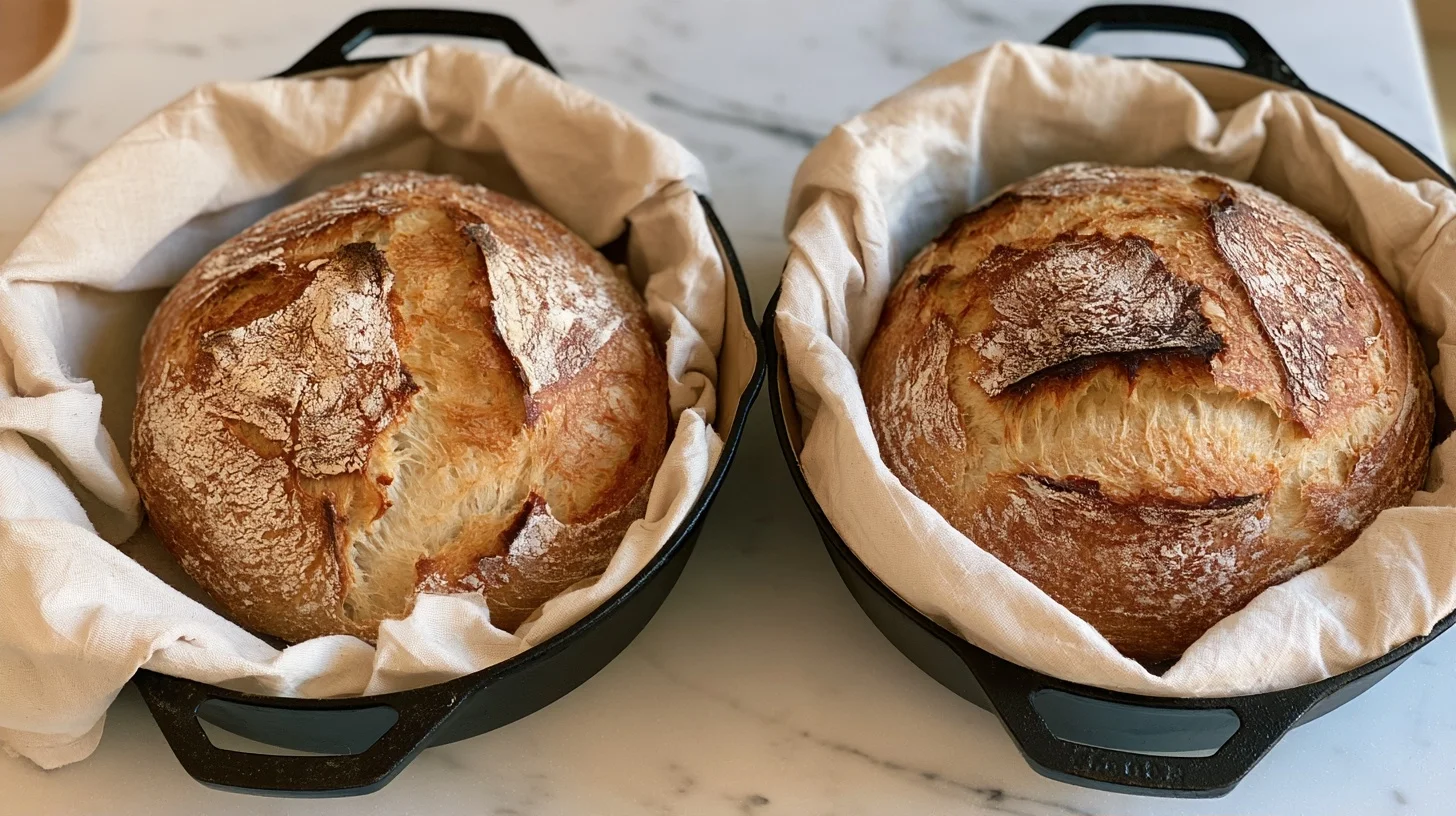
This cast iron dutch oven sourdough bread recipe produces a deeply golden, crackly crust and an open, airy crumb in about 4 hours from start to finish. The cast iron vessel traps steam during the first half of baking, mimicking a professional steam injected oven and creating the signature shatter when you break the loaf.
The recipe uses an active sourdough starter, bread flour, and a simple fold technique to build structure without kneading. Total time is 4 hours including bulk fermentation and baking. The cast iron dutch oven holds heat evenly and creates the steam environment needed for maximum oven spring in this sourdough bread recipe. You can bake the loaf the same day or refrigerate the shaped dough overnight for a slower ferment and deeper flavor.
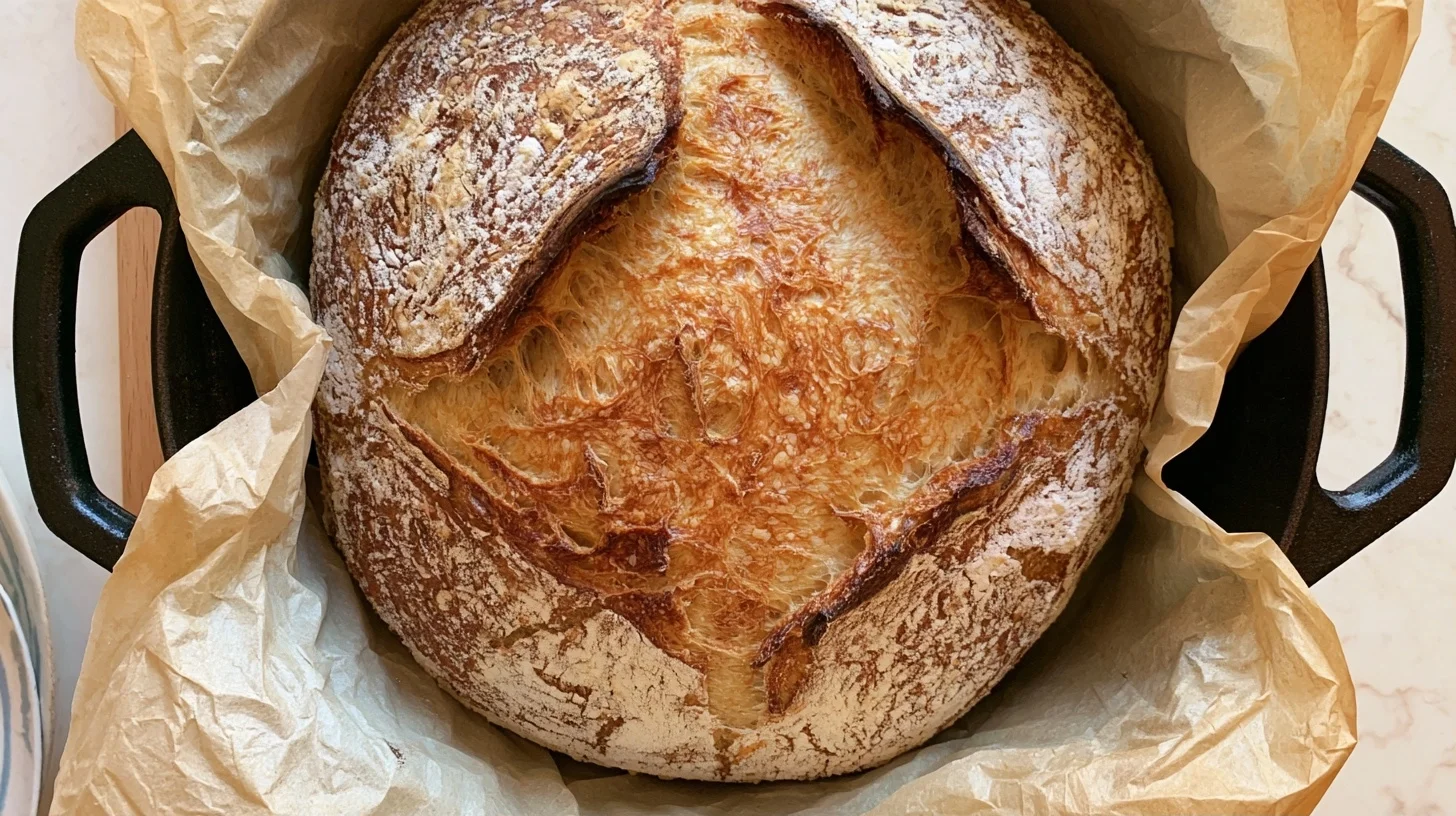
Table of contents
- Why This Cast Iron Dutch Oven Sourdough Bread Recipe Works
- Cast Iron Dutch Oven Sourdough Bread Recipe
- Key Ingredients and Substitutions
- How to Get Cast Iron Dutch Oven Sourdough Bread Right
- What Went Wrong
- Ways to Change the Cast Iron Dutch Oven Sourdough Bread Recipe
- How to Store and Reheat Sourdough Bread
- Cast Iron Dutch Oven Sourdough Bread Recipe FAQs
Why This Cast Iron Dutch Oven Sourdough Bread Recipe Works
- The preheated cast iron dutch oven traps steam from the dough itself, so the crust stays soft long enough for the loaf to rise fully before it sets.
- Baking at 450°F for 30 minutes covered, then 15 minutes uncovered, gives you a dark caramelized crust and a fully baked interior without drying out the crumb.
- The recipe calls for a 70% hydration dough, which is wet enough to create an open crumb but still manageable for shaping without specialized equipment.
- Folding the dough every 30 minutes during bulk fermentation builds gluten strength without kneading, so the loaf holds its shape and rises tall in the dutch oven.
Cast Iron Dutch Oven Sourdough Bread Recipe
Cast Iron Dutch Oven Sourdough Bread Recipe
10
servings30
minutes45
minutes180
kcalThis cast iron dutch oven sourdough bread produces a deeply golden, crackly crust and an open, airy crumb with tangy sourdough flavor. The recipe takes 4 hours from start to finish, including bulk fermentation, shaping, proofing, and baking in a preheated cast iron pot that traps steam for maximum rise.
Keep the screen of your device on
Ingredients
100 g active sourdough starter
350 g water
500 g bread flour
10 g salt
Directions
- Mix the dough: In a large bowl, combine 100 g active sourdough starter and 350 g water. Stir until the starter dissolves. Add 500 g bread flour and mix with your hands or a wooden spoon until no dry flour remains, about 2 minutes. The dough will be shaggy and sticky. Cover and let rest for 30 minutes.
- Add salt and develop gluten: Sprinkle 10 g salt over the dough. Wet your hands and pinch and fold the dough to incorporate the salt, about 1 minute. The dough will tighten slightly. Cover and begin bulk fermentation.
- Perform stretch and folds: Every 30 minutes for the next 2 hours, wet your hands, grab one side of the dough, stretch it up, and fold it over itself. Rotate the bowl 90 degrees and repeat 3 more times. This builds gluten strength. After 4 sets of folds, the dough should feel smooth and hold its shape.
- Bulk fermentation: Let the dough rest covered at room temperature (70°F to 75°F) for 2 to 3 hours total from the start of mixing. The dough should increase in volume by 50% and show bubbles on the surface. It will jiggle when you shake the bowl.
- Shape the dough: Turn the dough out onto a lightly floured surface. Gently shape it into a round by folding the edges toward the center, then flip it seam side down. Use your hands to drag the dough in a circle to create tension on the surface. The dough should hold a tight round shape.
- Final proof: Place the shaped dough seam side up in a floured bowl or banneton. Cover and let proof at room temperature for 45 to 60 minutes, or refrigerate for 8 to 12 hours. The dough is ready when it springs back slowly after a gentle poke.
Notes
- The dough should be 70% hydration, which means 350 g water to 500 g flour. This ratio produces an open crumb that is still manageable to shape without specialized equipment.
- If the bottom of the loaf burns, move the dutch oven to the center rack and place a baking sheet on the rack below to diffuse heat. Reduce the final baking temperature to 425°F if needed.
- Store the baked loaf at room temperature in a paper bag for 3 to 4 days. Freeze sliced bread wrapped tightly in plastic and foil for up to 3 months. To refresh a day old loaf, run it under water briefly and bake at 350°F for 10 minutes.
Nutrition Facts
- Serving Size: 1 g
- Total number of serves: 10
- Calories: 180kcal
- Fat: 1g
- Carbohydrates: 37g
- Net Carbs: 35g
- Fiber: 2g
- Protein: 6g
Did you make this recipe?
Tag @therecipemasterblog on Instagram and hashtag it with #therecipemaster
Like this recipe?
Follow @therecipemasterblog on Pinterest
Follow us on Facebook!
Follow The Recipe Master on Facebook
The sections below explain which ingredients affect the crust and crumb in this cast iron dutch oven sourdough bread recipe, how to shape and score the loaf, and what to do if the bottom burns or the center stays gummy.
Key Ingredients and Substitutions
Each ingredient plays a specific role in structure, flavor, and crust development.
- Active sourdough starter: provides the leavening and tangy flavor. Use it at peak activity, when it has doubled and shows bubbles throughout. A sluggish starter will result in a dense loaf with little rise. You cannot substitute commercial yeast and still call it sourdough, but if you need a faster loaf, try a lemon blueberry sourdough bread recipe that uses a similar method with added fruit.
- Bread flour: contains 12% to 14% protein, which builds the gluten network that traps gas and creates an open crumb. All-purpose flour works but produces a slightly denser loaf with less chew. The hydration may need to drop by 5% because all-purpose absorbs less water.
- Water: at 70% hydration, the dough is sticky but shapeable. Warmer water (80°F to 85°F) speeds fermentation. Colder water slows it. Filtered water is best if your tap water is heavily chlorinated, which can inhibit the starter.
- Salt: controls fermentation speed, strengthens gluten, and enhances flavor. Do not skip it. Without salt, the dough ferments too fast and tastes flat.
Choosing the Right Dutch Oven
A 5 to 6 quart cast iron dutch oven with a tight fitting lid is ideal. The heavy cast iron holds heat steadily at 450°F and radiates it evenly around the loaf. Enameled cast iron works just as well. Avoid glass or ceramic, which do not retain heat as effectively and produce a paler crust.
How to Get Cast Iron Dutch Oven Sourdough Bread Right
These steps control the rise, crust, and crumb structure.
- Preheat the dutch oven for 30 minutes: the pot must reach 450°F before the dough goes in. A cold or barely warm pot will not generate enough steam, and the loaf will spread instead of rising tall. The intense heat also sets the crust quickly, locking in the shape.
- Score the dough just before baking: use a sharp blade or lame to cut 1/4 inch deep at a 30 degree angle. The score directs where the loaf expands. Without it, the crust tears randomly and the loaf may split on the sides.
- Bake covered for the first 30 minutes: the lid traps steam, which keeps the crust soft so the dough can expand fully. Remove the lid after 30 minutes to let the crust dry out and turn deep brown. Leaving the lid on the entire time produces a pale, thick crust.
- Let the loaf cool completely before slicing: the crumb continues to set as it cools. Cutting into a hot loaf releases steam and leaves the center gummy. Wait at least 1 hour, preferably 2.
- Use parchment paper as a sling: place the shaped dough on a square of parchment, then lift the entire sheet into the preheated pot. This prevents burns and makes transfer easy. The parchment withstands 450°F without scorching.
What Went Wrong
Why Is the Bottom Burnt?
The cast iron bottom conducts intense heat directly to the dough. If your oven runs hot or the pot sits on the lowest rack, the bottom can scorch before the interior finishes baking. Move the dutch oven to the center rack. If the problem persists, place a baking sheet on the rack below to diffuse some of the bottom heat. Reducing the temperature to 425°F for the final 15 minutes also helps.
Why Did the Loaf Spread Instead of Rise?
The dough was either overproofed or too wet. Overproofed dough has exhausted its gas producing power and collapses when handled. Test by poking the dough gently. It should spring back slowly. If it does not spring back at all, it is overproofed. Next time, shorten bulk fermentation by 30 minutes. If the dough was too wet, it will not hold its shape. Reduce hydration to 65% and see if the loaf holds a tighter round.
Why Is the Center Gummy?
The loaf was underbaked. The internal temperature should reach 205°F to 210°F. If the crust is already dark but the center is still gummy, tent the loaf loosely with foil and bake another 10 minutes. Cutting into the loaf too soon also makes the crumb seem wet, because steam has not finished escaping. Always cool the bread completely.
Ways to Change the Cast Iron Dutch Oven Sourdough Bread Recipe
Whole Wheat Sourdough
Replace up to 25% of the bread flour with whole wheat flour for a nuttier flavor and denser crumb. Increase water by 2 tablespoons, because whole wheat absorbs more liquid. Bulk fermentation may take 30 minutes longer. The crust will be darker and thicker.
Overnight Cold Ferment
After shaping, place the dough in the refrigerator for 8 to 12 hours instead of proofing at room temperature. Bake it straight from the fridge in the preheated dutch oven. The cold ferment deepens the sour flavor and makes the dough easier to score. Add 5 minutes to the covered baking time.
Seeded Crust
Before the final proof, spray the shaped loaf lightly with water and roll it in a mix of sesame seeds, poppy seeds, and oats. The seeds toast during baking and add crunch. They do not affect the crumb or rise.
How to Store and Reheat Sourdough Bread
Sourdough bread keeps for 3 to 4 days at room temperature in a paper bag or wrapped in a clean kitchen towel. Do not store it in plastic, which traps moisture and makes the crust soft. The loaf freezes well for up to 3 months. Slice it first, then wrap tightly in plastic and foil. Toast frozen slices directly from the freezer, or thaw the whole loaf at room temperature for 2 hours.
To refresh a day old loaf, run it under water for 2 seconds, then bake it at 350°F for 10 minutes. The crust will crisp up again. Do not microwave sourdough. It turns the crumb rubbery. Make ahead tip: you can mix and fold the dough one day, refrigerate it overnight, then shape and bake it the next morning for fresh bread with less hands on time.
Cast Iron Dutch Oven Sourdough Bread Recipe FAQs
No, the lid traps steam during the first 30 minutes of baking. Without it, the crust sets too fast and the loaf cannot rise fully.
The internal temperature should reach 205°F to 210°F. The crust will be deeply golden and sound hollow when tapped on the bottom.
Yes, a 4 to 7 quart dutch oven works. Smaller pots produce a taller loaf. Larger pots allow the dough to spread more, creating a wider, flatter loaf.
No, the parchment paper prevents sticking. Oiling the pot can cause smoke at 450°F and does not improve the crust.








Leave a Reply