

These pumpkin donuts recipe deliver soft, tender cake-style texture with warm spice and real pumpkin flavor baked right in. They’re finished with a simple glaze that adds just enough sweetness without overpowering the pumpkin. Unlike fried donuts, these are baked in a donut pan, making them easier to prepare at home and lighter in texture. The result is a donut that tastes like fall, with a crumb that stays moist for days.
The key to getting these donuts right is using pumpkin puree that’s been drained slightly if it looks watery, and not overmixing the batter once the flour goes in. Overmixing develops gluten, which makes the donuts dense instead of tender. These donuts are lightly spiced, so the pumpkin flavor comes through clearly, and they’re perfect for breakfast, brunch, or an afternoon snack with coffee.
Those are one of my favorite donuts for fall afternoon snacks!
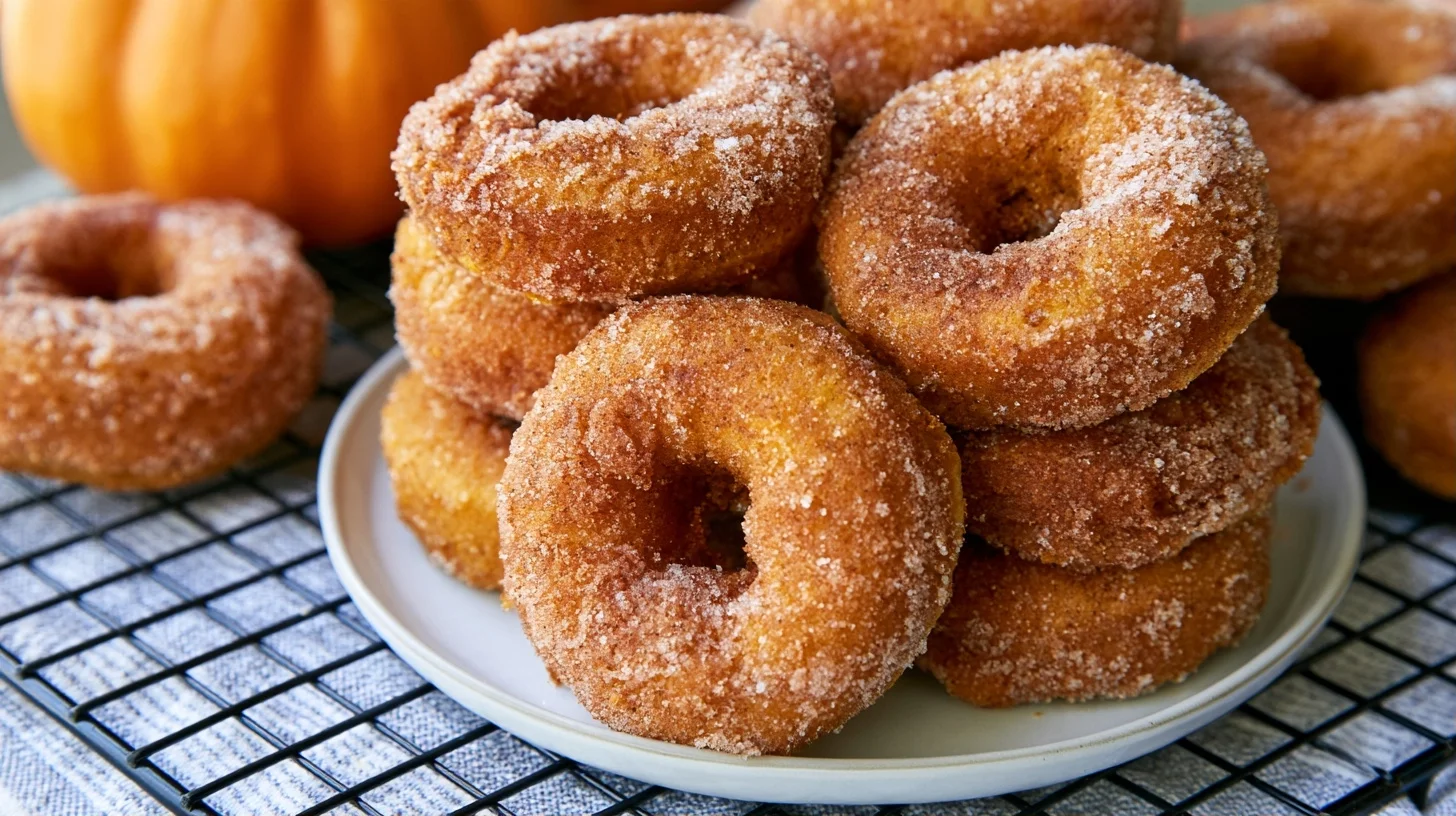
Table of contents
- Why You Will Love This Pumpkin Donuts Recipe
- What You Need to Make Baked Pumpkin Donuts
- How to Make Soft Pumpkin Donuts Recipe with Glaze
- How to Get Tender Pumpkin Donuts Every Time
- Common Mistakes When Making Pumpkin Donuts Recipe
- Ways to Customize Your Pumpkin Donuts
- What Makes These Pumpkin Donuts Healthy
- How to Serve Baked Pumpkin Donuts
- How to Store Pumpkin Donuts
- Frequently Asked Questions
Why You Will Love This Pumpkin Donuts Recipe
- Baked instead of fried, so they’re easier to make and less messy.
- Soft, cake-style texture that stays moist for several days.
- Real pumpkin puree and warm spices create authentic fall flavor.
- Simple glaze adds sweetness without making them overly sugary.
What You Need to Make Baked Pumpkin Donuts
The most important piece of equipment is a standard donut pan with six cavities. The pan creates the classic donut shape and allows the batter to bake evenly. Without it, you can use a muffin tin, but the shape and texture will differ slightly.
- Donut pan: A 6-cavity nonstick donut pan ensures even baking and easy release.
- Mixing bowls: One for dry ingredients and one for wet ingredients keeps the process organized.
- Whisk: Helps blend the wet ingredients smoothly and incorporate air.
- Rubber spatula: Essential for folding the batter gently without overmixing.
- Piping bag or zip-top bag: Makes filling the donut pan cavities cleaner and more precise.
- Wire rack: Allows the donuts to cool completely before glazing.
How to Make Soft Pumpkin Donuts Recipe with Glaze
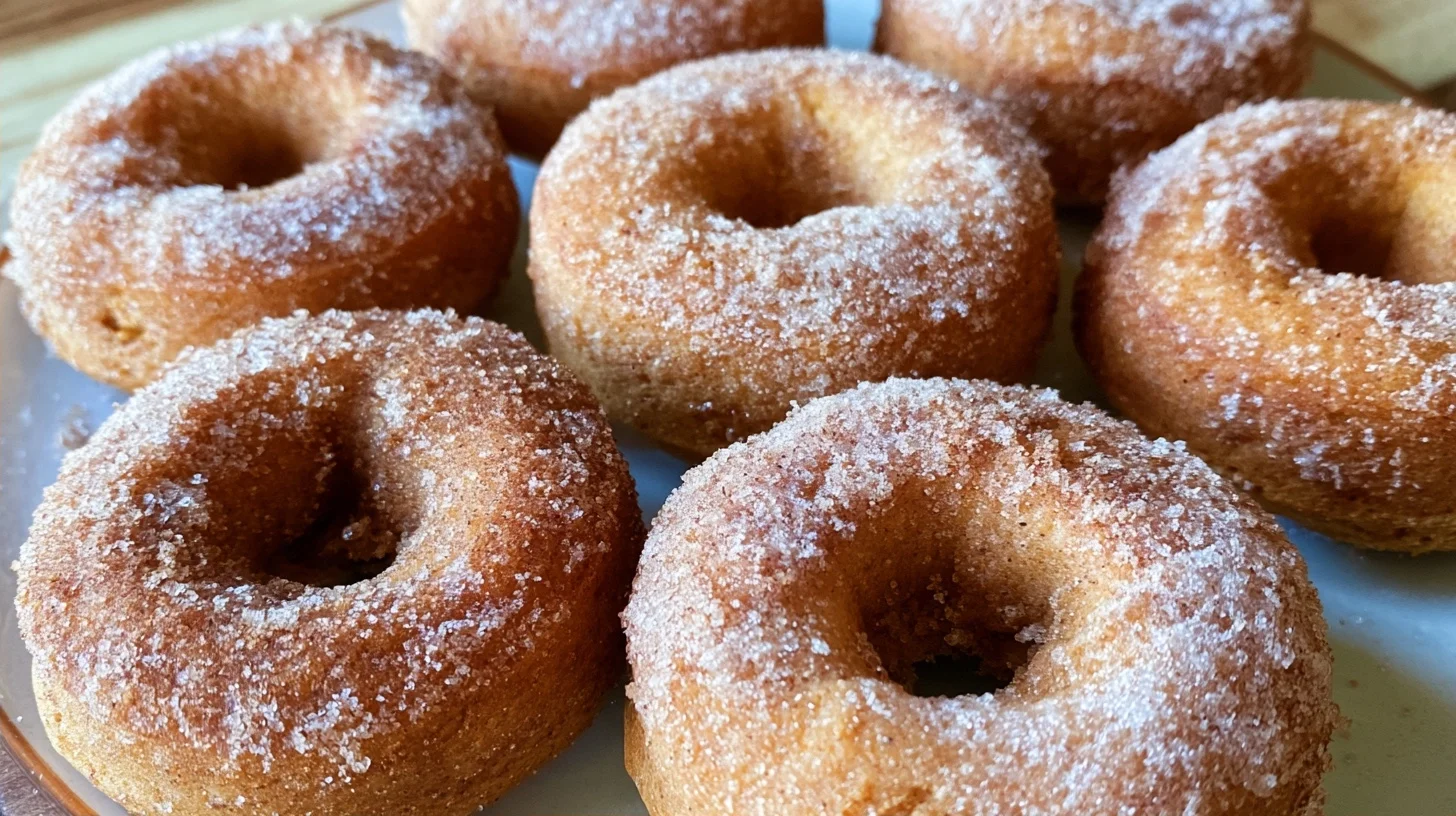
Baked Pumpkin Donuts with Glaze
12
servings15
minutes12
minutes145
kcalThese baked pumpkin donuts are soft, tender, and full of warm fall spices. Made with real pumpkin puree and finished with a simple vanilla glaze, they’re perfect for breakfast or a sweet snack. The key to their tender texture is not overmixing the batter and draining any excess liquid from the pumpkin puree.
Keep the screen of your device on
Ingredients
1.5 cups all-purpose flour
0.5 cup granulated sugar
1 teaspoon baking powder
0.5 teaspoon baking soda
1 teaspoon ground cinnamon
0.25 teaspoon ground nutmeg
0.25 teaspoon ground ginger
0.25 teaspoon salt
0.75 cup pumpkin puree
1 large egg
0.25 cup milk
3 tablespoons melted butter
Directions
- Preheat the oven to 350°F and grease a 6-cavity donut pan thoroughly with butter or nonstick spray, including the center posts. This prevents the donuts from sticking and tearing when you remove them.
- Whisk together the flour, sugar, baking powder, baking soda, cinnamon, nutmeg, ginger, and salt in a large bowl. Make sure the spices are evenly distributed so every donut has consistent flavor.
- In a separate bowl, whisk the pumpkin puree, egg, milk, melted butter, and vanilla extract until smooth and well combined. The mixture should be thick but pourable.
- Pour the wet ingredients into the dry ingredients and gently fold with a rubber spatula just until no dry streaks remain. A few small lumps are fine—overmixing makes the donuts dense.
- Transfer the batter to a piping bag or a zip-top bag with the corner snipped off and pipe the batter into each donut cavity, filling them about two-thirds full. This allows room for the donuts to rise without overflowing.
- Bake for 10 to 12 minutes, or until a toothpick inserted into the thickest part comes out clean or with just a few moist crumbs. The tops should spring back lightly when pressed.
Notes
- Draining the pumpkin puree removes excess moisture, which prevents the donuts from turning out gummy or dense.
- Room temperature eggs and milk blend more smoothly with the pumpkin and butter, creating a more even batter.
- Store unglazed donuts in an airtight container at room temperature for up to three days, or freeze for up to two months.
Nutrition Facts
- Serving Size: 1g
- Total number of serves: 12
- Calories: 145kcal
- Fat: 4g
- Carbohydrates: 26g
- Fiber: 1g
- Protein: 2g
Did you make this recipe?
Tag @therecipemasterblog on Instagram and hashtag it with #therecipemaster
Like this recipe?
Follow @therecipemasterblog on Pinterest
Follow us on Facebook!
Follow The Recipe Master on Facebook
How to Get Tender Pumpkin Donuts Every Time
The texture of these donuts depends on how the batter is mixed and how the pumpkin puree is prepared. Pumpkin puree adds moisture and flavor, but if it’s too watery, the batter becomes thin and the donuts turn out gummy instead of tender.
Drain Excess Liquid from Pumpkin Puree
If your pumpkin puree looks watery or separates in the can, spoon it onto a few layers of paper towels and press gently to absorb the excess liquid. This step prevents the batter from becoming too wet, which can lead to dense, gummy donuts that don’t rise properly.
Mix the Batter Just Until Combined
Once the flour mixture goes into the wet ingredients, stir gently with a spatula just until no dry streaks remain. Overmixing develops gluten, which makes the donuts tough and dense instead of soft and tender. A few small lumps in the batter are fine and will bake out.
Fill the Donut Pan Two-Thirds Full
Using a piping bag or a zip-top bag with the corner snipped off, fill each donut cavity about two-thirds full. This allows the batter to rise and create a rounded top without overflowing. Overfilled cavities cause the donuts to bake unevenly and lose their shape.
Check Doneness with a Toothpick
Bake the donuts until a toothpick inserted into the thickest part comes out clean or with just a few moist crumbs. Overbaking dries them out, while underbaking leaves a gummy center. The tops should spring back lightly when pressed.
Common Mistakes When Making Pumpkin Donuts Recipe
Using Cold Ingredients
Cold eggs and butter don’t blend smoothly with the pumpkin puree, which can cause the batter to separate or mix unevenly. This leads to donuts with an inconsistent texture. Let the eggs and butter sit at room temperature for about 30 minutes before mixing, or warm the eggs gently in a bowl of warm water for a few minutes.
Skipping the Grease on the Donut Pan
Even nonstick pans benefit from a light coating of butter or nonstick spray. Without it, the donuts can stick to the pan, especially around the center post, and tear when you try to remove them. Grease the pan thoroughly, including the center posts and the top surface around each cavity.
Glazing the Donuts While They’re Still Warm
If the donuts are even slightly warm, the glaze will melt and slide off instead of setting into a smooth coating. Let the donuts cool completely on a wire rack before dipping them in the glaze. This allows the glaze to firm up and create a clean finish.
Overmixing the Glaze
Whisking the glaze too vigorously or for too long incorporates air bubbles, which create a foamy texture instead of a smooth, glossy finish. Stir the glaze gently until the ingredients are just combined, and let it sit for a minute to allow any bubbles to settle before dipping the donuts.
Ways to Customize Your Pumpkin Donuts
Maple Glaze Instead of Vanilla
Replace the vanilla extract in the glaze with pure maple syrup for a deeper, richer sweetness that complements the pumpkin and spices. Use about two tablespoons of maple syrup and reduce the milk slightly to maintain the right glaze consistency.
Cinnamon Sugar Coating
Skip the glaze and brush the warm donuts lightly with melted butter, then roll them in a mixture of granulated sugar and cinnamon. This creates a simple, lightly sweet coating with a bit of texture. The donuts should be warm enough for the butter to stick but not so hot that the sugar melts.
Dairy-Free Pumpkin Donuts
Replace the milk with unsweetened almond milk or oat milk, and use melted coconut oil instead of butter. The donuts will have a slightly different flavor and a bit more moisture, but the texture stays tender. For the glaze, use a plant-based milk and skip the butter or use vegan butter.
Gluten-Free Pumpkin Donuts Recipe
Substitute a 1:1 gluten-free baking flour blend for the all-purpose flour. The texture will be slightly more delicate, and the donuts may brown a bit faster, so check them a minute or two earlier than the recipe suggests. Make sure the blend contains xanthan gum or another binder for structure.
What Makes These Pumpkin Donuts Healthy
These donuts are baked rather than fried, which significantly reduces the fat content compared to traditional donuts. Pumpkin puree adds moisture without excess oil, and it provides fiber, vitamin A, and antioxidants. The spices—cinnamon, nutmeg, and ginger—contribute anti-inflammatory compounds and add flavor without adding sugar.
Each donut contains moderate calories and a small amount of protein from the egg and milk. The glaze adds sugar, but you can reduce the sweetness by using less glaze or skipping it entirely in favor of a light dusting of powdered sugar. For a lower-sugar version, consider using a sugar substitute in both the batter and the glaze, though the texture may change slightly.
How to Serve Baked Pumpkin Donuts
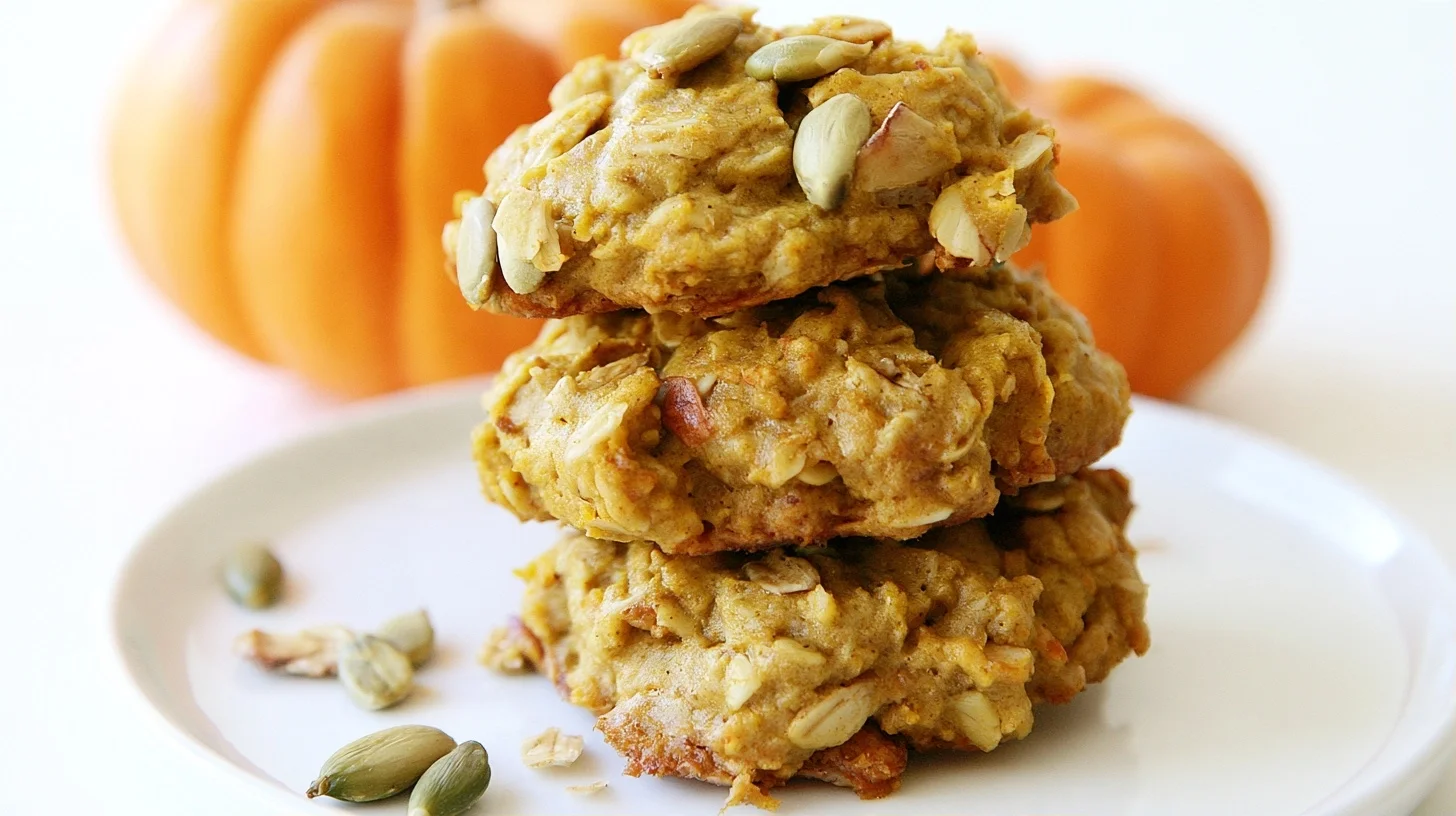
These donuts are best served at room temperature, either on their own or with a hot cup of coffee or tea. They work well for breakfast, brunch, or as a mid-morning snack. For a more indulgent presentation, serve them alongside spiced pumpkin oatmeal cookies or a warm pumpkin spice latte.
You can also serve them as part of a fall brunch spread with scrambled eggs, sausage, and fresh fruit. If you’re hosting, arrange the donuts on a tiered stand and offer a small bowl of extra glaze or cinnamon sugar on the side so guests can customize their own.
How to Store Pumpkin Donuts
Store the donuts in an airtight container at room temperature for up to three days. The glaze may soften slightly over time, but the donuts will stay moist. If you’ve dusted them with cinnamon sugar instead of glazing, they’ll hold up even better at room temperature.
For longer storage, freeze the unglazed donuts in a single layer on a baking sheet until solid, then transfer them to a freezer-safe bag or container. They’ll keep for up to two months. Thaw at room temperature for about an hour, then glaze or dust with cinnamon sugar before serving. Freezing glazed donuts is possible, but the glaze may crack or become sticky when thawed.
Frequently Asked Questions
Yes, you can use a muffin tin instead. The donuts will have a muffin shape rather than the classic donut ring, and they may take a minute or two longer to bake. Fill the muffin cups about two-thirds full and check for doneness with a toothpick.
Dense donuts usually result from overmixing the batter or using too much flour. Overmixing develops gluten, which makes the texture tough. Measure the flour by spooning it into the measuring cup and leveling it off, rather than scooping directly from the bag, which packs in more flour.
Yes, you can use homemade pumpkin puree, but make sure it’s thick and smooth. Fresh pumpkin puree tends to be wetter than canned, so drain it through a fine-mesh sieve or cheesecloth to remove excess liquid before measuring. This prevents the batter from becoming too thin.
The donuts are done when a toothpick inserted into the thickest part comes out clean or with just a few moist crumbs. The tops should spring back lightly when pressed, and the edges should start to pull away slightly from the pan. This usually takes 10 to 12 minutes at 350°F.




Leave a Reply