

- Use 100% pumpkin puree, brown sugar and vanilla for authentic flavor; control sweetness to taste.
- Whisk pumpkin with sugar, then gently warm (do not boil) until sugar dissolves to keep creamer silky and lump-free.
- Cool to room temperature, store in an airtight glass jar refrigerated up to one week, and shake before each pour.
There’s something magical about stirring a swirl of homemade pumpkin creamer into your morning coffee. Unlike store-bought versions loaded with artificial flavors and stabilizers, this creamer brings together real pumpkin puree, warm spices, and a touch of sweetness to create a fall-inspired coffee addition that tastes genuinely delicious. The texture is silky and smooth, blending seamlessly into hot or iced coffee without separating or clumping.
I made this recipe in less than 10 minutes to prepare and stores beautifully in the refrigerator for up to a week. The key to its velvety consistency is gently warming the mixture just enough to dissolve the sugar and blend the pumpkin without cooking it, which keeps the flavor fresh and the texture pourable.
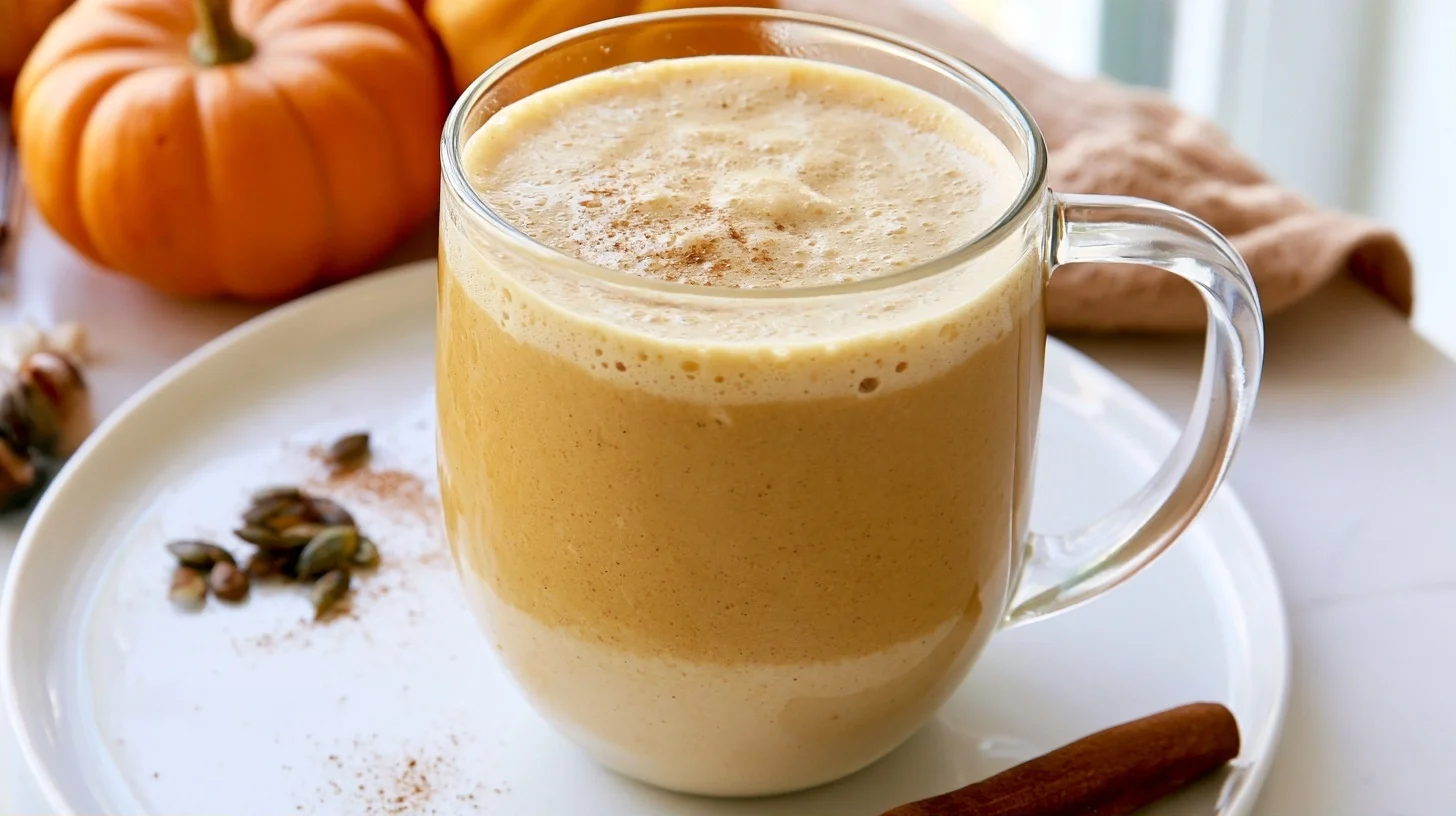
Table of contents
- Why You Will Love This Homemade Pumpkin Creamer
- Essential Tools for Smooth Pumpkin Creamer
- How to Make Silky Homemade Pumpkin Creamer
- How to Get Perfectly Smooth Pumpkin Creamer Every Time
- Common Mistakes That Ruin Pumpkin Creamer
- Ways to Customize Your Pumpkin Creamer
- Nutritional Benefits of Homemade Pumpkin Creamer
- Best Ways to Enjoy Pumpkin Creamer
- How to Store Pumpkin Creamer for Maximum Freshness
- Frequently Asked Questions about Homemade Pumpkin Creamer
Why You Will Love This Homemade Pumpkin Creamer
- Made with real pumpkin puree instead of artificial flavoring, giving you genuine pumpkin flavor in every pour.
- Naturally sweetened with brown sugar and vanilla, allowing you to control the sweetness level to match your preference.
- Ready in under 10 minutes with just a small saucepan and a whisk, no special equipment required.
- Stays fresh in the refrigerator for up to one week, making it easy to enjoy fall-flavored coffee all week long.
Essential Tools for Smooth Pumpkin Creamer
You only need a few basic kitchen tools to make this creamer successfully. The right equipment ensures the pumpkin blends smoothly without lumps.
- Small saucepan: A 2-quart saucepan works perfectly for gently warming the mixture without scorching the milk or pumpkin.
- Whisk: Essential for breaking up the pumpkin puree and creating a smooth, lump-free texture as the ingredients combine.
- Glass jar or airtight container: A clean glass jar with a tight lid keeps the creamer fresh and makes pouring easy throughout the week.
- Measuring cups and spoons: Accurate measurements ensure the right balance of sweetness and spice without overpowering the pumpkin flavor.
How to Make Silky Homemade Pumpkin Creamer
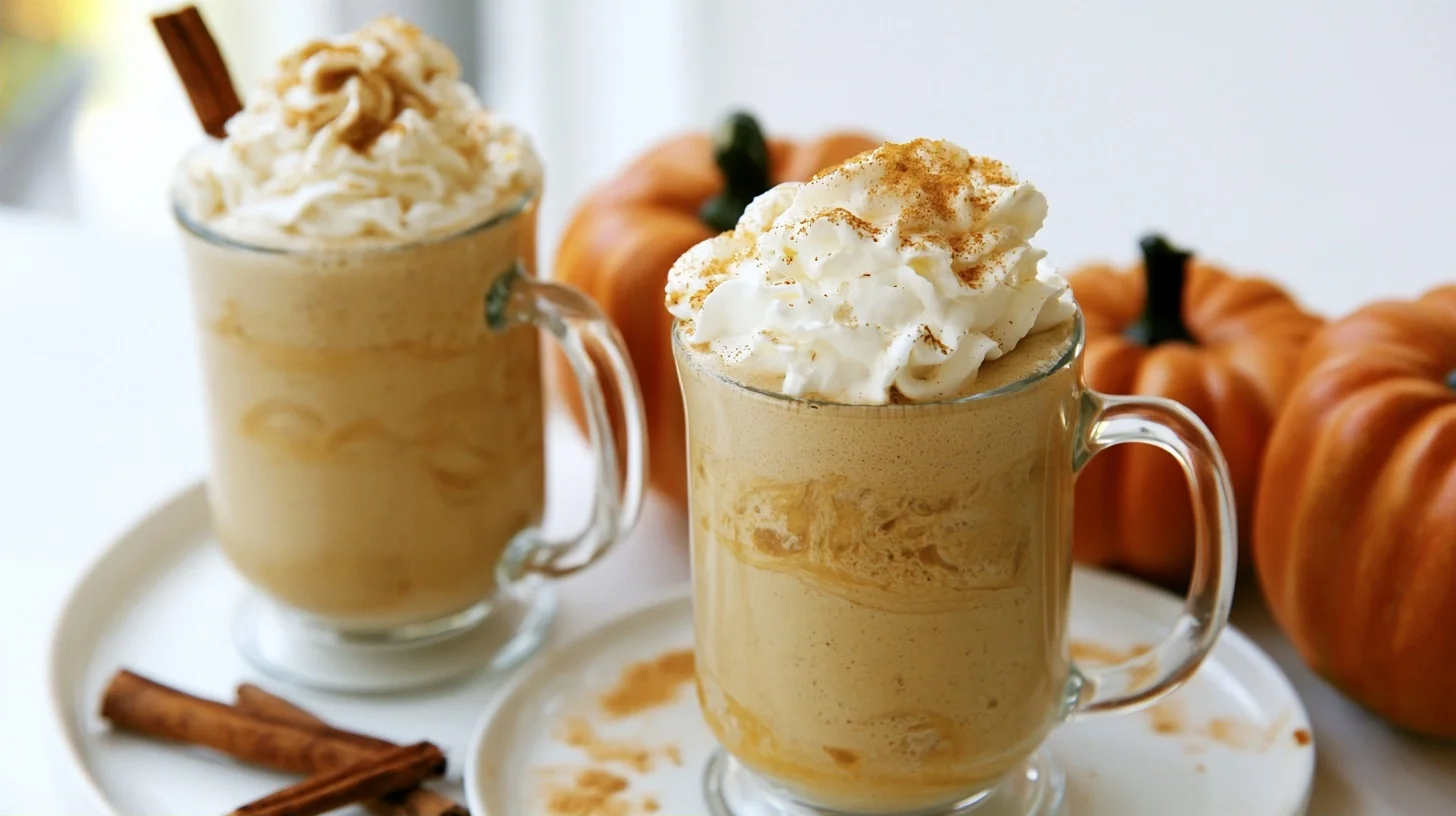
Homemade Pumpkin Creamer
12
servings5
minutes5
minutes45
kcalThis homemade pumpkin creamer combines real pumpkin puree with warm fall spices and a touch of sweetness to create a silky, flavorful addition to your morning coffee. The key is gently warming the mixture just enough to blend the ingredients without cooking them, which keeps the texture smooth and pourable.
Keep the screen of your device on
Ingredients
1 cup whole milk
0.5 cup pumpkin puree
0.25 cup brown sugar
1 teaspoon vanilla extract
1 teaspoon pumpkin pie spice
0.25 teaspoon ground cinnamon
1 pinch salt
0.5 cup heavy cream
Directions
- Whisk the pumpkin puree, brown sugar, and spices together in a small saucepan over medium-low heat for about 30 seconds. This breaks down the thick pumpkin texture and helps it blend more smoothly once you add the liquid.
- Pour in the milk slowly while whisking constantly to prevent lumps from forming. Continue whisking until the mixture is completely smooth and no streaks of pumpkin remain visible.
- Warm the mixture gently for 3 to 5 minutes, stirring occasionally, until you see light steam rising and the sugar has dissolved completely. Do not let it boil, as this causes the milk proteins to separate and creates a grainy texture.
- Remove from heat and stir in the vanilla extract. The vanilla adds depth to the pumpkin flavor and helps balance the earthiness of the spices.
- Let the creamer cool to room temperature on the counter for about 20 minutes before transferring to a storage container. Cooling prevents condensation inside the jar, which would dilute the creamer.
- Transfer to a clean glass jar with a tight-fitting lid and refrigerate. The creamer will thicken slightly as it chills and is ready to use once completely cold.
Notes
- Shaking the jar vigorously for 5 to 10 seconds before each use redistributes the pumpkin solids that naturally settle to the bottom during storage, ensuring consistent flavor in every pour.
- If your creamer separates in hot coffee, the temperature difference is too extreme. Let the creamer sit at room temperature for 5 minutes before adding it, or warm it briefly in the microwave for 10 seconds.
- This creamer stays fresh in the refrigerator for up to one week when stored in an airtight container. Always smell it before using to ensure it hasn’t developed a sour odor, which indicates spoilage.
Nutrition Facts
- Serving Size: 1g
- Total number of serves: 12
- Calories: 45kcal
- Fat: 1.5g
- Carbohydrates: 7g
- Fiber: 0.5g
- Protein: 1g
Did you make this recipe?
Tag @therecipemasterblog on Instagram and hashtag it with #therecipemaster
Like this recipe?
Follow @therecipemasterblog on Pinterest
Follow us on Facebook!
Follow The Recipe Master on Facebook
How to Get Perfectly Smooth Pumpkin Creamer Every Time
The secret to restaurant-quality pumpkin creamer lies in how you combine the ingredients. Following these techniques ensures your creamer blends smoothly into coffee without separating or leaving grainy bits behind.
Whisk the Pumpkin Puree Thoroughly Before Adding Liquid
Pumpkin puree straight from the can is thick and dense. Before adding any milk, whisk the pumpkin puree with the sugar and spices in the saucepan for about 30 seconds. This breaks down the pumpkin’s structure and creates a smoother base that incorporates more easily once you add the liquid. If you skip this step, you may end up with small pumpkin clumps that refuse to dissolve completely.
Warm the Mixture Gently, Not to a Boil
Heat the creamer over medium-low heat just until it becomes warm to the touch and the sugar dissolves, which usually takes 3 to 5 minutes. Bringing the mixture to a boil causes the milk proteins to separate and creates a grainy texture that won’t blend smoothly into your coffee. The goal is to warm the ingredients enough to marry the flavors without cooking them. You’ll know it’s ready when you can see gentle steam rising and the mixture flows easily off your whisk.
Use Full-Fat Milk or Half-and-Half for Richness
The fat content in your dairy base affects both the flavor and how well the creamer blends into hot coffee. Whole milk creates a creamy texture that stays suspended in coffee, while skim or low-fat milk tends to separate more quickly because it lacks the fat molecules that stabilize the mixture. Half-and-half produces an even richer result, similar to commercial creamers. If you prefer a lighter option, whole milk offers the best balance between richness and calorie content while still maintaining good texture.
Shake the Jar Before Each Use
Even properly made pumpkin creamer will settle slightly in the refrigerator as the heavier pumpkin solids sink to the bottom. Give the jar a vigorous shake for 5 to 10 seconds before pouring to redistribute the pumpkin throughout the liquid. This ensures every cup of coffee gets the same amount of flavor and creamy texture instead of watery liquid at the top and thick sludge at the bottom.
Common Mistakes That Ruin Pumpkin Creamer
Using Pumpkin Pie Filling Instead of Pure Pumpkin Puree
Pumpkin pie filling already contains added sugar, spices, and thickeners designed for baking, not for creamer. Using it makes the creamer overly sweet and gives it an artificial, overly spiced flavor that overwhelms coffee instead of complementing it. Always choose 100% pure pumpkin puree, which lists only pumpkin in the ingredients. This allows you to control the sweetness and spice levels precisely. If you accidentally use pie filling, the creamer will taste more like dessert than a balanced coffee addition.
Overheating the Mixture Until It Boils
Boiling the creamer causes the milk proteins to coagulate and the mixture to develop a cooked, slightly burnt taste. The pumpkin can also become grainy when exposed to high heat for too long. Keep the heat at medium-low and remove the saucepan from the burner as soon as you see steam and the sugar has dissolved. If you do accidentally boil it, the creamer may still be usable but will have a less pleasant texture and a slightly off flavor that’s noticeable in lighter roast coffees.
Skipping the Cooling Step Before Refrigerating
Pouring hot creamer directly into a sealed jar and refrigerating it creates condensation inside the container, which dilutes the creamer and shortens its shelf life. Let the mixture cool to room temperature on the counter for about 20 minutes before transferring it to your storage jar. This prevents excess moisture buildup and keeps the creamer at its intended consistency. If you’re in a hurry, you can speed up cooling by placing the saucepan in an ice bath and stirring occasionally.
Not Adjusting Spice Levels to Personal Taste
Pumpkin spice tolerance varies widely. Some people love a heavy cinnamon and nutmeg presence, while others prefer a subtle hint that doesn’t compete with their coffee’s natural flavor. Start with the recipe amounts, then taste the cooled creamer before storing it. If the spice flavor is too mild, whisk in an additional 1/4 teaspoon of pumpkin pie spice. If it’s too strong, add another 1/4 cup of milk to dilute it. Making this adjustment before refrigerating saves you from a week of creamer that doesn’t match your preferences.
Ways to Customize Your Pumpkin Creamer
This base recipe adapts easily to different dietary needs and flavor preferences. Each variation changes the texture or sweetness slightly, so adjust the other ingredients as needed to maintain balance.
Dairy-Free Pumpkin Creamer
Replace the whole milk with full-fat coconut milk or oat milk for a dairy-free version. Coconut milk creates the richest texture because of its high fat content, though it adds a subtle coconut flavor that some people enjoy with pumpkin spice. Oat milk produces a neutral flavor and creamy consistency that works well if you want the pumpkin and spices to remain the dominant taste. Avoid almond milk, which tends to separate in hot coffee and creates a watery texture. The rest of the recipe remains the same.
Sugar-Free or Lower-Sugar Version
Substitute the brown sugar with an equal amount of maple syrup, honey, or a granulated sugar substitute like erythritol or monk fruit sweetener. Maple syrup adds a complementary fall flavor that pairs naturally with pumpkin, while honey brings a floral sweetness. If using a sugar substitute, choose one that dissolves easily in warm liquid and doesn’t leave a bitter aftertaste. Keep in mind that removing all sweetness makes the pumpkin flavor more vegetable-like, so most people prefer at least a small amount of sweetener to balance the spices. Try low-sugar creamer options if you want more ideas for reducing sugar while maintaining flavor.
Extra-Spiced Fall Creamer
Increase the pumpkin pie spice to 2 teaspoons and add 1/4 teaspoon of ground ginger for a more assertive spice profile. This version works especially well if you drink strong, dark roast coffee that can stand up to bolder flavors. You can also use individual spices instead of a premixed blend: try 1 teaspoon cinnamon, 1/2 teaspoon nutmeg, 1/4 teaspoon ginger, and 1/4 teaspoon cloves for a more complex, layered spice flavor that develops differently as the creamer sits in your refrigerator. I tired this version several times and it gives a nice taste to my morning latte.
Vanilla-Forward Pumpkin Creamer
Double the vanilla extract to 2 teaspoons or use 1 teaspoon of vanilla bean paste for a more pronounced vanilla flavor that balances the earthiness of the pumpkin. This variation creates a creamer that tastes closer to a pumpkin vanilla latte and works beautifully in both hot and iced coffee. The vanilla also helps mask any slight vegetable notes from the pumpkin if you find them distracting in the standard recipe.
Nutritional Benefits of Homemade Pumpkin Creamer
Making your own pumpkin creamer gives you control over the sugar content and allows you to use real pumpkin, which provides more nutritional value than artificial flavorings. Each serving contains approximately 45 calories, primarily from the milk and sugar, with about 1 gram of protein, 7 grams of carbohydrates, and 1.5 grams of fat. The pumpkin contributes a small amount of vitamin A and fiber, though the amounts per serving are modest since you’re using just a few tablespoons of creamer per cup of coffee.
Compared to store-bought pumpkin creamers, this homemade version typically contains 30 to 40 percent less sugar and no artificial stabilizers, preservatives, or high-fructose corn syrup. If you use whole milk, the fat content helps your body absorb the fat-soluble vitamin A from the pumpkin more effectively. The brown sugar provides a small amount of molasses, which contains trace minerals like calcium and potassium, though the quantities are not nutritionally significant.
Best Ways to Enjoy Pumpkin Creamer
While this creamer is designed for coffee, its versatility extends beyond your morning cup. Pour it into hot or iced coffee, using 2 to 3 tablespoons per 8-ounce cup depending on how creamy and sweet you prefer your drink. The creamer works equally well in espresso-based drinks like lattes and cappuccinos, where it adds both flavor and the milk component in one pour.
Try stirring it into hot tea, especially black tea or chai, for a fall-inspired twist on your afternoon routine. The pumpkin and spice flavors complement the tannins in tea surprisingly well. You can also use it as a topping for oatmeal, drizzle it over pancakes or waffles, or stir it into plain yogurt for a quick breakfast that tastes like pumpkin pie. Some people even add a splash to smoothies or use it as a base for pumpkin-flavored hot chocolate. For more fall coffee inspiration, check out this pumpkin spice latte recipe that pairs perfectly with homemade creamer.
How to Store Pumpkin Creamer for Maximum Freshness
Store the cooled creamer in an airtight glass jar or container in the refrigerator for up to one week. Glass is preferable to plastic because it doesn’t absorb odors and keeps the creamer tasting fresh longer. Make sure the container has a tight-fitting lid to prevent the creamer from absorbing other refrigerator smells and to minimize oxidation, which can cause the spices to taste stale.
Always shake the jar vigorously before each use, as the pumpkin solids naturally settle to the bottom during storage. If you notice the creamer becoming thicker after a few days, this is normal as the pumpkin continues to absorb some of the liquid. You can thin it by stirring in an additional tablespoon or two of milk. Check for freshness by smelling the creamer before using it. If it develops a sour smell or the texture becomes slimy, discard it. Properly stored, most batches remain fresh and flavorful for the full week, though the spice intensity may mellow slightly over time.
Frequently Asked Questions about Homemade Pumpkin Creamer
Yes, you can freeze pumpkin creamer in an airtight container for up to 2 months. Thaw it overnight in the refrigerator and shake vigorously before using, as the texture may separate slightly during freezing. The flavor remains intact, though the consistency may be slightly thinner after thawing.
Separation usually happens when the creamer is too cold or the coffee is extremely hot. Let the creamer sit at room temperature for 5 minutes before adding it to coffee, or warm it slightly in the microwave for 10 seconds. Using whole milk or half-and-half instead of low-fat milk also reduces separation because higher fat content stabilizes the mixture better.
Yes, you can use fresh pumpkin puree, but make sure it’s well-drained and completely smooth. Fresh pumpkin contains more water than canned, so press it through a fine-mesh strainer or cheesecloth to remove excess liquid before measuring. Roasted pumpkin works better than boiled because it has a more concentrated flavor and drier texture.
To make a thicker creamer, replace half or all of the milk with half-and-half or heavy cream. You can also reduce the amount of liquid by 1/4 cup, which concentrates the pumpkin and creates a richer texture. Another option is to add 1 teaspoon of cornstarch mixed with 1 tablespoon of cold milk to the mixture while heating, which thickens it without changing the flavor.




Leave a Reply