

- Homemade creamer ready in under five minutes using sweetened condensed milk plus whole milk or half and half.
- Customize flavor with vanilla, cocoa, cinnamon, maple, hazelnut, or infuse spices before straining.
- Whisk thoroughly or use a handheld blender to emulsify and prevent separation; shake bottle before each use.
- Store in a clean glass bottle or airtight container in the fridge up to two weeks; discard if sour.
- Dairy-free options: swap coconut or oat milk and use sweetened condensed coconut milk, or reduce sugar with sugar-free condensed milk.
If you’ve ever wanted to skip the store-bought bottles and make your own coffee creamer at home, you’re in for a treat. Homemade coffee creamer is surprisingly simple, uses just a few pantry ingredients, and lets you control exactly what goes into your morning cup. Unlike commercial versions loaded with stabilizers and artificial flavors, a homemade batch delivers clean, customizable flavor that stays fresh in your fridge for up to two weeks.
The base is straightforward: sweetened condensed milk and whole milk or half-and-half, whisked together until smooth. From there, you can add vanilla extract, cocoa powder, cinnamon, or even a splash of maple syrup to create endless variations. The result is a creamy, lightly sweetened addition to your coffee that doesn’t separate or curdle the way some plant-based alternatives can.
What makes this approach particularly useful is how forgiving it is. You can adjust the sweetness, swap dairy for coconut milk, or infuse the base with spices before straining. Once you see how easy it is, you’ll wonder why you didn’t start sooner.
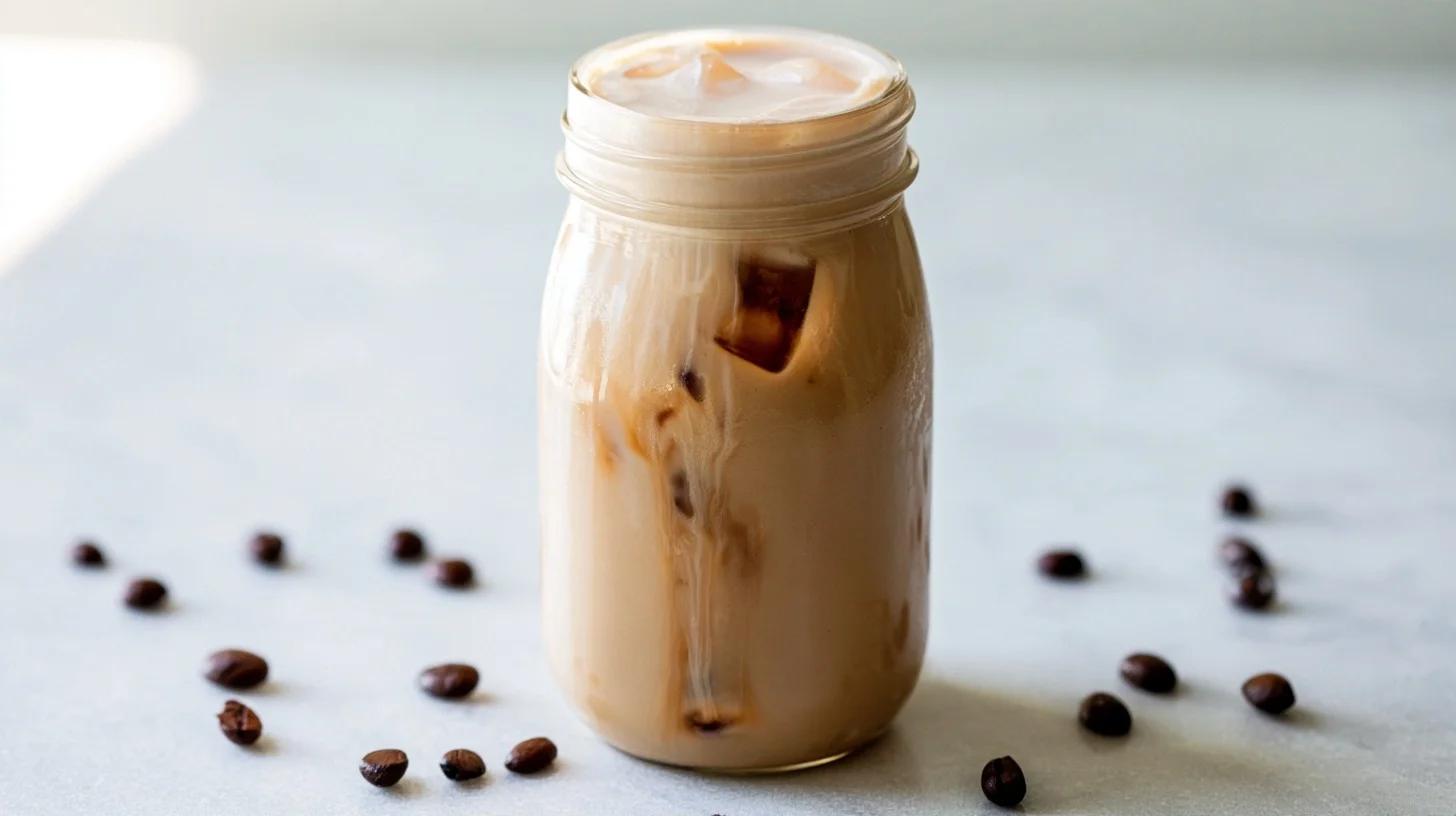
Table of contents
- Why You Will Love This Coffee Creamer
- What You Need to Make Coffee Creamer at Home
- How to Make the Creamiest Coffee Creamer
- How to Get the Perfect Coffee Creamer Consistency
- Common Coffee Creamer Mistakes and How to Fix Them
- Creative Coffee Creamer Variations to Try
- What to Know About Coffee Creamer Nutrition
- How to Serve and Enjoy Your Coffee Creamer
- How to Store Coffee Creamer for Maximum Freshness
- Frequently Asked Questions
Why You Will Love This Coffee Creamer
- You control the ingredients, sweetness, and flavor intensity without any artificial additives.
- It takes less than five minutes to mix and can be stored in the fridge for up to two weeks.
- The base recipe is endlessly adaptable, from vanilla to hazelnut to seasonal spice blends.
- It costs a fraction of what you’d spend on flavored creamers at the grocery store.
What You Need to Make Coffee Creamer at Home
Making coffee creamer requires minimal equipment, and you likely already have everything on hand. The goal is to blend the ingredients smoothly and store the finished creamer in a way that keeps it fresh.
- Mixing bowl or large measuring cup: A vessel with a pour spout makes transferring the creamer into a storage bottle much easier and reduces spills.
- Whisk or handheld blender: A whisk works perfectly for the basic recipe, but a handheld blender ensures a completely smooth texture if you’re adding cocoa powder or spices that tend to clump.
- Glass bottle or airtight container: A clean glass bottle with a tight-fitting lid keeps the creamer fresh and makes pouring into your coffee simple. Glass is preferable because it doesn’t absorb flavors or odors.
- Fine-mesh strainer (optional): If you’re infusing the creamer with whole spices like cinnamon sticks or vanilla beans, you’ll need a strainer to remove the solids before storing.
How to Make the Creamiest Coffee Creamer
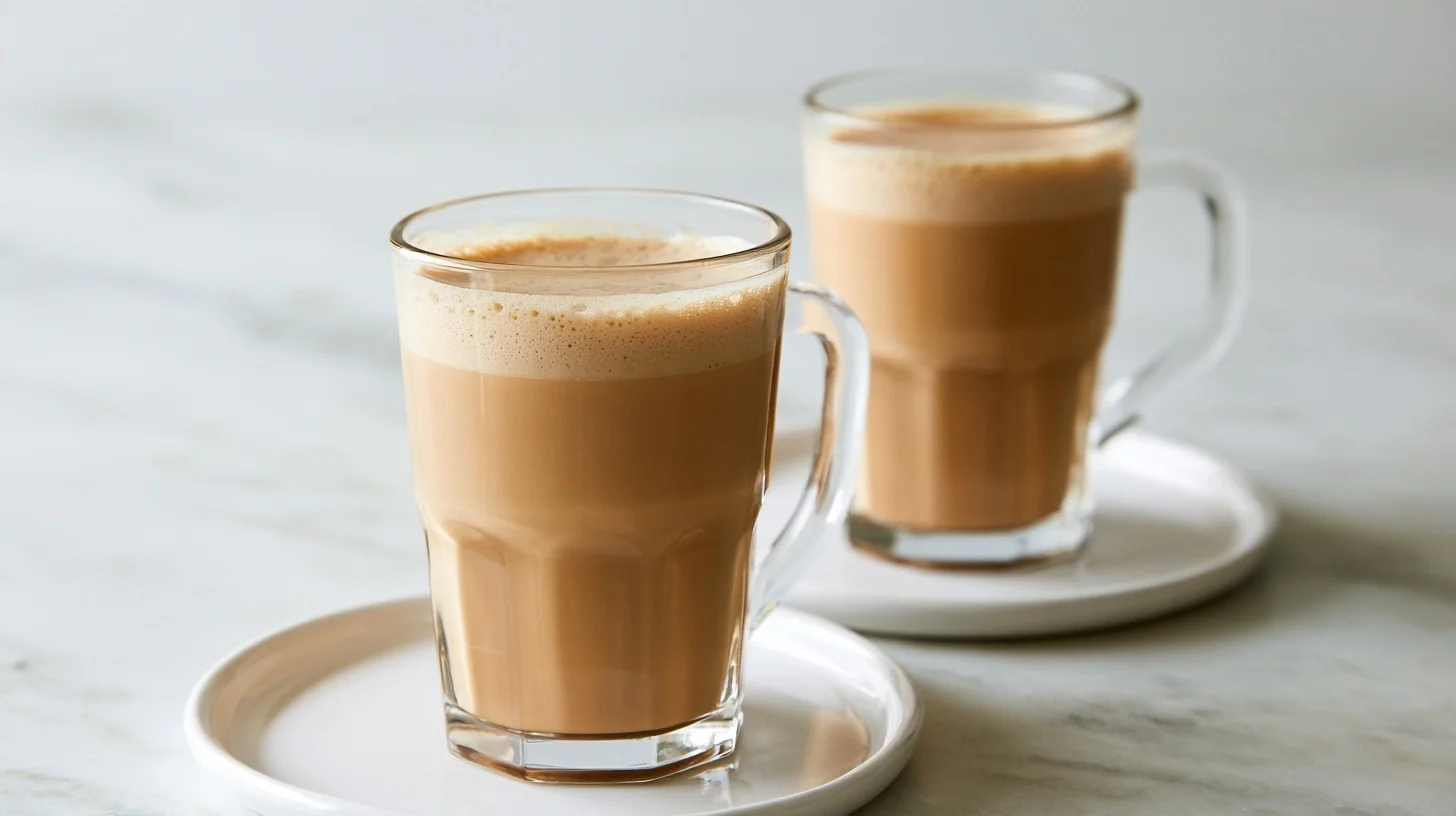
Homemade Coffee Creamer
16
servings5
minutes0
minutes70
kcalThis homemade coffee creamer uses sweetened condensed milk, whole milk, and vanilla extract to create a rich, creamy addition to your morning coffee. It takes less than five minutes to prepare and stays fresh in the fridge for up to two weeks. You can customize the flavor with extracts, spices, or syrups to suit your taste.
Keep the screen of your device on
Ingredients
1 can sweetened condensed milk
1.75 cups whole milk
1 teaspoon vanilla extract
0.25 teaspoon ground cinnamon
1 tablespoon cocoa powder
1 teaspoon hazelnut extract
2 tablespoons pure maple syrup
1 pinch sea salt
Directions
- Combine the sweetened condensed milk and whole milk in a large mixing bowl or measuring cup with a pour spout. Whisk vigorously for 30 seconds until the mixture is completely smooth and no streaks of condensed milk remain. This step is important because it emulsifies the two liquids and prevents separation later.
- Add the vanilla extract and whisk again until fully incorporated. If you’re using vanilla bean seeds, add them now and stir well to distribute the tiny black specks evenly throughout the creamer.
- For flavored variations, add your chosen extract or spice at this stage. If using cocoa powder, whisk it into the sweetened condensed milk first before adding the liquid milk to prevent clumping. A handheld blender works especially well for chocolate or spiced creamers.
- Taste the creamer and adjust the sweetness or flavor as needed. If it’s too sweet, add a splash more milk. If the flavor is too mild, add another quarter teaspoon of extract.
- Transfer the creamer to a clean glass bottle or airtight container using a funnel if necessary. Seal tightly and refrigerate immediately. The creamer is ready to use right away.
- Shake the bottle gently before each use to redistribute any ingredients that may have settled. Pour one to two tablespoons into your coffee and stir until fully blended. The creamer works best in hot coffee but can also be used in iced coffee if added first.
Notes
- Homemade coffee creamer stays fresh in the refrigerator for up to two weeks when stored in an airtight container, but always check the expiration date on the milk you used as that determines the maximum storage time.
- For a dairy-free version, substitute full-fat coconut milk for the whole milk and use sweetened condensed coconut milk in place of regular sweetened condensed milk.
- If the creamer separates slightly in the fridge, shake the bottle gently before pouring. This is normal, especially for creamers that contain cocoa powder or ground spices.
Nutrition Facts
- Serving Size: 1g
- Total number of serves: 16
- Calories: 70kcal
- Fat: 2g
- Carbohydrates: 11g
- Fiber: 0g
- Protein: 2g
Did you make this recipe?
Tag @therecipemasterblog on Instagram and hashtag it with #therecipemaster
Like this recipe?
Follow @therecipemasterblog on Pinterest
Follow us on Facebook!
Follow The Recipe Master on Facebook
How to Get the Perfect Coffee Creamer Consistency
The texture of your homemade coffee creamer depends on the ratio of sweetened condensed milk to liquid dairy or non-dairy milk. Sweetened condensed milk provides both sweetness and body, which is why it’s the backbone of most homemade creamer recipes. The liquid milk thins it out to a pourable consistency that blends easily into hot coffee without clumping or separating.
Use Full-Fat Dairy for the Richest Texture
Whole milk or half-and-half creates a creamy, luxurious mouthfeel that mimics commercial creamers. If you use skim or low-fat milk, the creamer will be thinner and less rich. For a truly indulgent version, use heavy cream, but keep in mind that it will be much thicker and richer than standard creamer.
Whisk Thoroughly to Prevent Separation
When you first combine the sweetened condensed milk with the liquid milk, whisk vigorously for at least 30 seconds. This ensures the two ingredients are fully emulsified. If you skip this step, the creamer may separate slightly in the fridge, and you’ll need to shake it before each use.
Add Extracts After Mixing the Base
Vanilla extract, almond extract, or other flavorings should be added after the base is smooth. This prevents the alcohol in the extract from interfering with the emulsion. Start with one teaspoon of extract per batch, taste, and adjust from there. If you’re using a pumpkin spice syrup, add it in place of or in addition to vanilla for a seasonal twist.
Blend in Cocoa or Spices Completely
If you’re making a chocolate or spiced creamer, add the cocoa powder or ground spices to the sweetened condensed milk first, then whisk in the liquid milk gradually. This prevents clumping and ensures the flavor is evenly distributed. A handheld blender works especially well for cocoa-based creamers because it eliminates any gritty texture.
Common Coffee Creamer Mistakes and How to Fix Them
Using Cold Ingredients Straight from the Fridge
Cold sweetened condensed milk is thick and harder to whisk smoothly into cold liquid milk. If your ingredients are very cold, the mixture may look lumpy or take longer to emulsify. To fix this, let the sweetened condensed milk sit at room temperature for 10 minutes before mixing, or warm it gently in the microwave for 10 seconds. This makes whisking easier and results in a smoother texture right away.
Adding Too Much Flavoring at Once
It’s tempting to add a lot of vanilla or other extracts, but too much can make the creamer taste artificial or overpowering. Start with one teaspoon per batch, stir well, and taste before adding more. Extracts are concentrated, and a little goes a long way. If you accidentally add too much, dilute the batch with a bit more milk to balance the flavor.
Storing the Creamer in a Bottle That Isn’t Airtight
Exposure to air causes the creamer to spoil faster and can lead to off flavors. Always use a bottle or container with a tight-fitting lid. Glass is ideal because it doesn’t absorb odors from the fridge. If you notice the creamer starting to smell sour or develop an unusual texture, discard it immediately.
Not Shaking Before Each Use
Even well-emulsified creamer can settle slightly in the fridge, especially if it contains cocoa powder or spices. Give the bottle a gentle shake before pouring it into your coffee. This redistributes the ingredients and ensures consistent flavor and texture in every cup.
Creative Coffee Creamer Variations to Try
Vanilla Bean Coffee Creamer
Use the seeds from one vanilla bean in place of vanilla extract for a more intense, natural vanilla flavor. Split the bean lengthwise, scrape out the seeds, and whisk them into the sweetened condensed milk before adding the liquid milk. The tiny black specks add visual appeal and a richer taste than extract alone.
Hazelnut Coffee Creamer
Add one teaspoon of hazelnut extract to the base recipe. For a deeper flavor, toast a handful of hazelnuts, crush them lightly, and steep them in the liquid milk for 30 minutes before straining and mixing with the sweetened condensed milk. This creates a more authentic hazelnut taste without relying solely on extract.
Cinnamon Maple Coffee Creamer
Replace half of the sweetened condensed milk with pure maple syrup and add half a teaspoon of ground cinnamon. Whisk thoroughly to ensure the cinnamon is fully incorporated. This variation pairs especially well with dark roast coffee and has a warm, slightly spiced flavor that works year-round.
Dairy-Free Coconut Coffee Creamer
Substitute full-fat coconut milk for the whole milk and use sweetened condensed coconut milk in place of regular sweetened condensed milk. The result is a rich, dairy-free creamer with a subtle coconut flavor. This version is thicker than the dairy-based recipe, so you may want to thin it slightly with additional coconut milk or water.
What to Know About Coffee Creamer Nutrition
Homemade coffee creamer is higher in sugar and calories than black coffee, but it’s lower in additives and preservatives than most store-bought versions. A typical two-tablespoon serving contains around 60 to 80 calories, depending on the ratio of sweetened condensed milk to liquid milk. The majority of those calories come from sugar and fat, which provide the creamy texture and sweetness.
If you’re looking to reduce sugar, you can use sugar-free sweetened condensed milk or replace part of the sweetened condensed milk with unsweetened almond milk and a small amount of honey or stevia. Keep in mind that reducing the sweetened condensed milk will also reduce the body and richness of the creamer, so you may need to adjust the texture by adding a bit of heavy cream.
For a lower-calorie option, use skim milk and reduce the amount of sweetened condensed milk slightly. The creamer will be thinner, but it will still add flavor and a touch of sweetness to your coffee without the same calorie load.
How to Serve and Enjoy Your Coffee Creamer
Pour one to two tablespoons of homemade coffee creamer into your freshly brewed coffee and stir until fully blended. The creamer works best in hot coffee, where it dissolves quickly and creates a smooth, creamy texture. If you’re adding it to iced coffee, pour the creamer in first, then add the coffee slowly to help it mix more evenly.
Homemade coffee creamer also works well in lattes, cappuccinos, and even hot chocolate. It adds a subtle sweetness and richness that complements espresso without overpowering the coffee flavor. If you’re making a latte, use the creamer in place of milk and steam it gently to create a frothy texture.
For a special treat, drizzle a spoonful of flavored creamer over vanilla ice cream or stir it into oatmeal for a sweet, creamy breakfast. The versatility of homemade creamer makes it useful beyond your morning cup of coffee.
How to Store Coffee Creamer for Maximum Freshness
Transfer the finished coffee creamer to a clean glass bottle or airtight container and store it in the refrigerator. Homemade coffee creamer stays fresh for up to two weeks when stored properly. Always check the expiration date on the milk you used to make the creamer, as that will determine the outer limit of how long the creamer will last.
Before each use, give the bottle a gentle shake to redistribute any ingredients that may have settled. If the creamer develops an off smell, changes texture, or tastes sour, discard it immediately. Because homemade creamer doesn’t contain preservatives, it spoils faster than commercial versions, so always err on the side of caution.
Do not freeze coffee creamer made with dairy, as it will separate and become grainy when thawed. If you want to make a large batch, it’s better to prepare two smaller batches and store the second one in the fridge until the first is finished.
Frequently Asked Questions
Yes, you can use full-fat coconut milk or oat milk in place of whole milk. The creamer will have a slightly different flavor and texture, but it will still be creamy and smooth. Use sweetened condensed coconut milk for a fully dairy-free version.
Homemade coffee creamer lasts up to two weeks in the refrigerator when stored in an airtight container. Always check the expiration date on the milk you used, as that will determine the maximum storage time. Discard the creamer if it develops an off smell or sour taste.
Yes, you can use sugar-free sweetened condensed milk or replace part of the sweetened condensed milk with unsweetened almond milk and a small amount of honey or stevia. Keep in mind that reducing the sweetened condensed milk will also reduce the body and richness of the creamer.
Separation can happen if the creamer wasn’t whisked thoroughly when first mixed, or if it contains cocoa powder or spices that settle over time. Shake the bottle gently before each use to redistribute the ingredients. If the creamer separates immediately after mixing, whisk it more vigorously or use a handheld blender to emulsify it fully.









Leave a Reply