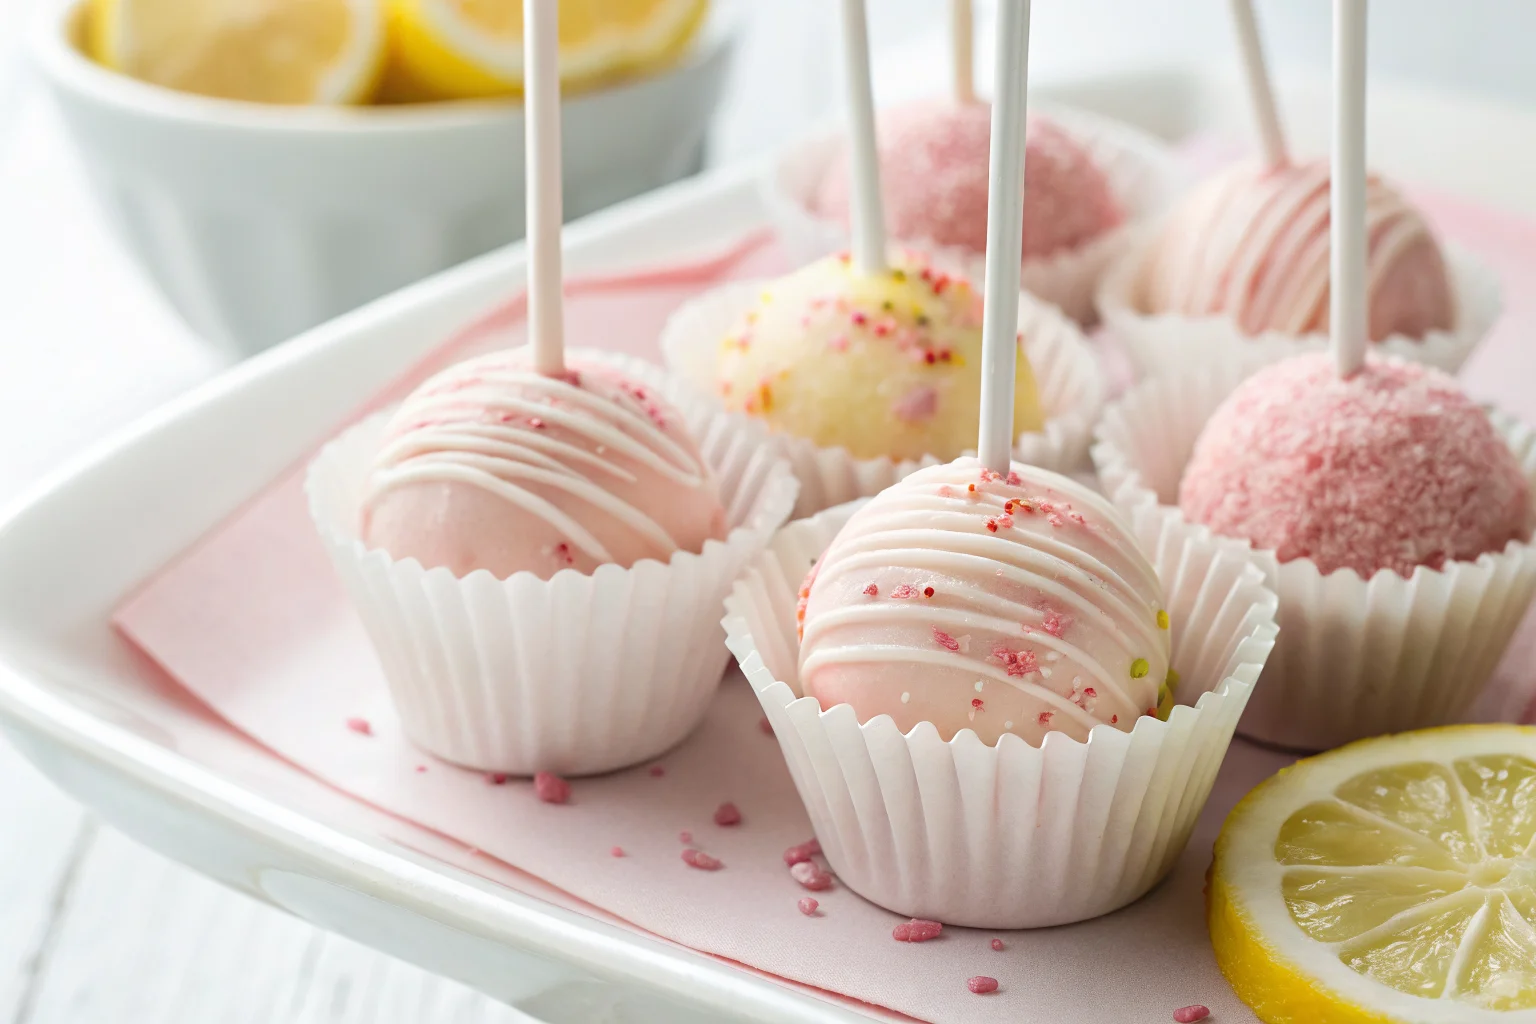
- Bright, tangy pink lemonade flavor with a pretty pink coating makes these perfect for summer parties and celebrations.
- Aim for a cake and frosting mixture moldable like playdough; add frosting gradually to avoid too wet or dry texture.
- Melt candy coating slowly, thin with coconut oil or shortening, and dip straight down then straight up for a smooth finish.
- Chill formed cake balls, then let them sit about five minutes at room temperature before dipping to prevent cracks.
- Customize flavors, coatings, or dietary swaps; store in the fridge up to one week or freeze up to three months.
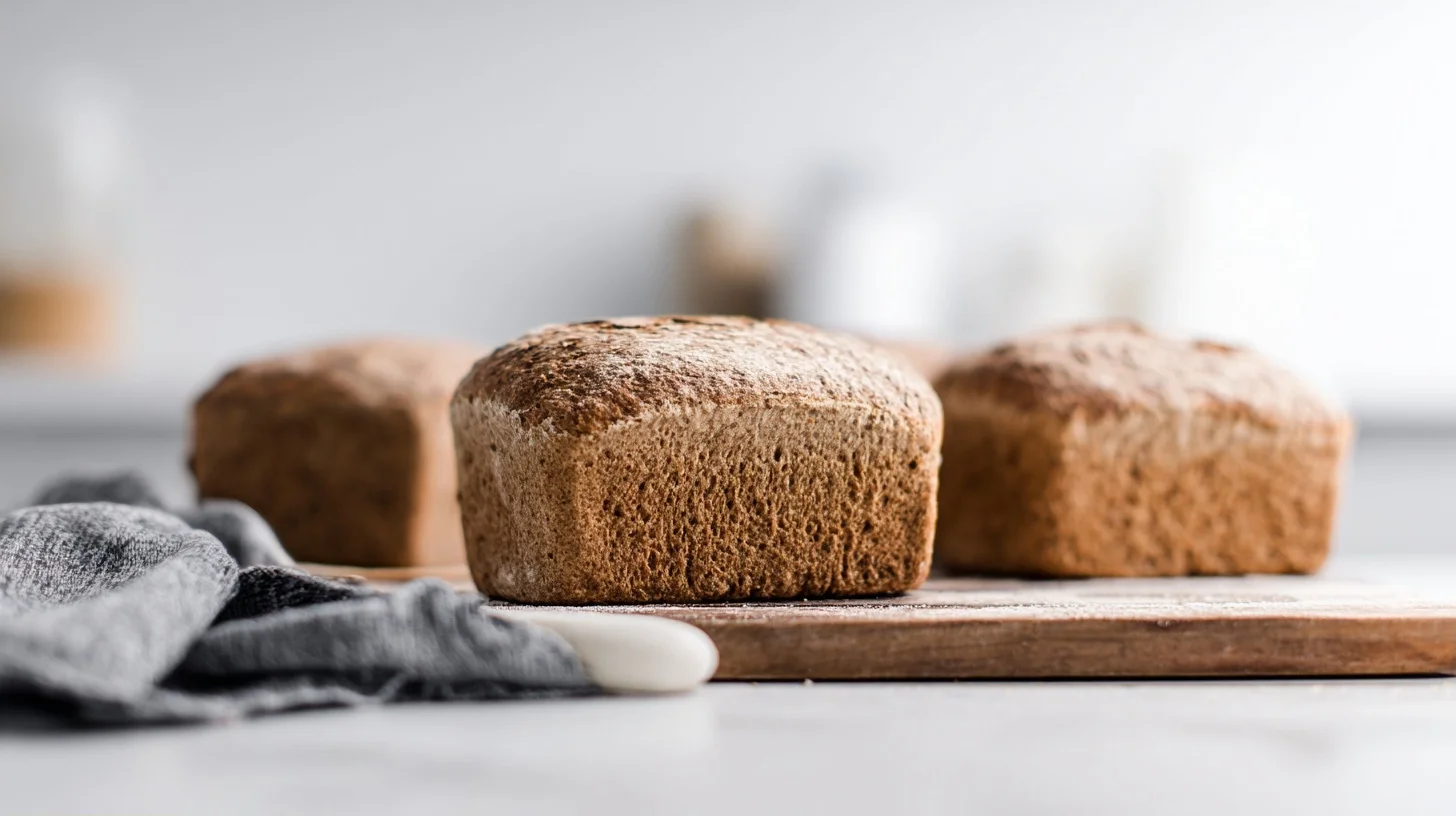
There’s something magical about combining the tangy sweetness of pink lemonade with the fun, bite-sized appeal of cake pops. Pink Lemonade Cake Pops are the perfect treat for summer parties, birthday celebrations, or any time you want to bring a burst of citrus sunshine to your dessert table. These adorable pops deliver a refreshing lemon flavor wrapped in a candy coating that’s as pretty as it is delicious.
I first made these for my niece’s birthday party, and they disappeared faster than any dessert I’ve ever served. The combination of moist cake, creamy frosting, and that signature pink lemonade tang creates a flavor that’s both nostalgic and exciting. Therefore, whether you’re an experienced baker or just starting out, these pops are surprisingly simple to make and always impressive.
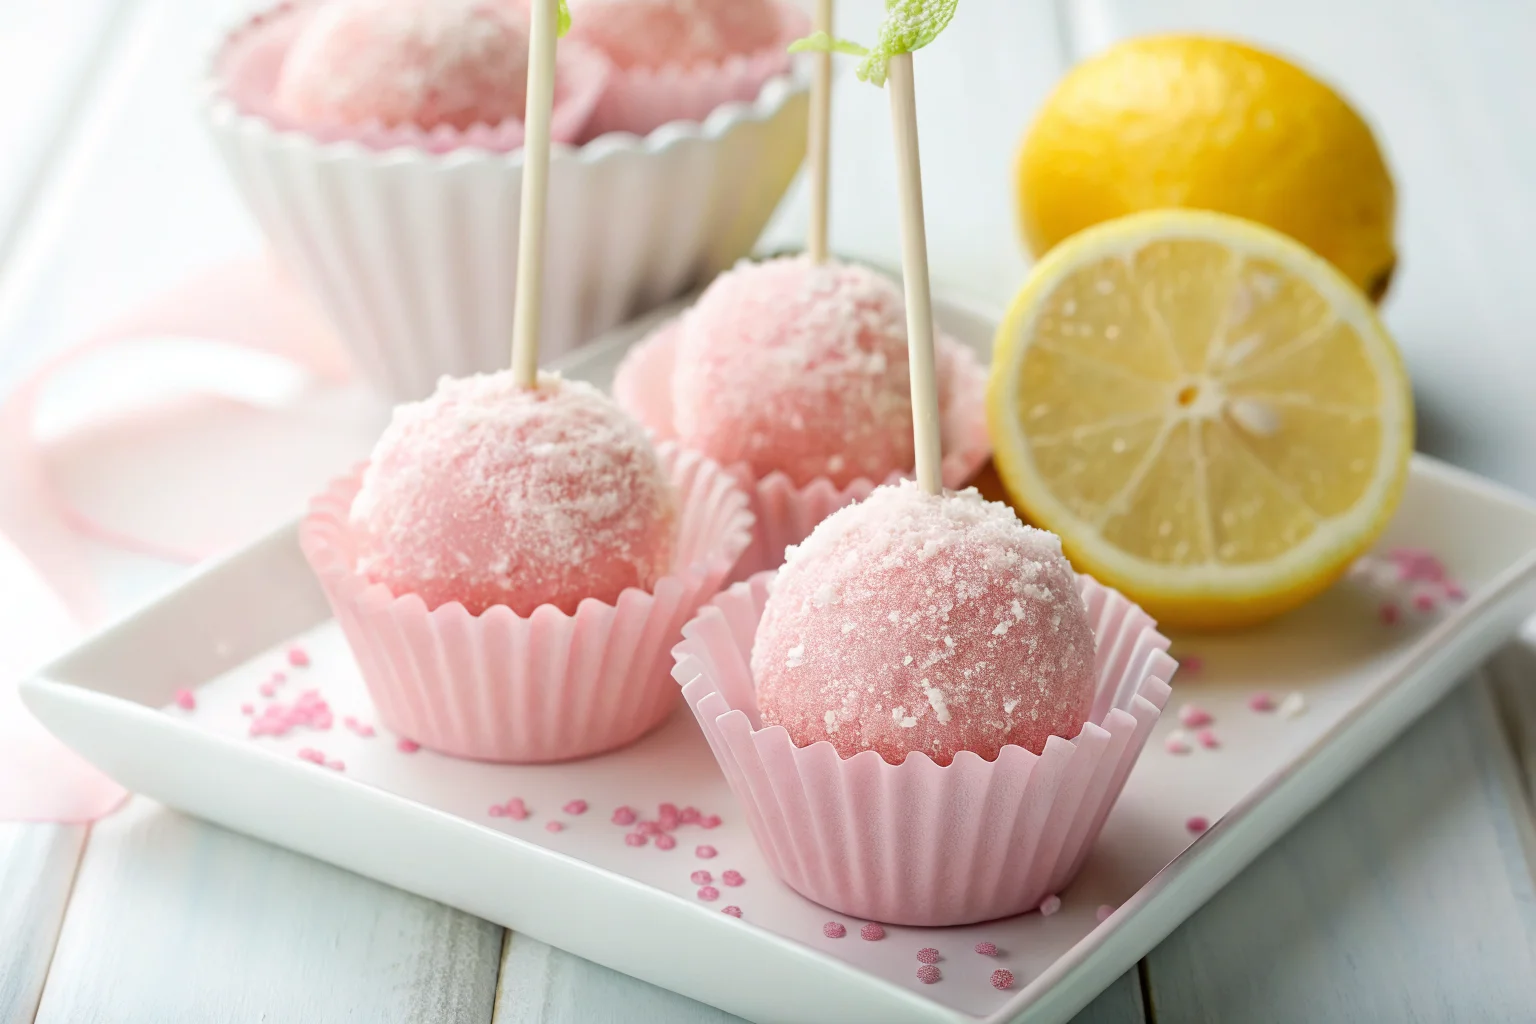
Table of contents
- Why You Will Love This Pink Lemonade Cake Pops
- How to Make These Refreshing Citrus Treats
- Expert Tips for Perfect Pink Lemonade Cake Pops
- Creative Ways to Customize Your Pink Lemonade Cake Pops
- Understanding the Nutritional Profile
- Creative Ways to Present These Treats
- Keeping Your Cake Pops Fresh
- Frequently Asked Questions
Why You Will Love This Pink Lemonade Cake Pops
- These pops deliver a refreshing citrus flavor that tastes like summertime in every bite.
- The pretty pink coating makes them perfect for baby showers, bridal parties, and spring celebrations.
- They’re easy to customize with different coatings, sprinkles, and flavor variations.
- You can make them ahead and store them in the fridge for convenient party prep.
- Kids and adults alike love the fun presentation and portable size.
How to Make These Refreshing Citrus Treats
Pink Lemonade Cake Pops
24
servings45
minutes30
minutes180
kcalThese delightful cake pops combine tangy lemon flavor with a sweet pink candy coating. Perfect for parties, celebrations, or any time you want a fun, portable dessert that tastes like summer.
Keep the screen of your device on
Ingredients
1 box vanilla cake mix
0.25 cup pink lemonade concentrate
1 cup vanilla frosting
2 tablespoons fresh lemon juice
1 teaspoon lemon zest
16 ounces pink candy melts
8 ounces white candy melts
24 pieces lollipop sticks
2 tablespoons coconut oil
0.25 cup pink sprinkles
Directions
- Bake the cake according to package directions in a 9×13 inch pan, then let it cool completely to room temperature.
- Crumble the cooled cake into a large bowl using your hands until it resembles fine crumbs with no large chunks.
- Mix in the frosting, pink lemonade concentrate, lemon juice, and lemon zest until the mixture holds together when squeezed.
- Roll the mixture into 24 equal-sized balls, about 1.5 inches in diameter, and place them on a parchment-lined baking sheet.
- Chill the cake balls in the refrigerator for at least one hour or in the freezer for 20 minutes until firm.
- Melt the pink candy melts in a microwave-safe bowl in 30-second intervals, stirring between each, until smooth and add one tablespoon coconut oil.
Notes
- Make sure the cake is completely cool before crumbling to prevent the mixture from becoming too sticky.
- If your mixture is too dry and won’t hold together, add frosting one tablespoon at a time until it reaches the right consistency.
- Work quickly when dipping pops so the coating doesn’t harden before you finish decorating.
- Store finished pops in an airtight container in the refrigerator for up to one week or freeze for up to three months.
Nutrition Facts
- Serving Size: 1g
- Total number of serves: 24
- Calories: 180kcal
- Fat: 8g
- Carbohydrates: 26g
- Fiber: 0g
- Protein: 2g
Did you make this recipe?
Tag @therecipemasterblog on Instagram and hashtag it with #therecipemaster
Like this recipe?
Follow @therecipemasterblog on Pinterest
Follow us on Facebook!
Follow The Recipe Master on Facebook
Expert Tips for Perfect Pink Lemonade Cake Pops
Making cake pops can seem tricky at first, but with a few professional techniques, you’ll create perfect pops every time. First, the texture of your cake mixture is crucial for success. In addition, proper coating technique ensures a smooth, professional finish.
Getting the Right Cake Mixture Consistency
The cake and frosting mixture should hold together when squeezed but not feel overly wet or greasy. Start by adding frosting gradually, mixing after each addition. You want the mixture to be moldable like playdough. However, if it’s too dry, the pops will crack. If it’s too wet, they’ll slide off the sticks.
Achieving a Smooth Candy Coating
Melt your candy coating slowly and add a teaspoon of coconut oil or shortening to thin it slightly. This creates a smoother consistency that coats evenly. Therefore, dip each pop straight down into the coating, then pull it straight up. Tap the stick gently against the bowl edge to remove excess coating.
Preventing Cracks and Breaks
Always chill your formed cake balls before dipping. The temperature difference between cold cake and warm coating can cause cracks, so let the balls sit at room temperature for about five minutes before dipping. Additionally, make sure your coating isn’t too hot, as this can also cause cracking.
Using Quality Lemonade Concentrate
For the best flavor, use a high-quality pink lemonade concentrate or fresh lemon juice with a touch of organic pink lemonade mixed in. The concentrate provides concentrated citrus flavor without adding too much liquid to your cake mixture. As a result, you get that signature tangy taste without compromising texture.
Creative Ways to Customize Your Pink Lemonade Cake Pops
One of the best things about cake pops is how easily you can adapt them to different tastes and dietary needs. For example, you can switch up flavors, coatings, and decorations to match any occasion. These variations keep the recipe exciting and fresh.
Strawberry Lemonade Version
Add freeze-dried strawberry powder to your cake mixture for a fruity twist. The strawberry flavor pairs beautifully with the lemon and creates a gorgeous natural pink color. You can also fold in finely chopped fresh strawberries, though be careful not to add too much moisture. If you love this combination, try our pink lemonade cupcakes for another delicious citrus dessert.
Gluten-Free Adaptation
Simply substitute your favorite gluten-free cake mix or use a gluten-free vanilla cake recipe as your base. The rest of the process remains exactly the same. Make sure your candy coating is also certified gluten-free if you’re serving guests with celiac disease.
Dairy-Free Option
Use dairy-free frosting and substitute the white chocolate coating with dairy-free candy melts. Many brands now offer excellent dairy-free coating options that melt and taste just like traditional candy coating. Therefore, guests with dairy sensitivities can enjoy these pops too.
Different Coating Colors and Flavors
While pink and white coatings are classic, try yellow candy melts for a sunny look or even lavender for a unique twist. You can also drizzle contrasting colors over the base coating for an elegant finish. For a refreshing drink to serve alongside, check out our homemade pink lemonade recipe.
Understanding the Nutritional Profile
Each cake pop contains approximately 180 calories, making them a reasonable treat when enjoyed in moderation. The fat content comes primarily from the frosting and candy coating, while the carbohydrates come from the cake and sugar. However, these are celebratory treats meant for special occasions rather than everyday snacks.
The protein content is minimal at about 2 grams per pop. If you’re watching your sugar intake, you can reduce the amount of frosting used in the mixture or try sugar-free candy coating alternatives. Additionally, making smaller pops reduces the calorie count per serving while still delivering that delicious lemon flavor.
Creative Ways to Present These Treats
Presentation makes all the difference when serving cake pops. Stand them upright in a foam block covered with decorative tissue paper for a beautiful display at parties. Alternatively, arrange them on a tiered cake stand for an elegant dessert table centerpiece. The vertical presentation shows off the pretty coating and makes them easy for guests to grab.
For individual party favors, wrap each pop in a clear cellophane bag tied with a ribbon that matches your party colors. You can also arrange several pops in a small vase or mason jar for a charming edible bouquet. These make wonderful gifts for teachers, hostesses, or anyone who deserves something special. Additionally, serve them alongside other lemon desserts for a coordinated citrus-themed dessert spread.
Keeping Your Cake Pops Fresh
Store your finished cake pops in an airtight container in the refrigerator for up to one week. Place them upright in a foam block or lay them flat in a single layer separated by parchment paper. The candy coating protects the cake inside and keeps it moist. However, bring them to room temperature about 30 minutes before serving for the best flavor and texture.
For longer storage, freeze the pops for up to three months. Wrap each pop individually in plastic wrap, then place them in a freezer-safe container. Thaw them overnight in the refrigerator before serving. The candy coating may develop slight condensation as it thaws, so pat them gently with a paper towel if needed. Therefore, you can make these well in advance for upcoming celebrations.
Frequently Asked Questions
Yes, you can absolutely use homemade vanilla or lemon cake instead of boxed cake mix. Just make sure the cake is completely cooled before crumbling it for the cake pop mixture.
This usually happens when the cake mixture is too heavy or the coating hasn’t set properly on the stick. Always dip the stick in melted coating before inserting it into the cake ball, then chill before dipping the entire pop.
You can make cake pops up to two days in advance and store them in the refrigerator, or freeze them for up to three months. They’re perfect for party prep since they actually taste better after the flavors meld together.
You can use white chocolate, almond bark, or any melting chocolate designed for candy making. Regular chocolate chips don’t work as well because they’re too thick and don’t set with the same smooth finish.


Leave a Reply