- Use a dry coating of aluminum-free baking powder and salt to raise skin pH and create a blistered, shatteringly crispy crust.
- Render fat first: low 250°F bake 30 minutes, then blast at 425°F for 40–50 minutes for even browning and crunch.
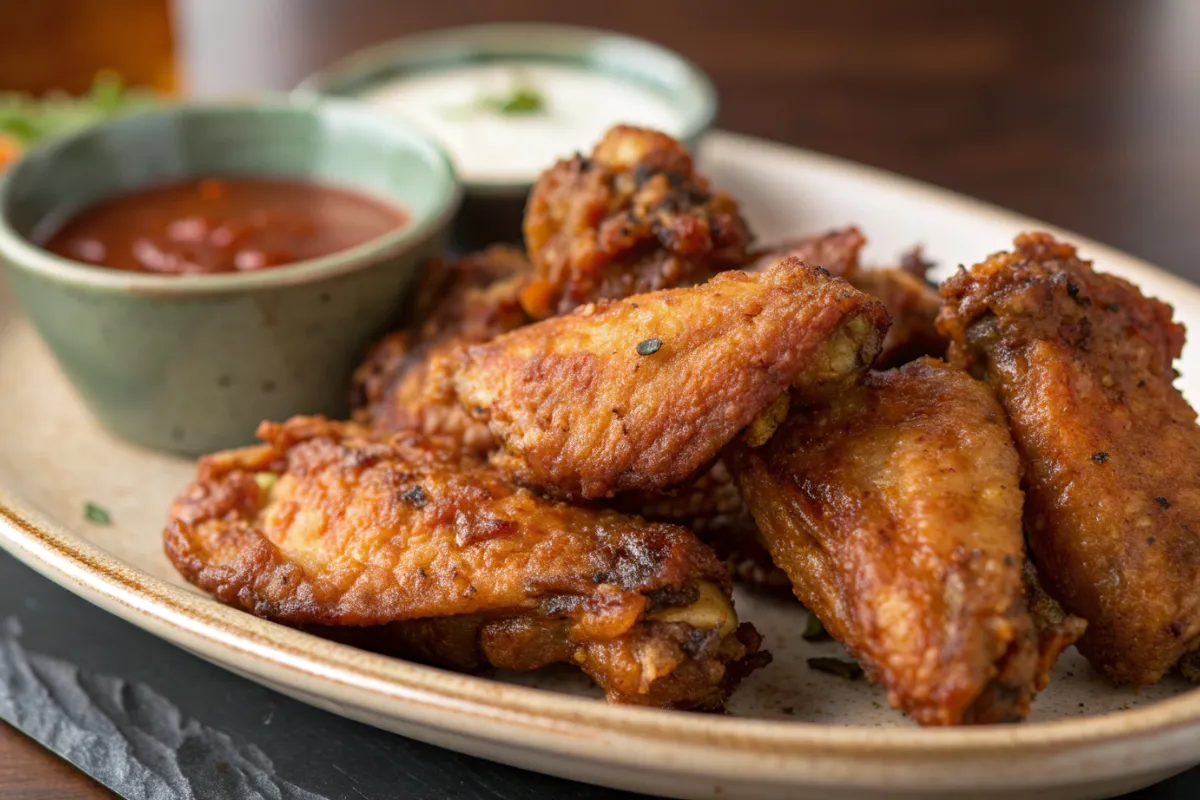
- Pat wings bone-dry, avoid crowding, and sauce only just before serving to keep the crust crisp.
There is an electricity in the air when game day arrives. Whether you are huddled around a television for the championship or hosting a casual backyard gathering, the game day appetizer is the undisputed soul of the party. For years, the gold standard has been the deep-fried wing, that bubbling vat of oil that delivers crunch but leaves your kitchen smelling like a fast-food joint for three days. Now we have the Crispy Baked Chicken Wings.
As a culinary scientist, I spent a decade obsessed with a single question: Can we achieve that shatteringly crispy skin in a standard home oven without the mess and caloric density of a deep fryer? The answer is a resounding yes, but it requires more than just high heat. It requires a fundamental understanding of chemistry, moisture, and heat transfer. Today, I am pulling back the curtain on the “render and blast” method to ensure your baked chicken wings are the best you’ve ever tasted.
Why You’ll Never Deep-Fry Wings Again
Deep-frying is effective because oil is an incredibly efficient heat conductor. It surrounds the wingettes and drumettes, instantly boiling off surface moisture and creating a crust. However, it is also temperamental. If the oil temperature drops, the wings become greasy. If it’s too high, the outside burns before the juicy interior is safe to eat.
Crispy oven-baked wings offer a level of control that the deep fryer simply cannot match. By using a two-stage temperature approach, we can mimic the effects of a professional kitchen. Furthermore, baking allows you to cook four or five pounds of party wings simultaneously, whereas a home fryer limits you to small, tedious batches. When you factor in the easier cleanup and the significant reduction in saturated fats, the oven becomes the superior tool for the modern home chef.
The Secret Science of the “Shatteringly Crispy” Crunch
To get that crackly, golden-brown finish, we have to fight two enemies: water and fat. Chicken skin is roughly 30% fat and highly saturated with water. If you simply toss wings in a hot oven, the water turns to steam, which prevents the skin from crisping until the meat inside is overcooked and dry. We need to manipulate the skin’s chemistry to favor the Maillard reaction—the chemical reaction between amino acids and reducing sugars that gives browned food its distinctive flavor.
The Baking Powder Trick: How It Works
This is the holy grail of wing science. By coating the wings in a small amount of aluminum-free baking powder, we raise the pH level of the chicken skin. This alkaline environment is crucial because it breaks down the peptide bonds in the skin, allowing it to brown much faster and more intensely.
As the wings heat up, the baking powder reacts with the natural juices to create tiny carbon dioxide bubbles. These bubbles increase the surface area of the skin, creating a blistered texture that maximizes crunch.
CRITICAL WARNING: You must use baking powder, not baking soda. While they look similar, baking soda will react too violently and leave your wings with a distinctively bitter, metallic, and soapy aftertaste that even the strongest blue cheese dip cannot hide.
The Parboiling Alternative: Rendering Fat for Success
While the baking powder method is my preferred “dry” approach, some chefs swear by parboiling. The logic is sound: by simmering the wings in water for 7-10 minutes before baking, you begin to render the fat locked beneath the skin. Once the fat is liquified and the wings are patted dry, the oven can focus entirely on crisping the skin. However, for the ultimate “shatter” crunch, the dry-brine baking powder method remains the scientific champion.
Ingredients You’ll Need
To execute this perfectly, your shopping list is remarkably short. Quality matters here more than quantity.
- 4.0 lbs Wingettes and Drumettes: Look for “air-dried” chicken if possible, as it contains less injected saline.
- 1.0 tablespoon Aluminum-free baking powder: Approximately 1.0 teaspoon per pound of wings.
- 1.0 teaspoon Kosher salt: Essential for drawing out deep-seated moisture.
- 0.5 teaspoon Black pepper: For a foundational savory note.
- Optional: Garlic powder or smoked paprika (ensure they don’t contain added sugar, which burns too quickly).
Step-by-Step Instructions: Baked Chicken Wings Crispy
- The Extraction: Remove your wings from the packaging and place them on a clean surface. Using paper towels, pat every single wing until it is bone-dry. Moisture is the enemy of the crunch.
- The Coating: In a large bowl, whisk together the baking powder, salt, and pepper. Toss the wings in the mixture until they are lightly and evenly coated. You aren’t looking for a heavy breading, just a fine dust.
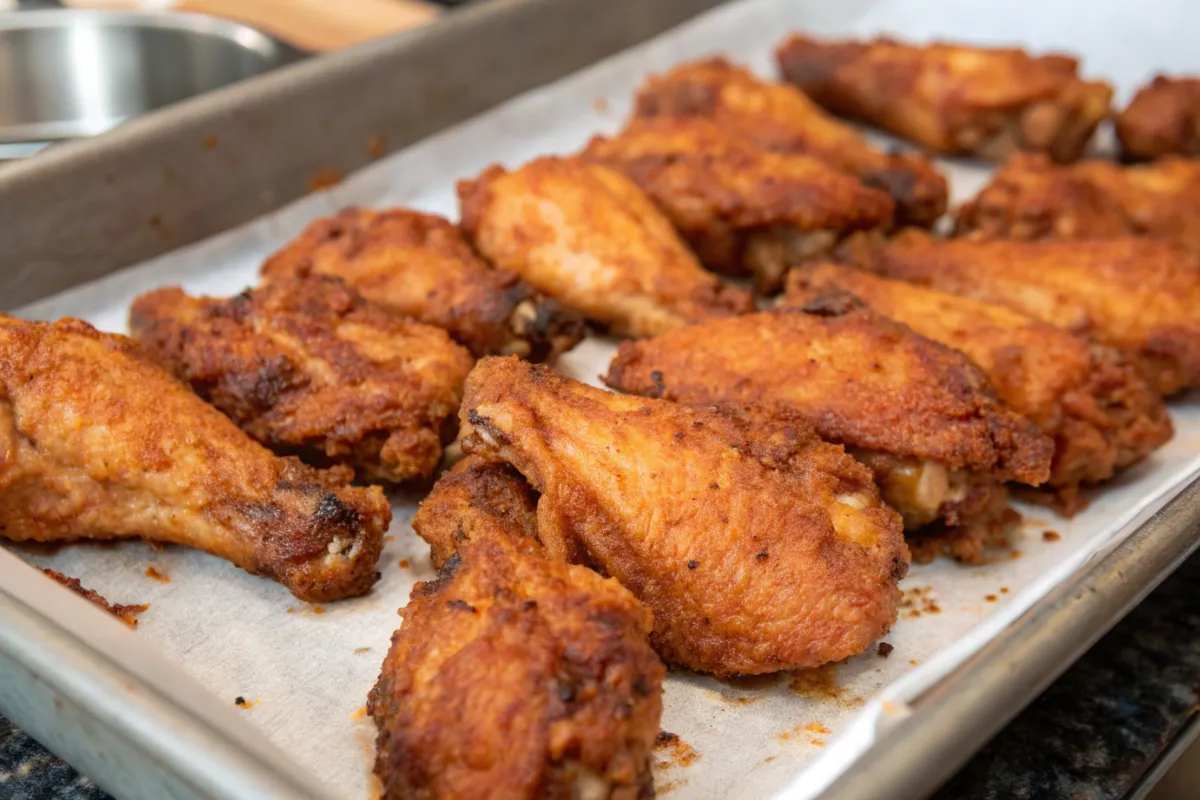
- The Low Render (250°F): Arrange the wings on a wire cooling rack set over a foil-lined baking sheet. Place them in the oven at 250°F for 30 minutes. This “low and slow” start allows the fat to render the fat slowly without toughening the proteins.
- The High Blast (425°F): Without removing the wings, turn the oven up to 425°F (or 450°F for a convection oven). Bake for another 40-50 minutes.
- The Visual Cue: Look for the skin to become blistered and dark golden-brown. The wings should look like they’ve been deep-fried.
- The Final Check: Ensure the internal temperature 165°F is reached using a digital thermometer.
Beyond Buffalo: Trending Wing Flavors & Glazes
While a classic Frank’s RedHot and butter mixture is the standard, these baked chicken wings provide a neutral, crispy canvas for global flavors. Use the table below to mix up your next batch.
- Classic Buffalo: 0.5 cup Frank’s RedHot + 0.33 cup Melted Butter. Whisk until emulsified; toss hot wings immediately.
- Honey Garlic: 0.25 cup Honey + 2.0 tbsp Soy Sauce + 1.0 tsp Grated Garlic. Simmer in a small pan for 2 minutes before tossing.
- Korean Gochujang: 2.0 tbsp Gochujang + 1.0 tbsp Sesame Oil + 1.0 tbsp Brown Sugar. Thin with 1.0 tsp water; provides a spicy, fermented kick.
Baked Chicken Wings Crispy Recipe Card
Baked Chicken Wings Crispy Recipe
4
servings15
minutes1
hour15
minutes310
kcalBaked Chicken Wings Crispy and golden are the perfect way to enjoy your favorite wings without frying.
Keep the screen of your device on
Ingredients
4.0 lbs Chicken wings (separated into wingettes and drumettes)
4.0 teaspoons Aluminum-free baking powder (1.0 tsp per lb)
1.0 teaspoon Kosher salt
0.5 teaspoon Freshly cracked black pepper
Directions
- Dry: Pat wings thoroughly dry with paper towels.
- Coat: Toss wings in a bowl with baking powder, salt, and pepper until dusted.
- Setup: Place a wire cooling rack on a baking sheet. Arrange wings in a single layer, not touching.
- Render: Bake at 250°F for 30 minutes on the lower-middle oven rack.
- Blast: Increase oven temperature to 425°F. Move wings to the upper-middle rack. Bake for 40-50 minutes until shatteringly crispy and golden-brown.
- Sauce: Remove from oven, let rest for 5 minutes, then toss in your desired glaze.
Notes
- Nutritional Facts (Per 5-wing serving).
- Moisture Control: Even after patting dry, let the coated wings sit uncovered in the refrigerator for 1 to 4 hours if time permits. This “cold-dry” method acts like a professional dry-ager, tightening the skin for an even louder crunch.
- The Wire Rack: A wire cooling rack is non-negotiable. If the wings sit directly on a baking sheet, they will poach in their own rendering fat, resulting in a soggy bottom. Elevation allows 360-degree heat circulation.
Nutrition Facts
- Fat: 21g
- Carbohydrates: 1.5g
- Protein: 24g
Did you make this recipe?
Tag @therecipemasterblog on Instagram and hashtag it with #therecipemaster
Like this recipe?
Follow @therecipemasterblog on Pinterest
Follow us on Facebook!
Follow The Recipe Master on Facebook
FAQ about Baked Chicken Wings Crispy
Only if you use a brand containing sodium aluminum sulfate. Always check the label for “Aluminum-Free.”
Absolutely. An air fryer is essentially a high-powered convection oven. Follow the same coating steps, but you can usually skip the 250°F step and go straight to 400°F for 20-25 minutes, shaking the basket halfway through. There you go, you’ll have your Chicken wings in air fryer.
The secret is to sauce them immediately before serving. If you sauce them and let them sit for 20 minutes, the moisture in the sauce will eventually soften that hard-earned crust.
Tradition dictates a pungent blue cheese dip or a cooling ranch. For the Korean-style wings, a side of pickled daikon radish is the perfect acidic counterpoint.
Expert Tips for Restaurant-Quality Results
Achieving that “shatter” requires patience. If you see the wings are browning too quickly during the high-heat phase, simply rotate the pan. Every oven has “hot spots,” and a quick 180-degree turn at the 20-minute mark of the blast phase ensures every wing is equally blistered.
Lastly, don’t crowd the pan. If the wings are touching, they will trap steam between them, leading to soft spots. Give each wing at least 0.5 inches of “personal space.” This allows the hot air to circulate and creates that uniform, golden-brown crust we are after.
Now that you have the science and the strategy, you are ready to dominate the kitchen this weekend. These wings aren’t just a substitute for fried food, they are an evolution of it.


Leave a Reply